

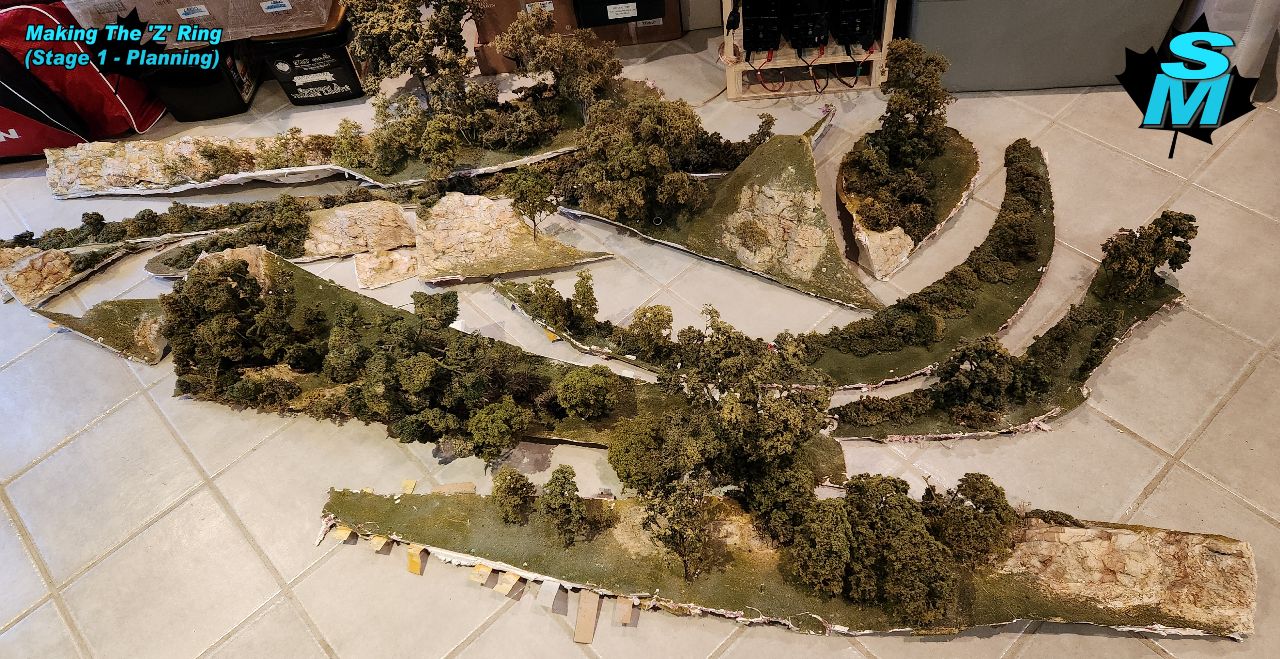
The ‘Z’ Ring (Stage 1 – Planning)
The concrete floor was covered with two coats of flat/primer acrylic paint close in colour to most slot car track surfaces. No additional floor prep was needed since the floor was already in great shape and any existing cracks are tiny and even.
Luckily I still had leftover paint for the walls so touch ups were done – couldn’t match the dirty areas so just painted over many of those.
Baseboards were not added yet since I’m not sure if I want a short baseboard matching the wall colour or an EVA foam version matching the racing barriers. For now I decided to experiment with the walls I used for the Zing II around the perimeter of the racing surface. I removed the blocks that fastened them to the RAM board and used white and black duct tape to join them together. They aren’t fixed in place either – just float against the walls…
To help me figure out layout options I decided to use very forgiving 12mm thick EVA foam ‘islands’ to test. 2mm EVA foam white and black curbs were fixed to thin clear film and attached to some of the islands. The film actually has a positive static charge and sticks to the floor – an added bonus. Hockey pucks help keep the islands in place for now but I ran out so urethane tire stacks were substituted in some places.
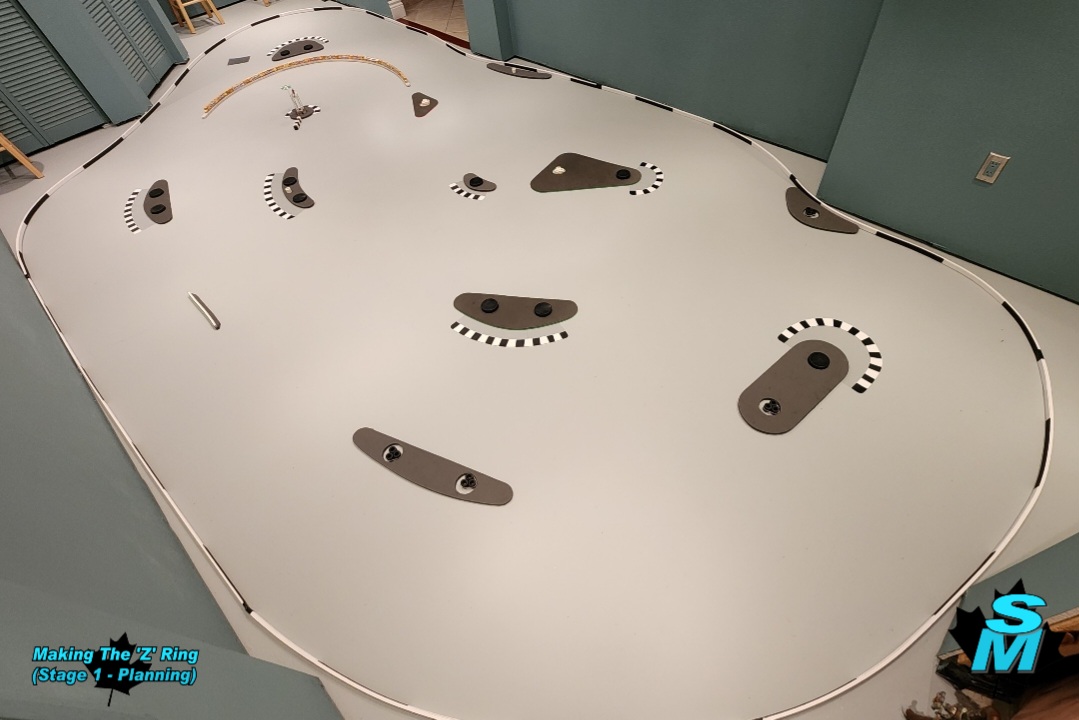
Now the fun part – time to start testing…
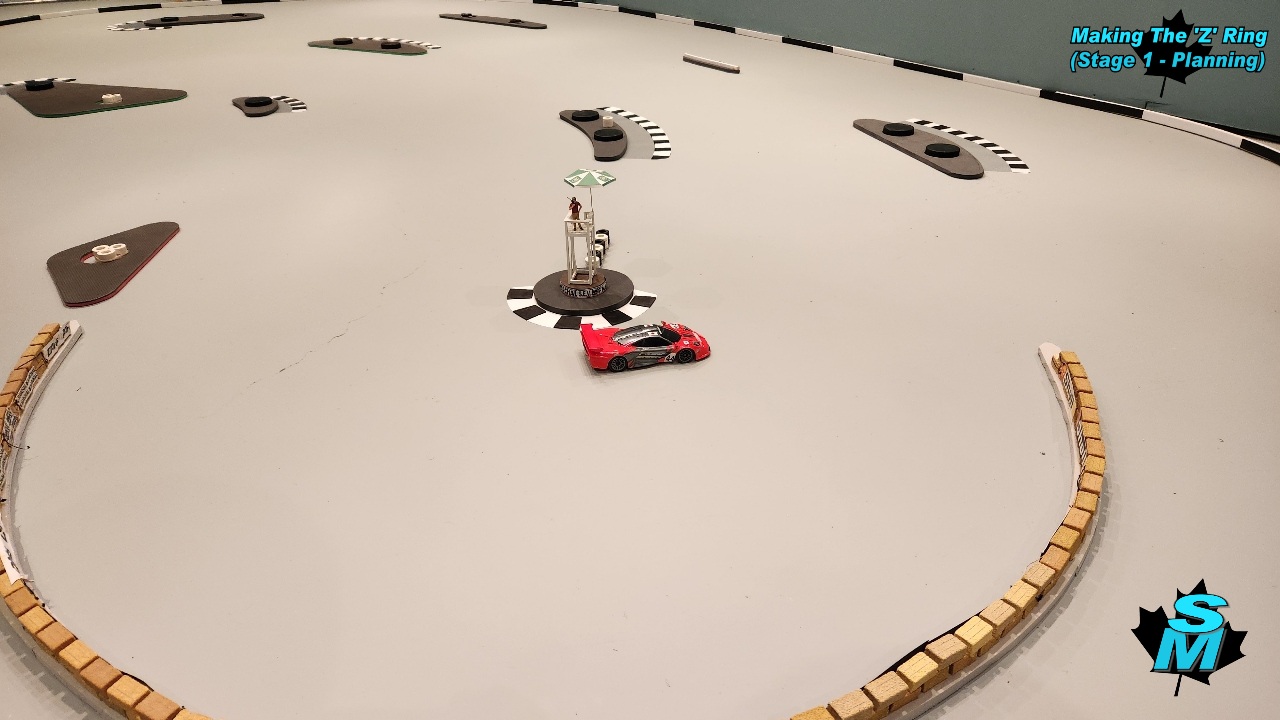
All four corners of the room provide comfortable and unobstructed pilot locations. The view of the circuit from either short side corner works well.
Urethane tires work well on the painted acrylic surface offering just the right amount of grip. No need to add anything to the paint or track surface.
A few thousand laps (and more than 20 battery recharges) later I’m happy with this layout and the tweaks made so far. It is fascinating to experiment and see just how moving a barrier a few inches can alter the racing line and flow of the track so significantly. Many lessons learned doing this – plus it was fun!!!
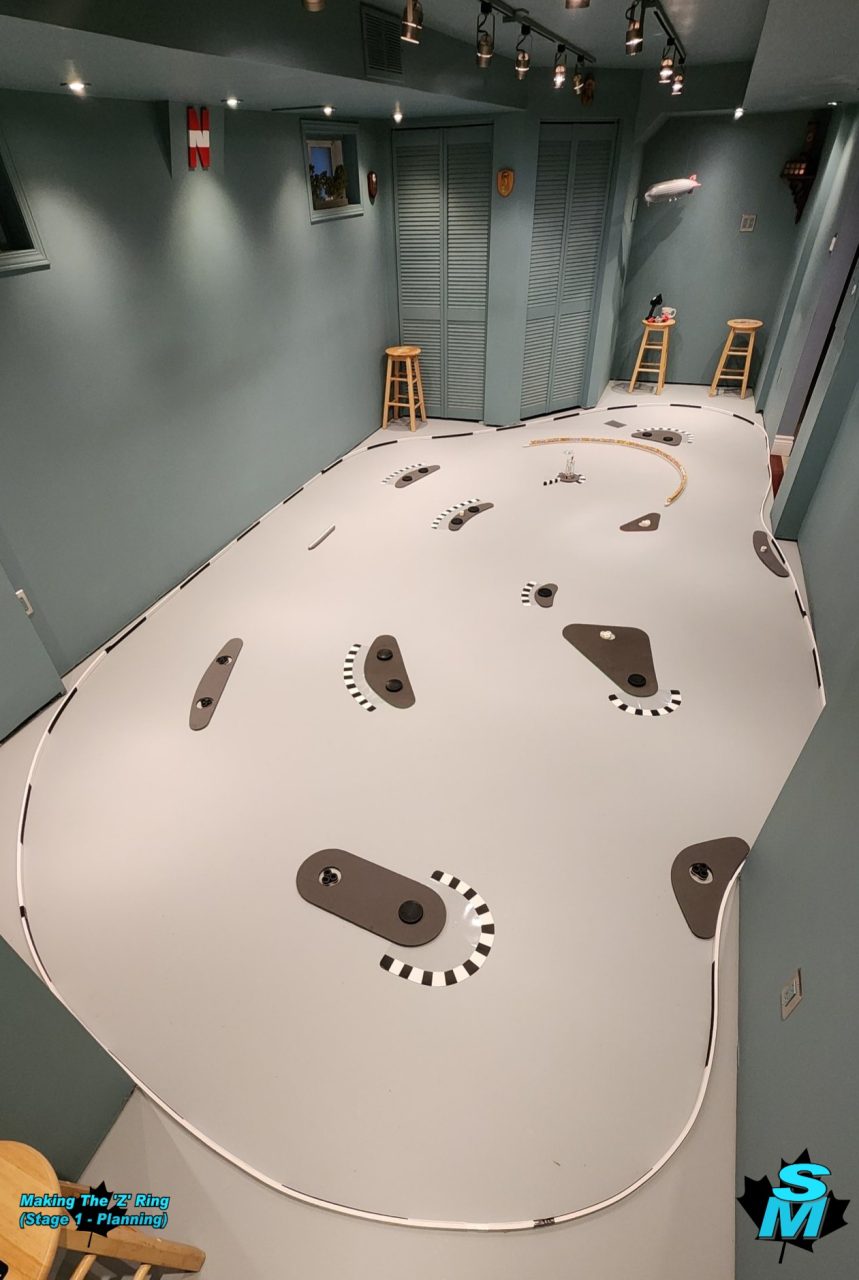
Lots of variety in this layout. Lessons learned from the Zing I & II experiments applied here too.
Although this circuit works well my plan is to be able to move these islands around to modify the layout from time to time – after all the entire floor is a canvas…
My overall plan now is to:
- Fix EVA foam barriers around the perimeter of the circuit and use the existing 1″ high EVA covered flexi-ply wall;
- Paint lines, patches, cracks, graffiti and airbrush the track surface;
- Add internal EVA foam barriers/walls where needed; and
- Position my Ring buildings, structures and peeps and scenerize each moveable ‘island’. Luckily 1:32 scale is close enough;
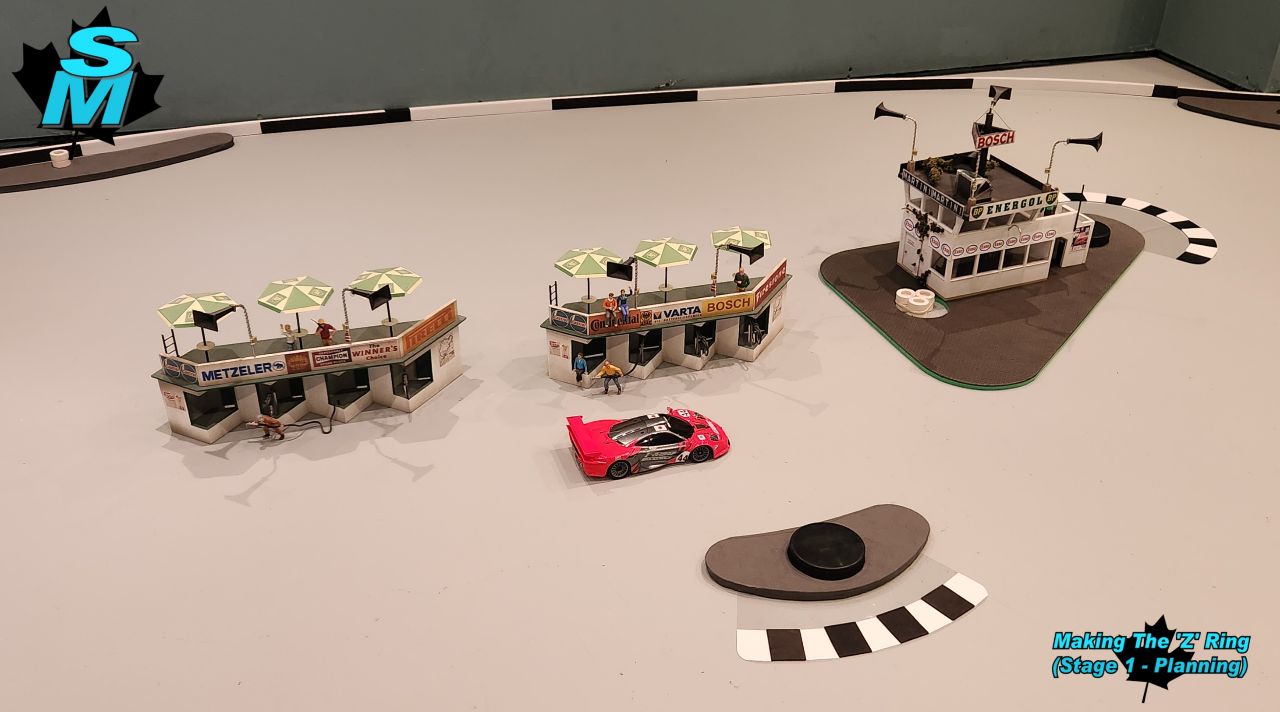
My goal is to turn this floor circuit into another version of The Ring with as much added detail as possible.
Let’s see how far we can go…
Thanks f1nutz! I felt that it was the right time for a change down in the bunker. I’m using and enjoying this room so much more.
Although racing with others can be fun my main goal now is to focus on those hobbies that I can enjoy fully by myself, at my own pace, on my schedule and in the comfort of my own home. I’m not looking to fit in anywhere, prove anything to anyone, make new hobby acquaintances or settle for anything less than what I want.
After I add the inner barriers this track should be ready for a runabout. Stay tuned…
Looking forward The Z Ring will focus exclusively on hardbody 1:27 and 1:24 scale race cars with proper racing liveries (no fantasy liveries). First focus will be on Group C and mid-1990’s through modern GT models (with an emphasis on endurance versions) then perhaps Classic LeMans from the mid-60’s through early 70’s… time will tell… can’t wait!
Wow! That’s quite the change.
Sorry to see the Ring gone but this looks pretty cool.