For the benefit of anyone who couldn’t make it and for those who did 😉 …
Model picked was a Ferrari 158 Grand Prix racer. This model had two visible shock absorbers so it made sense to make those first. From the space available and orientation they needed to be approximately 10mm long. To keep things simple I would mount them using the same wire used to make the rest of the suspension detail. This means that we would only need to make the upper and lower portions plus the spring – the upper and lower portions of the shock absorber would later be glued in place on the suspension wire with clear epoxy and together they would sandwich the spring.
We need the following pieces to make these parts: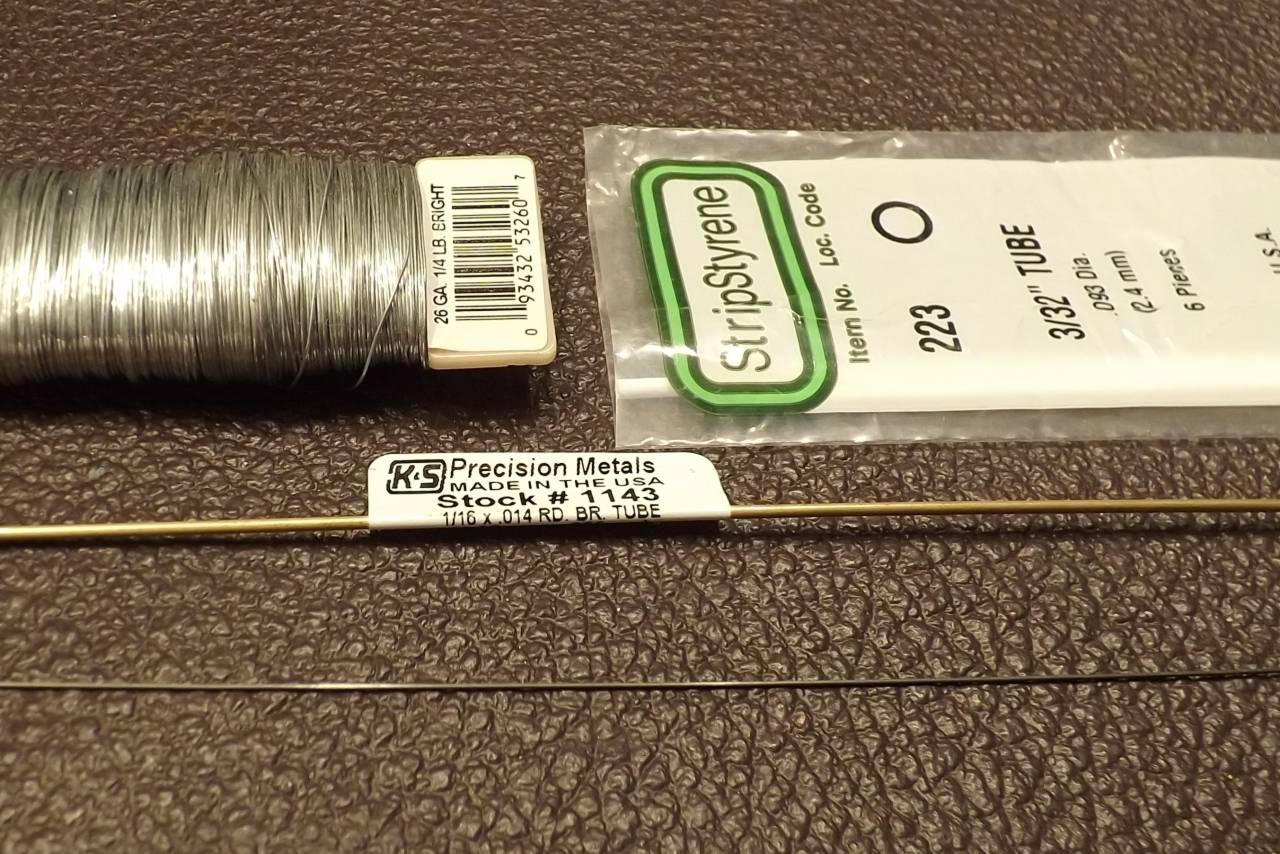 The wire at the bottom is a flexible wire from the dollar store which had the green vinyl insulation burned off and was cleaned by sanding. It comes in packs of 200 or so and is used for flower arrangements. Without the vinyl coating it is .021″ thick. It is quite flexible but sturdy enough and therefore perfect for decorative suspension detail.
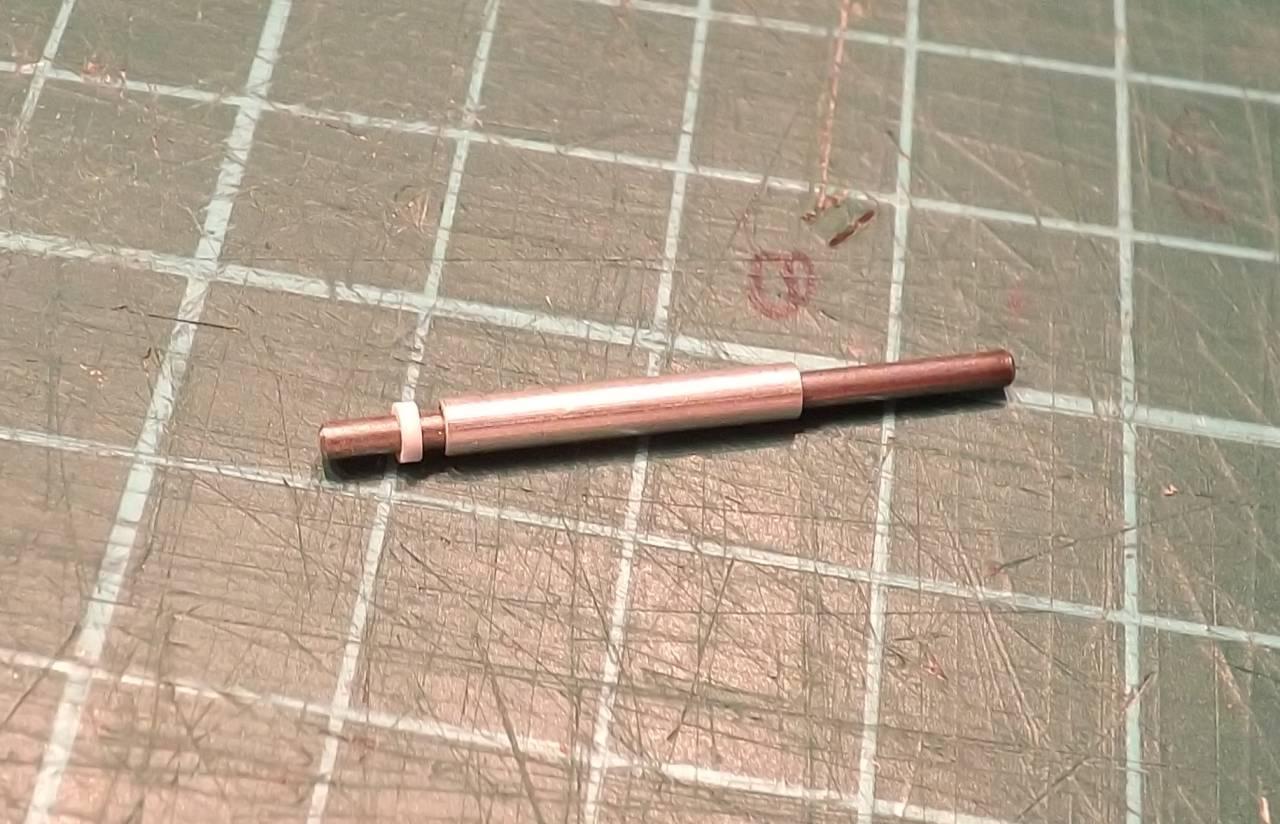 This tool was made to sand some of the very small ‘ring’ pieces. It is just a 3/32″ aluminium tube through which an .062″ wire can slide. You can also use the wire to hold your springs to grind the ends flat.
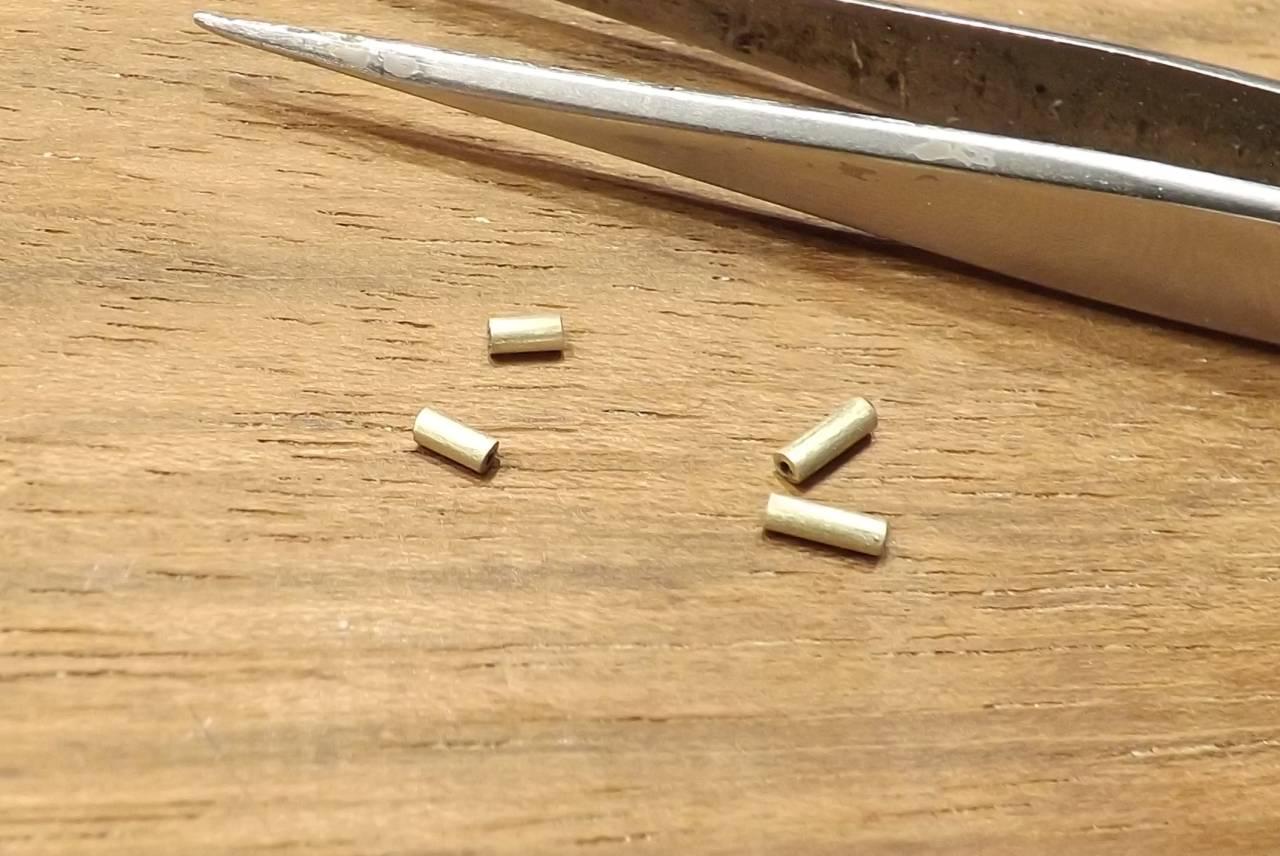 I first cut and sanded the two halves of the shock – the upper and lower portions using my dremel tool. There would be a gap between them when the spring was mounted allowing the .021″ wire to be exposed – and the total length would need to be no more than 10mm.
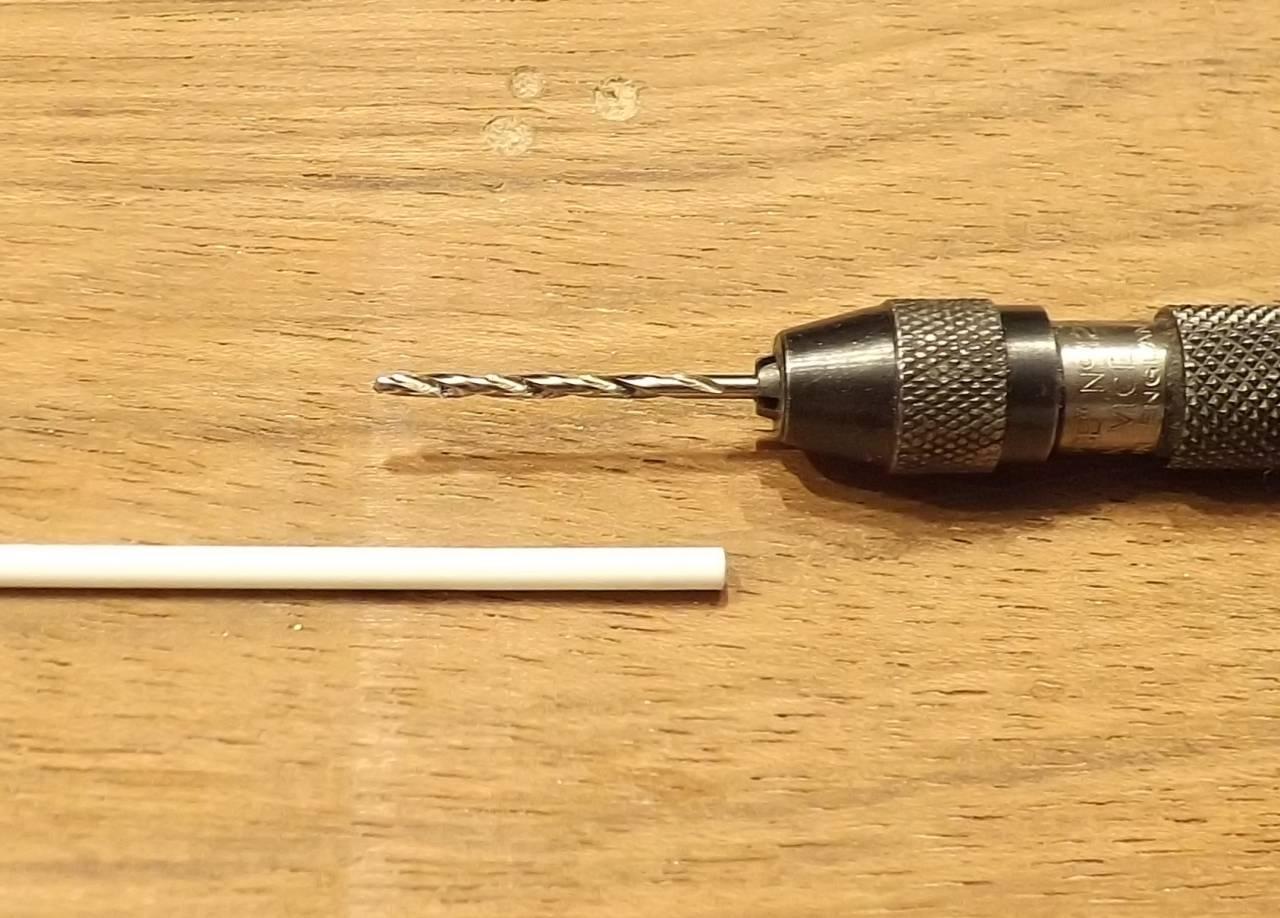 To hold the spring in place we need rings on the upper and lower portions – the easiest way to make these is to cut styrene (#223) tube after using a 1/16″ drill bit to enlarge the hole. Use the tool to sand the ring to the right size/depth.
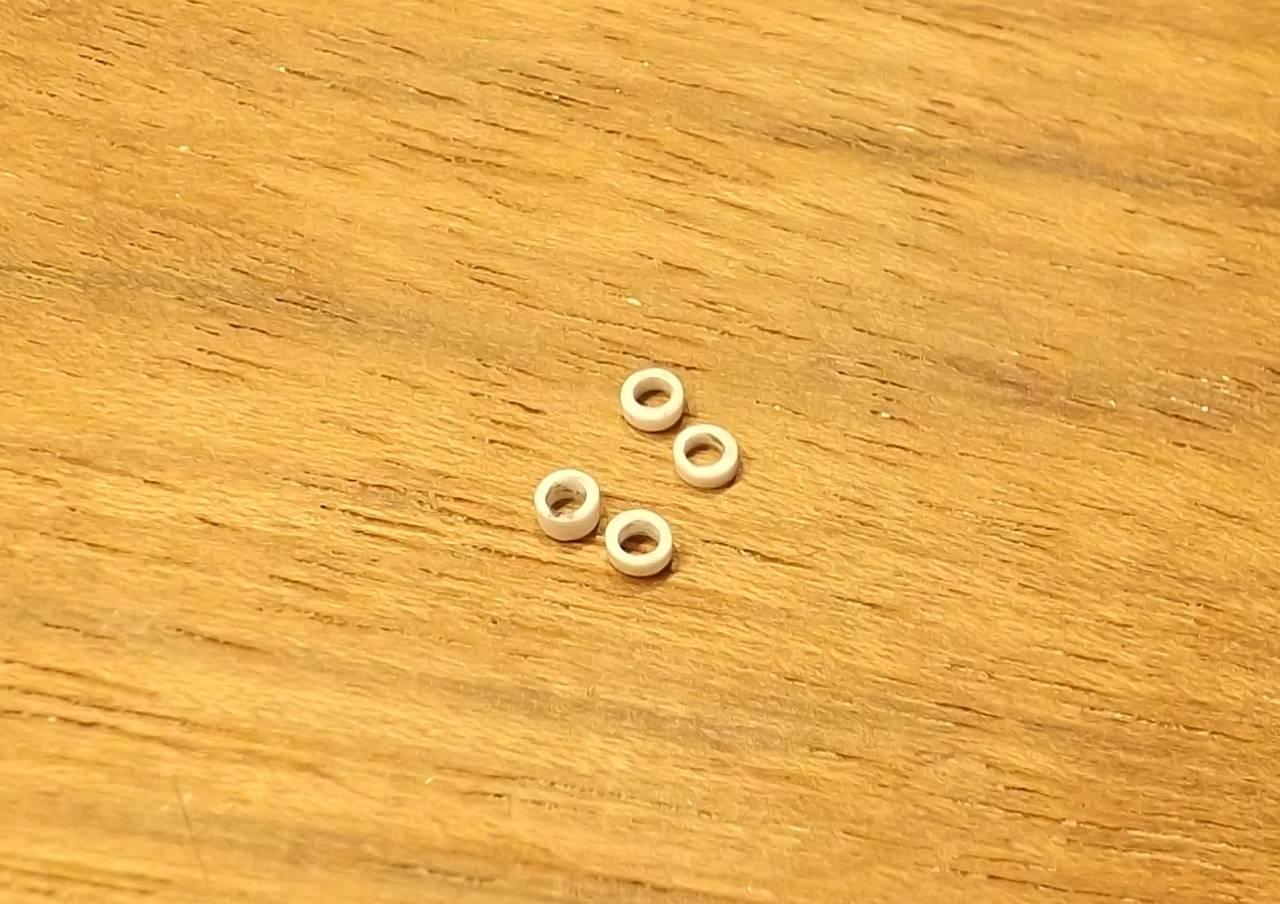 Next the springs needed to be created. Pick some flexible decorative wire in the colour you want and wind it tightly around a 1/16″ rod. I wound a long section which I would later cut into two pieces.
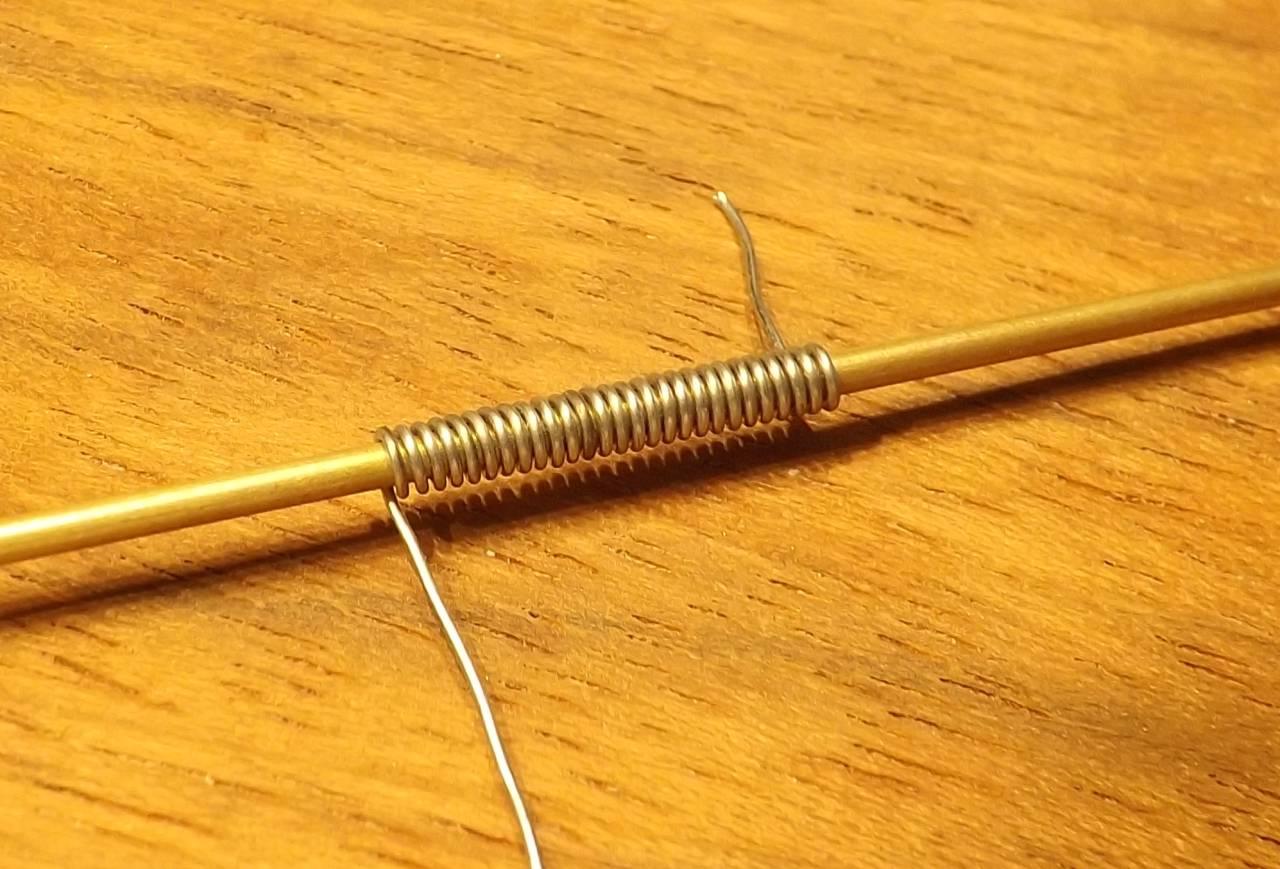 Stretch the wire carefully keeping the coil gaps as uniform as possible. Remove the whole thing from the rod and then pick the best two sections to cut out to the right length (in my case 8mm). To avoid messing up the gaps use a thin knife blade to stretch out the space where you want to make your cuts and use a small side cutter to cut the wire.
 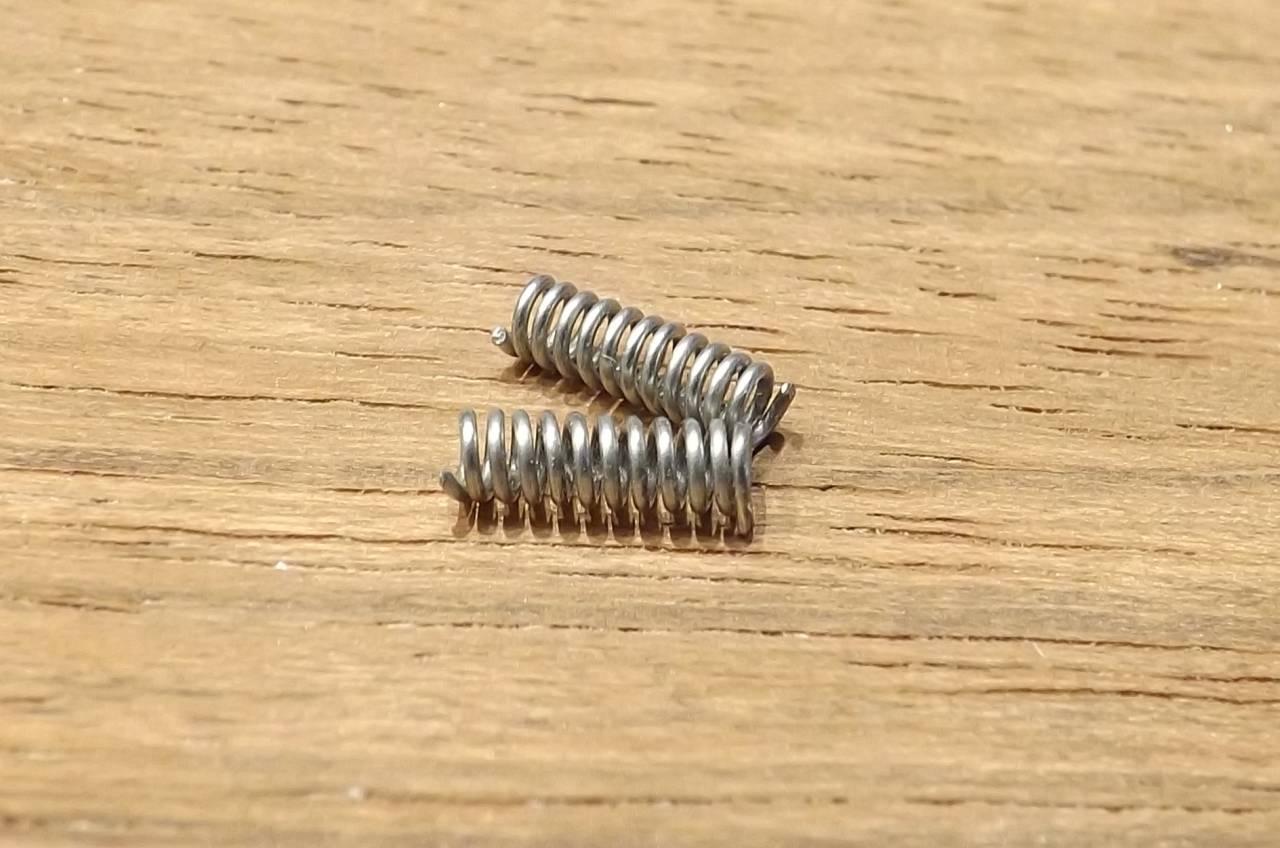 Now you have two springs. To clean up the ends put each one on the rod again and push in the top and bottom making sure to brace the rest of the coil in order to preserve the existing uniform gaps. Next I used my dremel tool to grind away the wire ends so that the spring was flat on both top and bottom – if it can stand up vertically then it is flat…
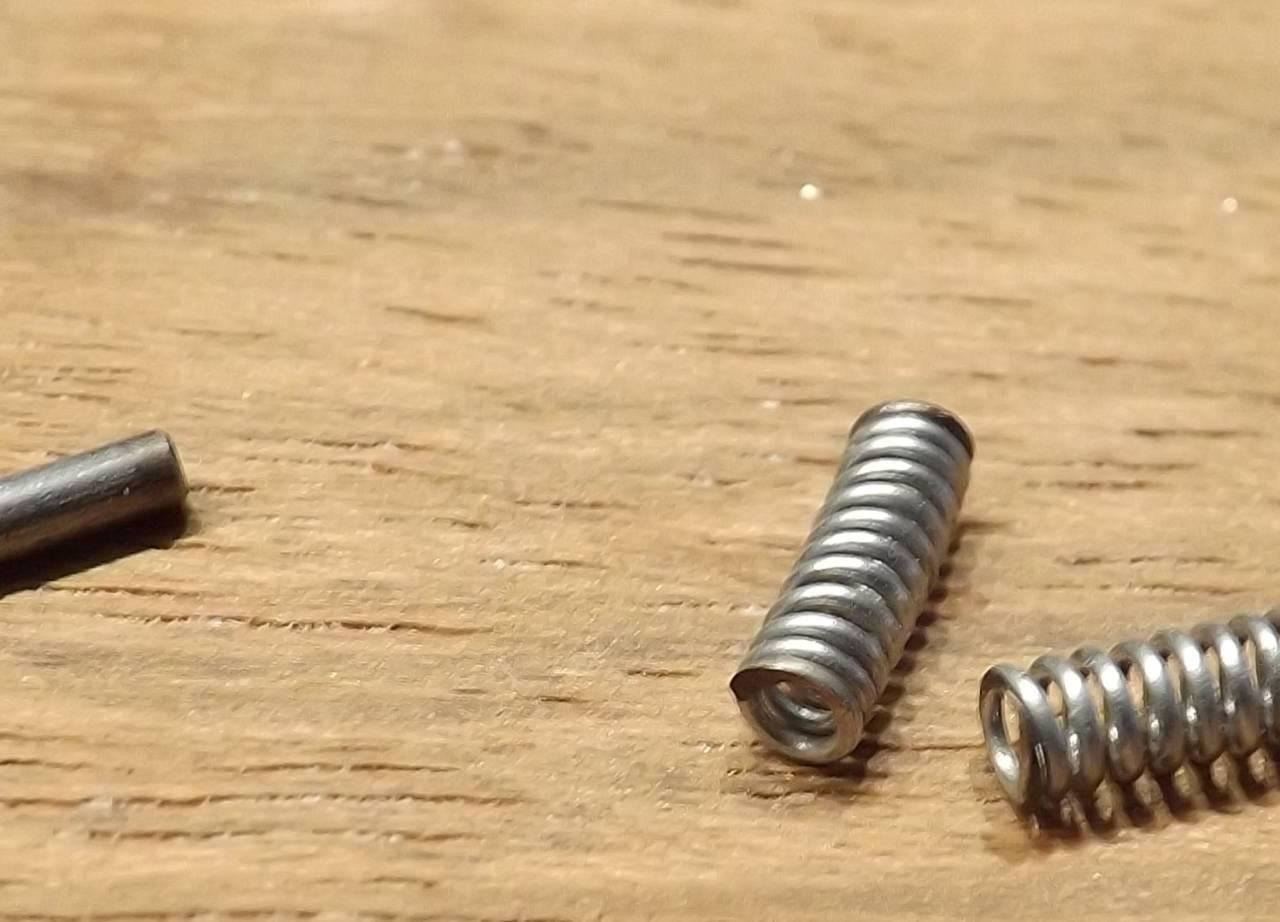
Now we have everything for the shock absorbers. I used super glue to fix the styrene rings to the brass tube pieces and now they were ready for paint. 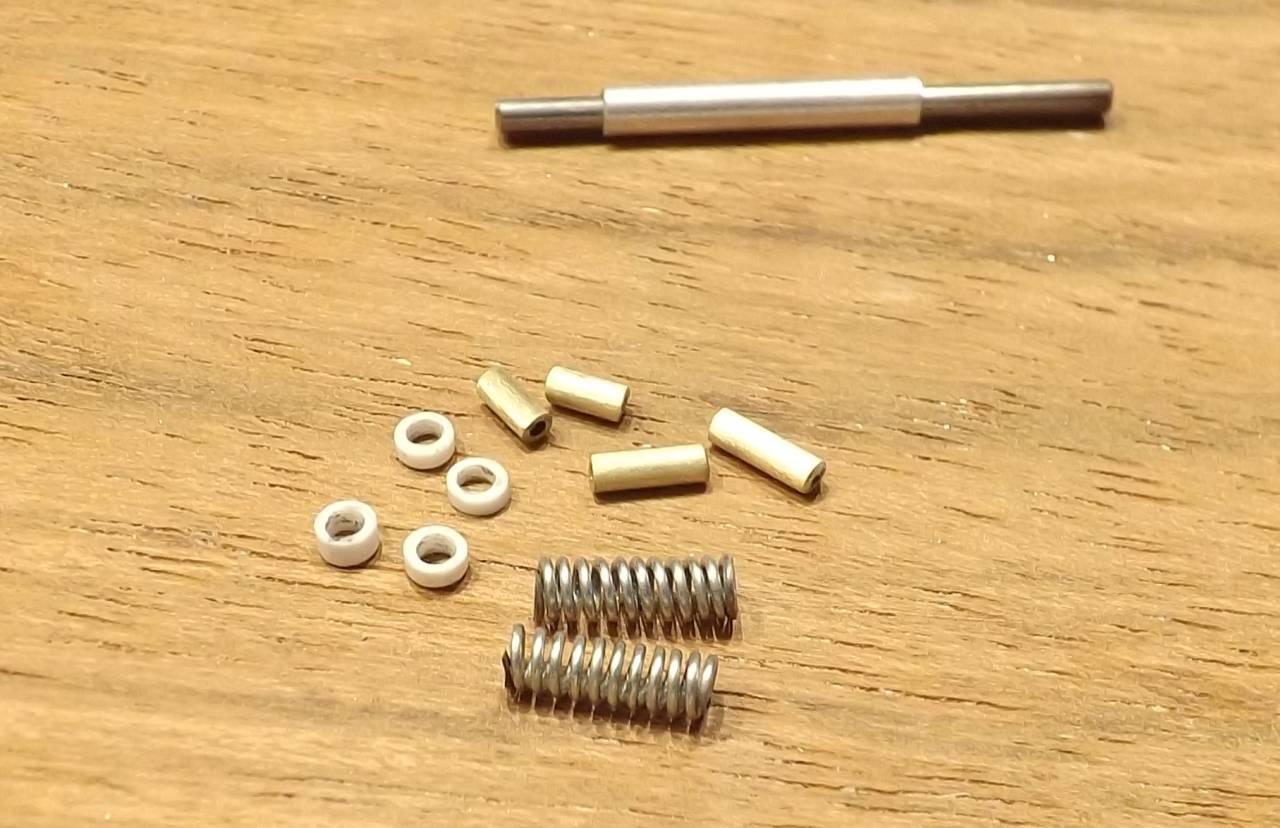
(to be continued…)
The Happy Canadian Scale Modeler!
