(This is a generalized and expanded version of some suggestions I made to a member who had said he had experienced some difficulties with masking work. Another member later asked me to place my ideas in this How-To forum.)
Finishing a car body often entails some curvilinear shapes that need to be replicated symmetrically between left and right sides of the body. These can range from fairly simple to very complex curves, as shown by various photos below.
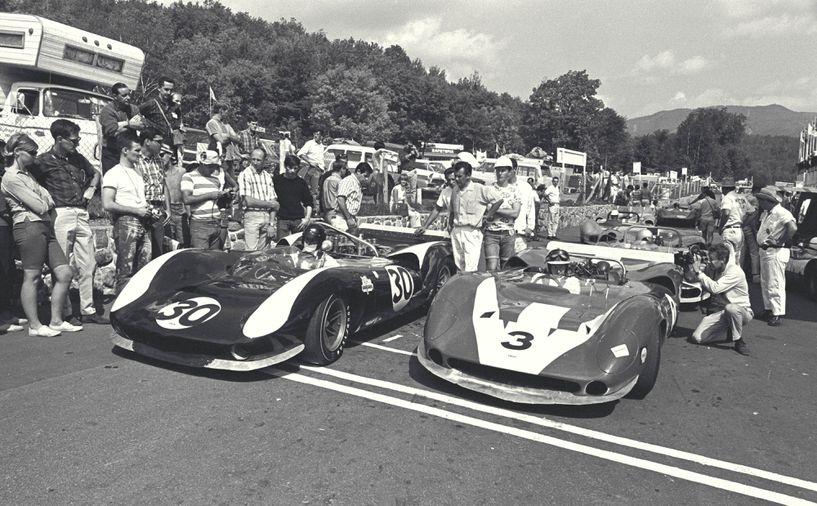
Lola T70 Can-Am; Dan Gurney and John Surtees. (1966 Bridgehampton won by Gurney, the only Can-Am race won by a Ford engine. Surtees won the first race in this inaugural season, three of the six races in total, as well as the series championship.)
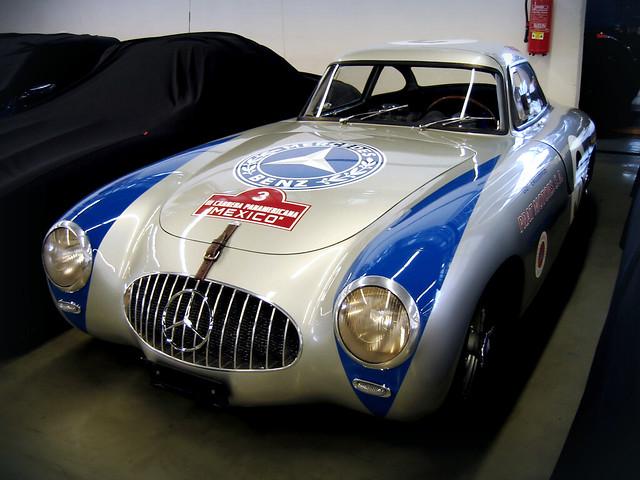
Mercedes Benz 300 SL; Factory car, Carrera Pan Americana
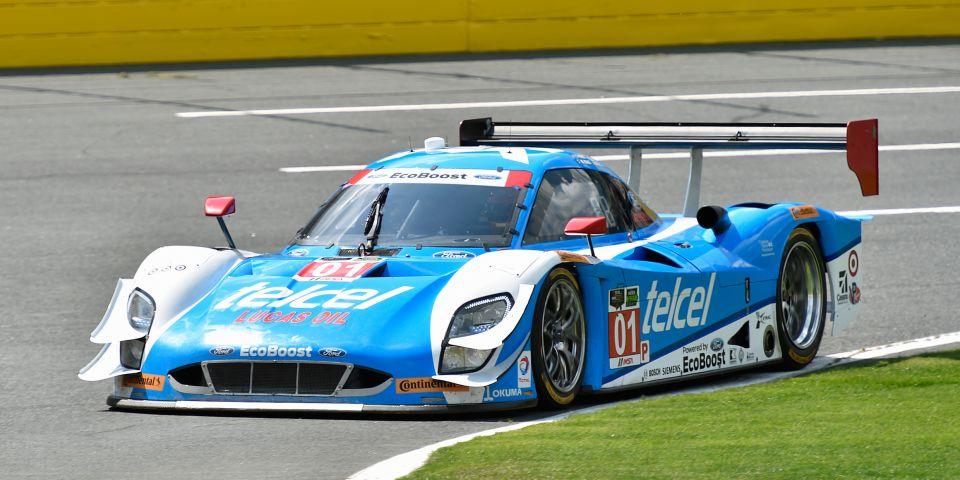
Ford Daytona Prototype
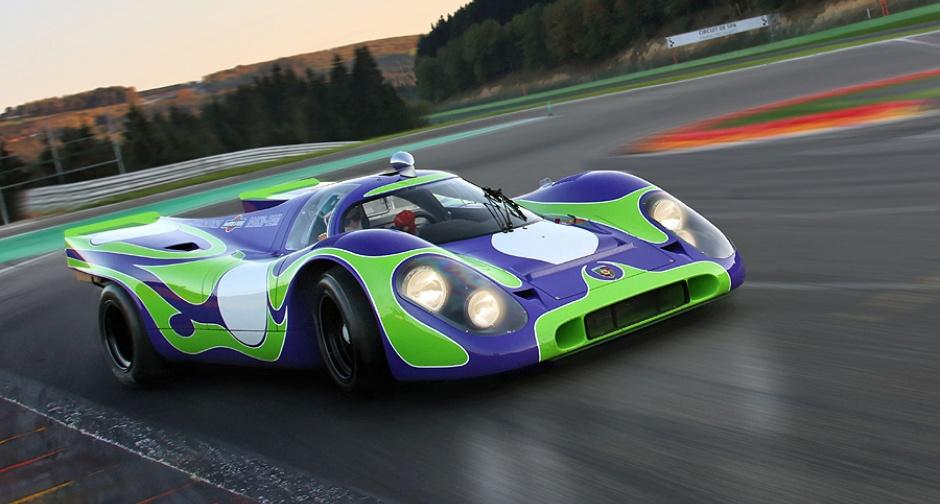
Porsche 917K; Psychedelic/ Hippie
In terms of the masking, these symmetric patterns are very difficult to replicate from left to right. I’m not an expert, but I’ve had some success with this approach; you may want to try it on your next finishing job. Buy a few widths of Tamiya masking tape, thin and flexible. Testors also makes a version that you may find useful.
Before doing any painting, stick the tape over the areas – on one side of the body, that you want to remain as the light colour. Take a pencil, pen, or marker and draw as smooth an outline of the perimeter shapes you want to achieve. (Doesn’t need to be perfect at this stage.) Find a piece of Lexan (clear plastic sheet) from a container of some sort. Remove the sections of masking tape that you have scribed from one side of the body. Stick those scribed sections of tape spread out onto the Lexan sheet. On the back of the Lexan sheet, stick new strips of tape to coincide with the ones on the front. I have also used wax paper, instead of Lexan, as the middle layer and it also seems to work well.
Remember, your original scribing did not have to be perfect; now the next step does have to be perfect! Find a sharp large pair of scissors. Carefully cut a smooth line (through the three layers) along the scribe marks you had made while the tape was on the car body. You now have sections of flexible masking tape back-to-back in symmetric mirror images. Save these until later.
You can now start the first stage of painting. Prepare the body with sanding and washes as you see fit. Apply your choice of primer, possibly Tamiya fine grade white, if you intend on using light coloured regions on the body. Do any follow-up smoothing and further preparation; a second coat of primer may be needed. After curing, apply your light colour finish coat. Let cure fully then do any follow-up smoothing.
Now, carefully peal the tape pieces from both sides of the Lexan and place them at the corresponding positions on the car body. Make sure they are stretched properly and that the edges are smooth and tightly adhered to the body. You are ready to start spraying the first coat of your second colour (the darker colour). Mist the dark colour over the taped pattern and the rest of the body. Do the appropriate follow-up spray steps. Let the final coat cure partly but not to a full hard shell. Carefully remove the tape masks after the final paint is dry to the touch, but still has a bit of flex. Do any follow-up refinements. You may want to clear-coat at this stage.
I should mention that I have not yet applied this method to finishing any 1/32’nd scale bodies. ( I used to use it – with limited precision and success as a ten year old kid, on my IMC and MPC 25’th scale LM bodies. ) With new improvements in tape, I’ve used the method more recently on 24’th scale track bodies. The 32’nd scale bodies are 1/3 smaller than 24’th, therefore the compound curvatures will be higher. If I encounter an adhesion or wrinkle problem with the mask due to increased surface curvature, I intend to use a band of the narrowest masking tape ( a couple of mm wide) and stretch it around the perimeter to smooth out any problem areas.
This method is not limited to making mirrored shapes between left and right sides of the body. It can be applied to central shapes that need to be symmetric, such as waterfalls patterns. Scribe your pattern near the centre on one side of the body, mark an axis of symmetry, remove the scribed mask from the body, place your line of symmetry along the straight edge of your Lexan sheet, then wrap your scribed masking tape around the front and back of the Lexan. You are now ready to move to the smooth cutting step. You will end up with a mask that is symmetric but is this time, a single pattern to be applied along the centreline of the body.
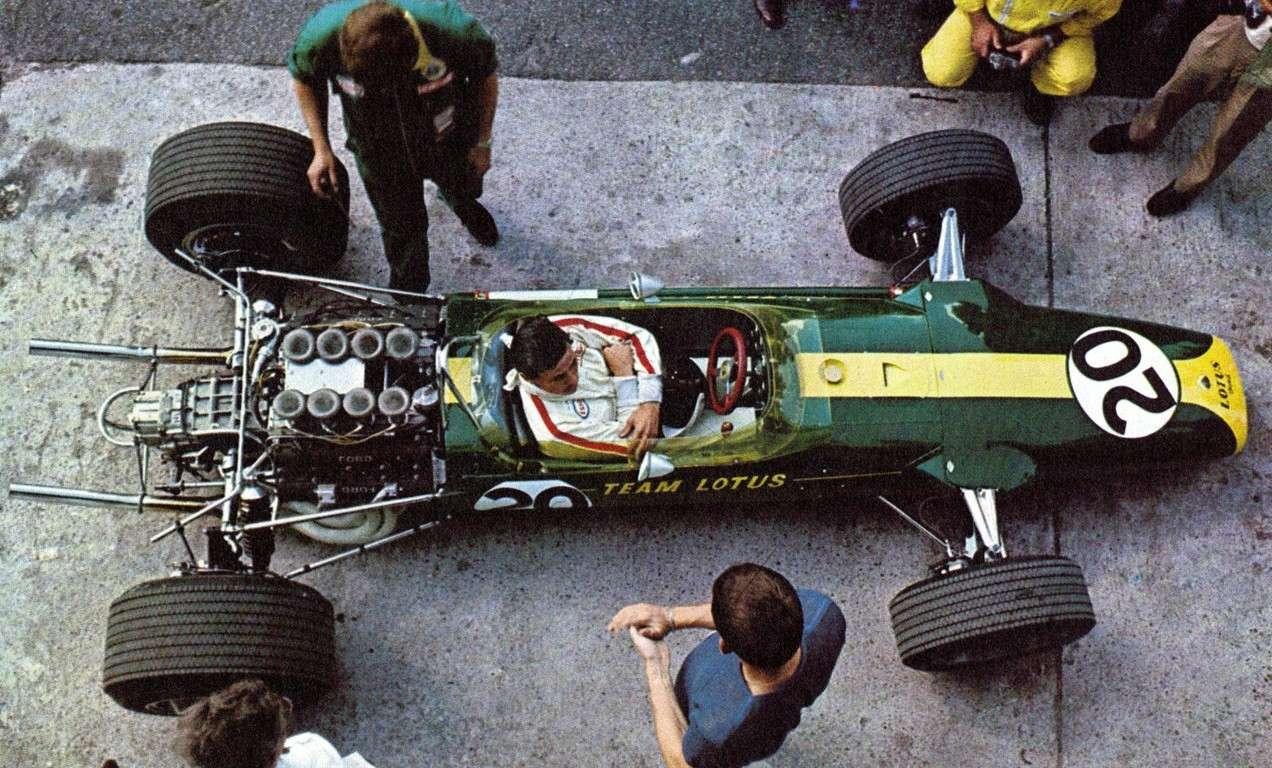
Lotus 49, Ford/Cosworth; Team Lotus. Jim Clark, pole sitter of 1967 Italian Grand Prix, fell to 3’rd due to a faulty fuel pump on the last lap.
Hope this works well for you; I’m no expert. You should be able to improve on the method.
Felix.
I used to be one of the sharpest tools in the shed; now I’m just a slot-head !
