• This topic has 9 replies, 3 voices, and was last updated 4 years ago by Avatar photoKen.
  • Creator
    Topic
  • #12581
    Avatar photoKen

      I painted this car last July. The body should be safe to handle by now.

      Someone suggested I expand my build threads so others can learn how to duplicate my mistakes. Careful what you wish for.


      I measured the wheelbase and mapped out the chassis. Then I installed axle spacers on all 4-corners to help figure out the track width as well as center the chassis to the body when I glue in the body posts. I will remove the rear axle spacers after cutting the axles to length on final assembly. The front axle spacers remain in place to keep the independent wheels centered.

      5mm spacing per corner was just right for this combination of parts. The chassis lays down nicely in the body.

      The tires are touching the inside of the top of the fenders at this point. But avoid the sides of the fenders. The build is self-slamming.

      I used to scratch my head on how to figure out the length of the posts. Toothpicks are a handy measuring device.

      I’m looking forward to seeing this car run. This will be the lowest car I’ve ever built. If this car runs half as good as the RS61? It will be a blast to drive! :yahoo:

    Viewing 8 reply threads
    • Author
      Replies
      • #12582

        Thank You Ken for sharing your knowledge, big help for those new in the hobby (I am not mentioning names).

        It looks very nice, it might be fast, not faster than a Smart Car I have seen around the tracks though

      • #12583
        Avatar photoKen

          Once you’ve figured out the track width. There is a simple and effective way to measure how much axle to cut. Calipers are usually ground flush at the end as a third measuring device beyond the obvious ones on the front.

          Extend the rod more than the axle sticks out beyond the wheel.

          Then slide the caliper closed until the end bottoms out on the axle with the rod touching the wheel.

          There’s the exact length of how much to cut off this specific axle. I check it several times to make sure.

          Then take the axle out. Install it in a drill. Take a magic marker, spin the drill and mark the axle close to the general area where it’s going to be cut. Make sure to not to be shy with the marker.

          Then take the calipers with the measurement pre-set and locked. Touch one end of the calipers to the end of the axle and scribe a thin line through the magic marker line with the other side of the calipers. There’s your cutting line.

          The axle is ready and marked to be cut. Spin it in the drill while using a Dremel cut-off disk close to the line. The rest is basically Dremel cutting skills. Practice, practice, practice.

          Chassis’s with independent front wheels have the axle sticking out one side. Chassis’s without indepedents, and all rear axles require measuring both sides of the axle. Add the numbers to find out how much in total to cut off. No need to center the axles when doing a mock-assembly.

        • #12584

          Very useful instructional pictures and guide lines

          Thank You, there is no excuse now not to be faster than Chuck Nurris

        • #12634

          Looks good so far! :good:

          The Happy Canadian Scale Modeler!

        • #12642
          Avatar photoKen

            There are 9 pieces to chrome on this car. Makes it pop nicely against a blue body.

            The head light bezels were set on a toothpick to chrome the rim and leave the inside white to help the head lights sparkle a bit more. I have not had much luck painting or chroming the inside of the lenses.

            Toothpicks did a good job to hold the gas caps down while using the Molotow chrome pen. You can’t get the sides of the part without chroming the paper underneath. Nice, shiny paper afterwards. Self-clamping tweezers from the local dollar-store held the rear-view mirror and got some extra chrome.

            Self-clamping tweezers did a nice job holding the grills too.

            Everything was test-fitted prior to chroming.

            Interior is next before setting the final body height.

          • #12644
            Avatar photoKen

              A simple way to hold wheel inserts to either spray, or paint by brush is to reverse tape a long, thin, craft stick. Easy to peel off after they dry.

            • #12658
              Avatar photoKen

                My original inspiration for this build was the Carrera Panamericana. That created a need to research the 550 Spyder in great detail. There were 15 prototypes created by Porsche before the car offically went into production.

                Every prototype went through many changes. Full colour changes. Fog lamps or turn signals were either added or deleted. Front air scoops were cut out of the front end. Etc…

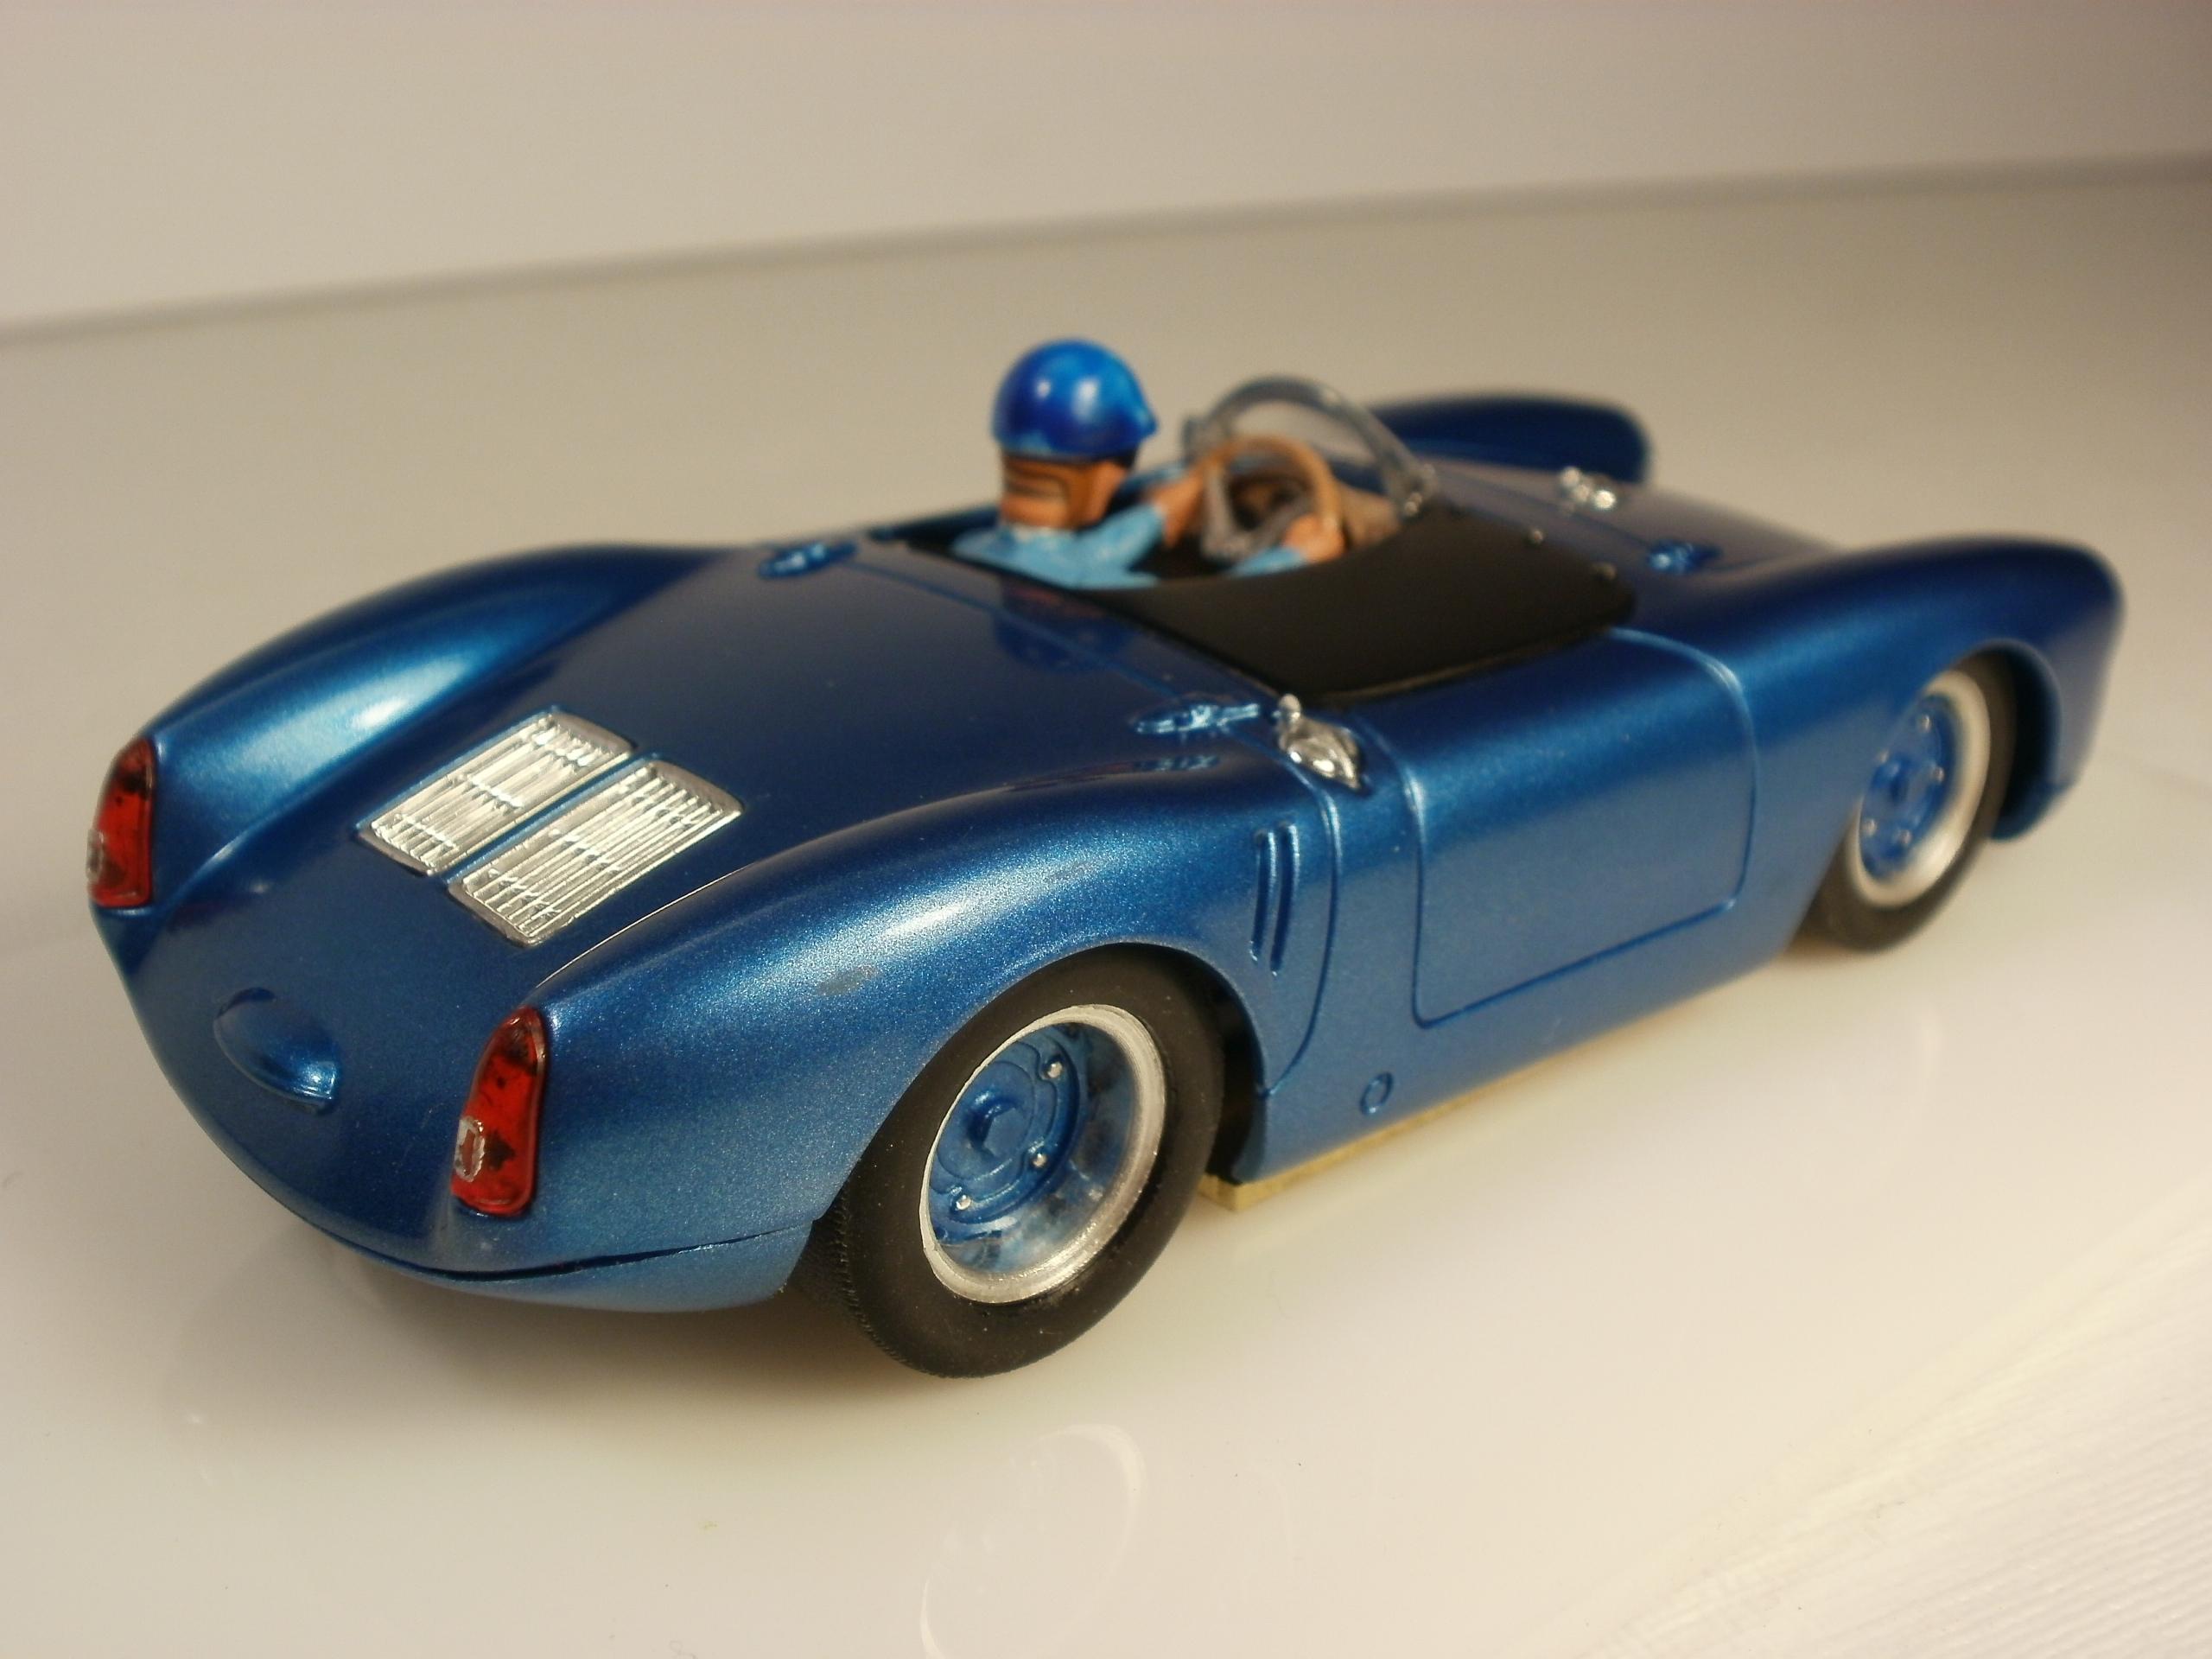
                The first few 550’s could be converted from a coupe, spyder, or high-back spyder with a few bolt-on body parts. As each model was built. New things were added such as the one-piece rear bonnet that exposes the entire engine-bay by opening 2-straps.

                The D’Art Porsche 550 Spyder slot car kit is simular to serial number 550-13. It would simply not be profitable to make all the variations of prototypes.

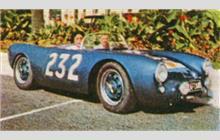
                That being said. I found record of a Porsche 550 that raced in the 1953 Carrera Panamericana without a specific photo. It’s a sister car to Art’s blue 550. RacingSportsCars had a photo of an early Porsche 550 that was also blue in colour. With that information I started the build. Here is a photo of the car.

                Here’s what I created with the D’Art Porsche 550 Spyder body kit.

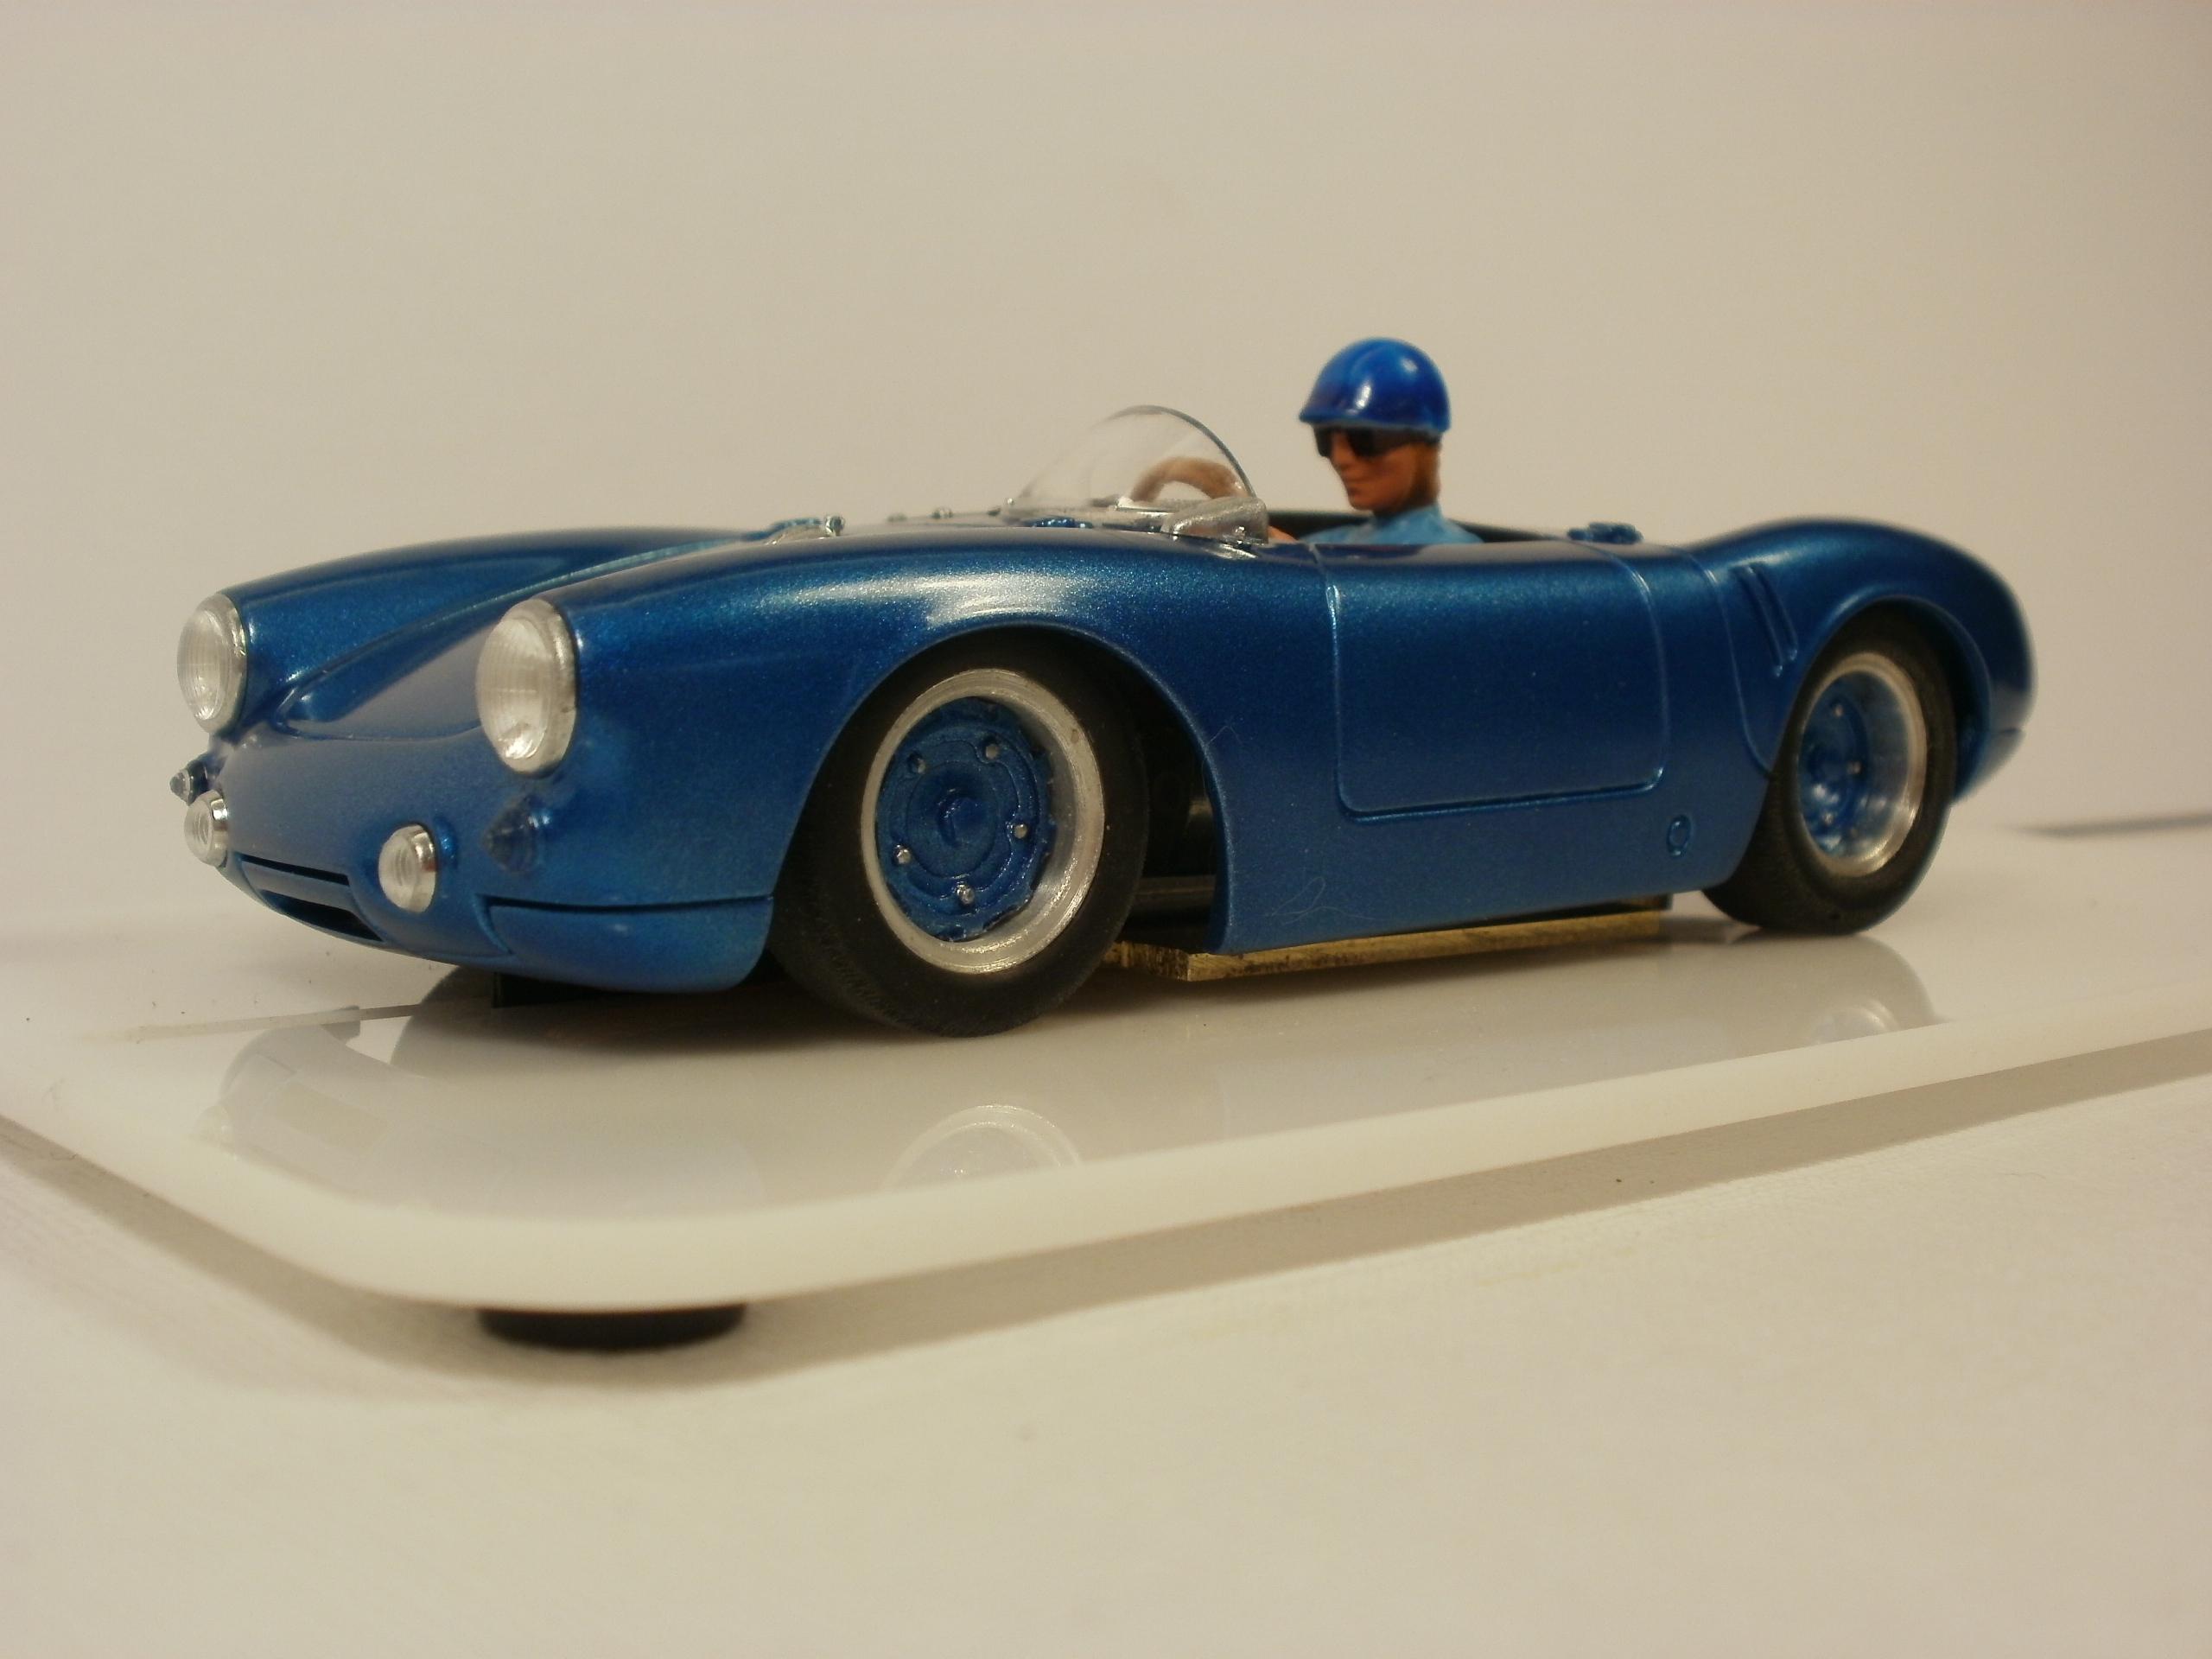
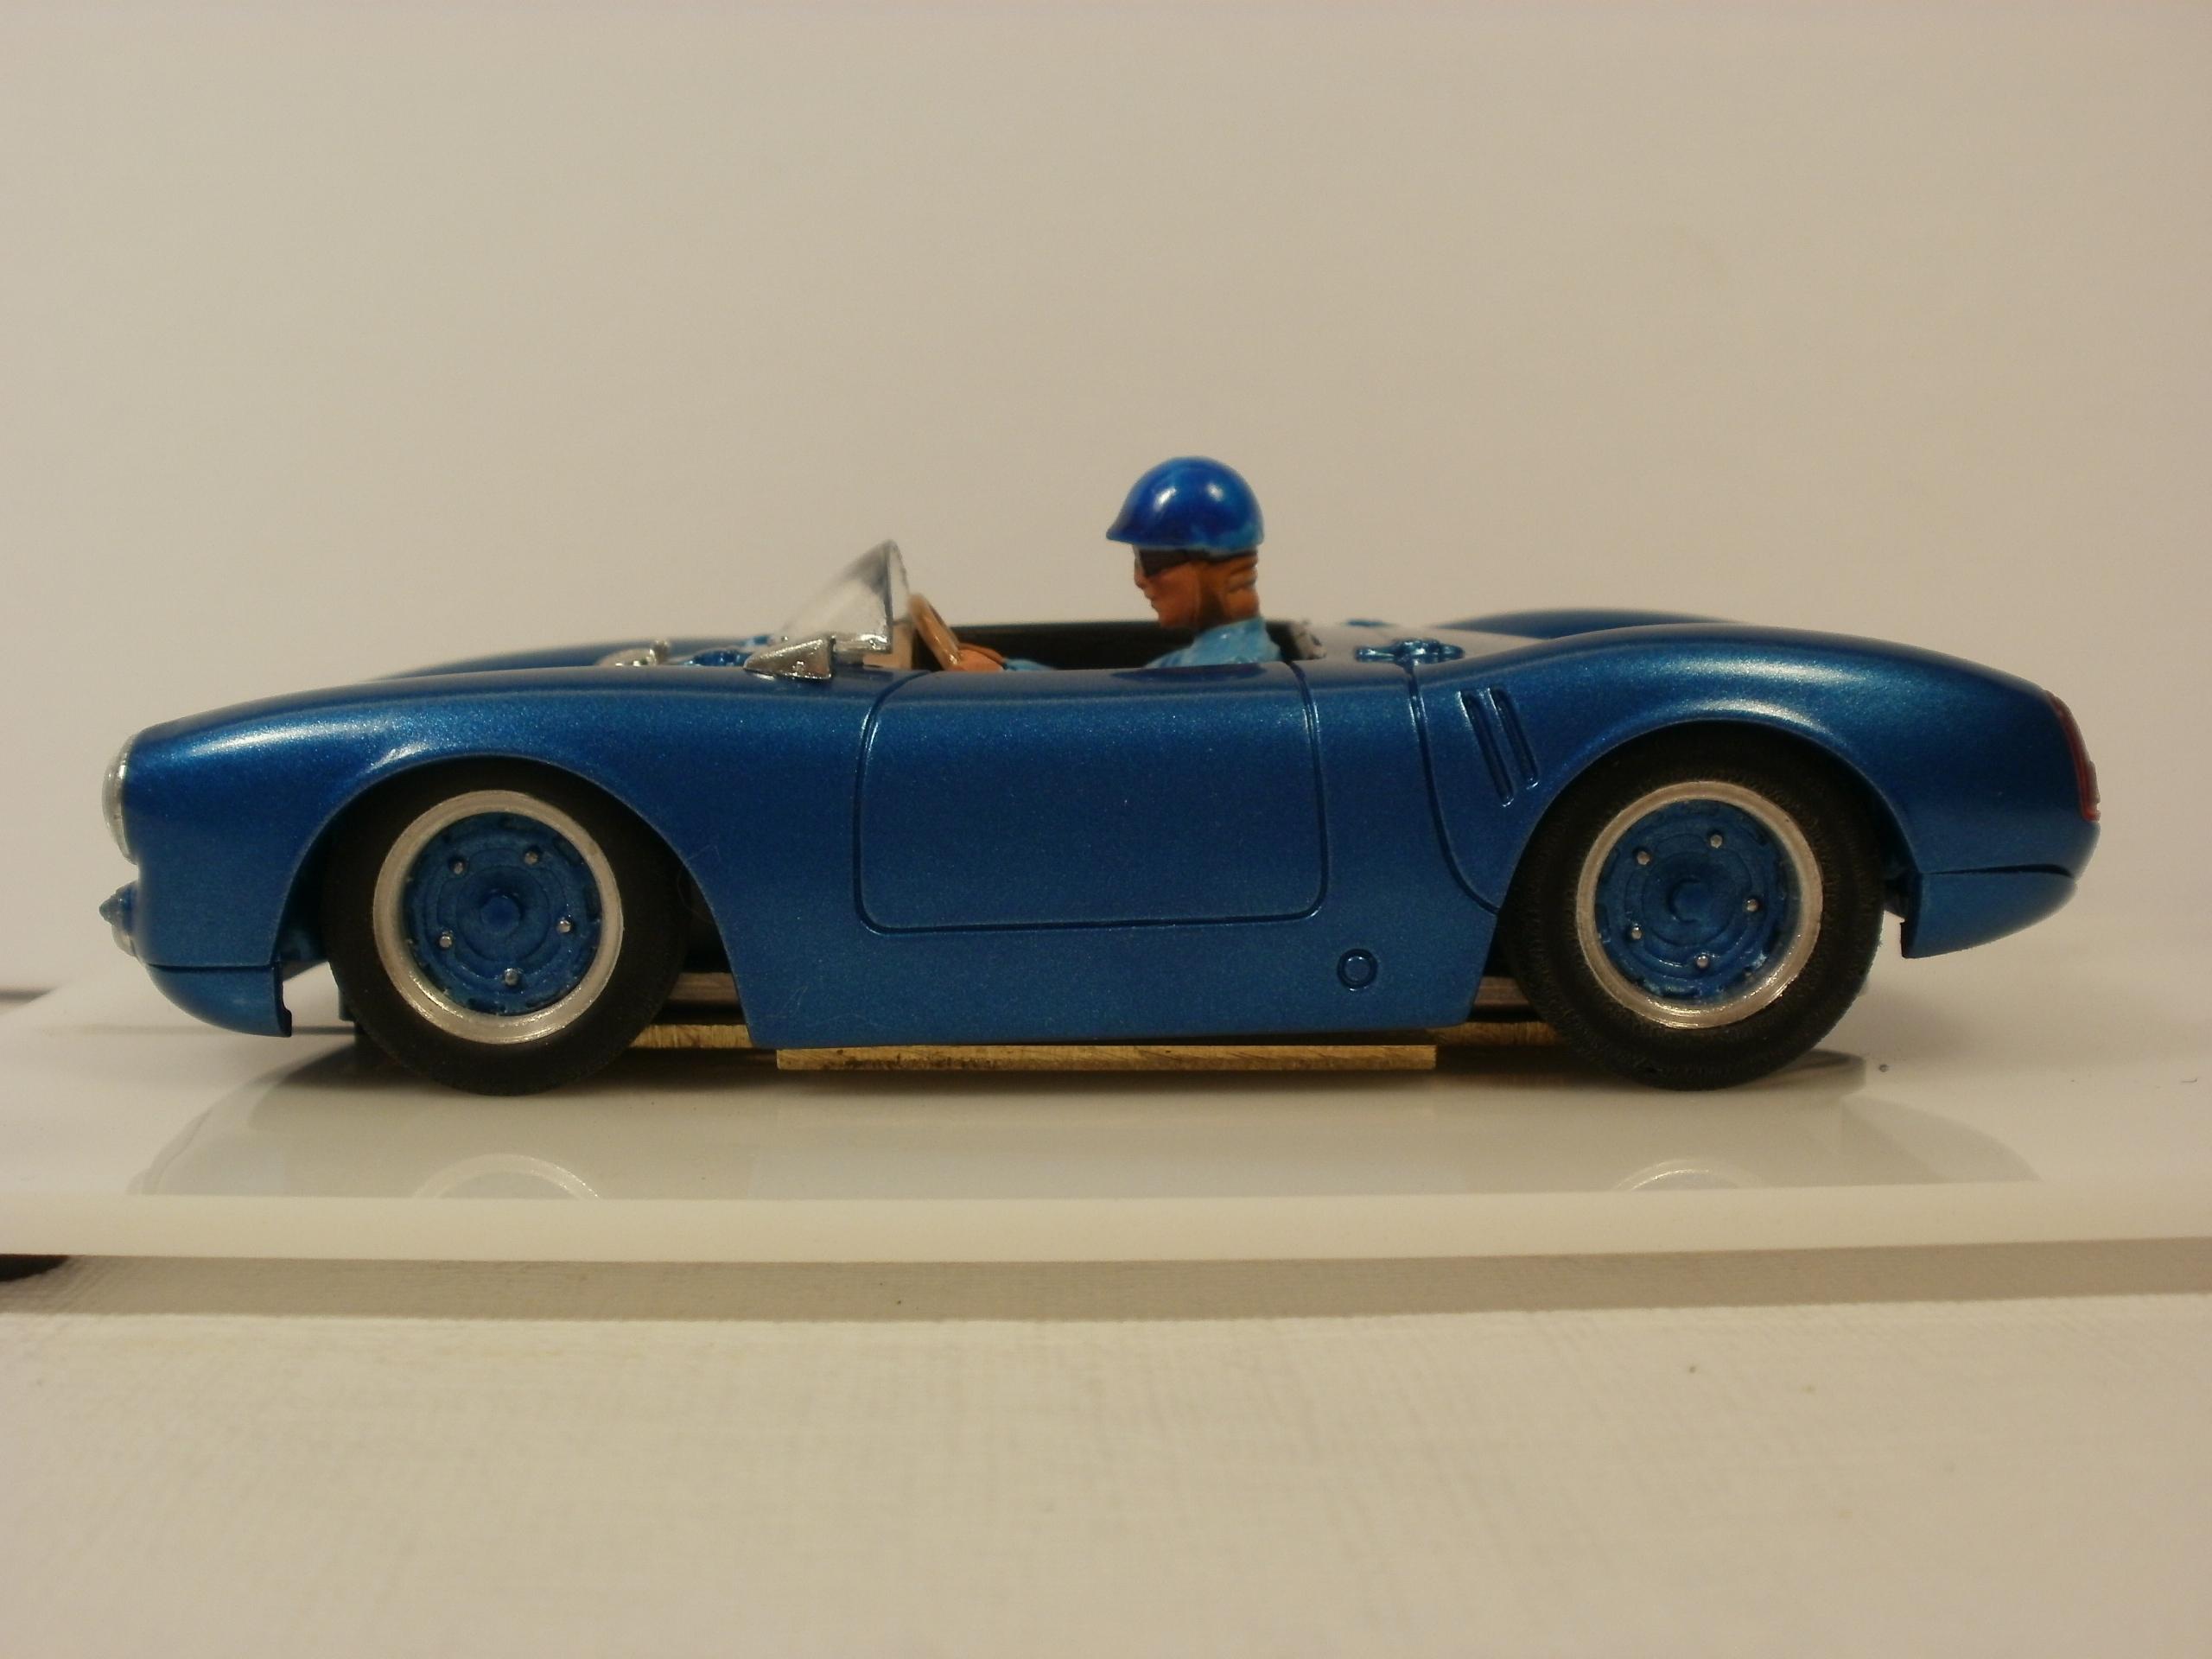
                The car still needs the leather straps painted (helmet repainted), numbers installed, licence plate printed, livery decals, etc… This will be my interpretation of the Porsche 550 Spyder #159 driven by Karl Kling of Germany that raced in 1953. The colour detail only indicated that the car was “light”. This is Tamiya “light metallic blue”. Anything but silver… please!

                This D’Art Porsche 550 Spyder has a Slot-It 22.5k flat-6R and weighs 104.1-grams. It’s a little German tank that goes very fast!

              • #12659
                Avatar photoKen

                  I forgot to mention one of the reasons these cars got modified so often. The car weighed just over 1,200 pounds and had 200-horsepower. For lack of better terms, it had bicycle tires. Going sideways with the rear tires spinning out of control was apparently normal driving back then. A short wheelbase is a formula for a lot of accidents. If the Porsche factory had a slightly different front end clip in stock? That’s what you got. And you were likely happy it was in stock.

                • #12723
                  Avatar photoKen

                    Unfortunately this blue colour won’t qualify for the Carrera. The learning curve continues. I was about to plaster it with Carrera banners, licence plate, and livery. Now it will stay clean.

                    This is the most intricate and creative weight I’ve ever made. It’s getting hard to find new places to add weight to a small, aluminum chassis.

                Viewing 8 reply threads
                • You must be logged in to reply to this topic.