
Forum Replies Created
-
AuthorReplies
-
Thanks Mike.
The body is very light at only 17-grams. I thought this would end up a light car. That means the bare chassis weighs 70-grams! I know the aluminum isn’t the culprit. A rear wheel fell off the workbench after truing the tire. I should have suspected something when it left a dent in the floor.
While the BWA-450 wheels look amazing on the rear and very close to the scale of the real car. I may not have needed to go that wide for a slot car. The big wheels and tires may only hold the car back in a drag race. I don’t think the Fox-10 will spin these tires. I have a feeling the rear tires won’t slide easily. The car may stick or just roll over. Art made an adjustment to the Lola tires for me and the car performed twice as good as it did 5-minutes earlier. I have much to learn about tire/wheel science yet.
I had no idea how the Tudor would run until it touched the track. I have no clue how this car will perform. Not sure what weapon this will be other than a very heavy rock. I still need to add weight to the front end. Time will tell.
I also need to choose a colour. Anything but red. My humble apologies to Enzo.
Ken
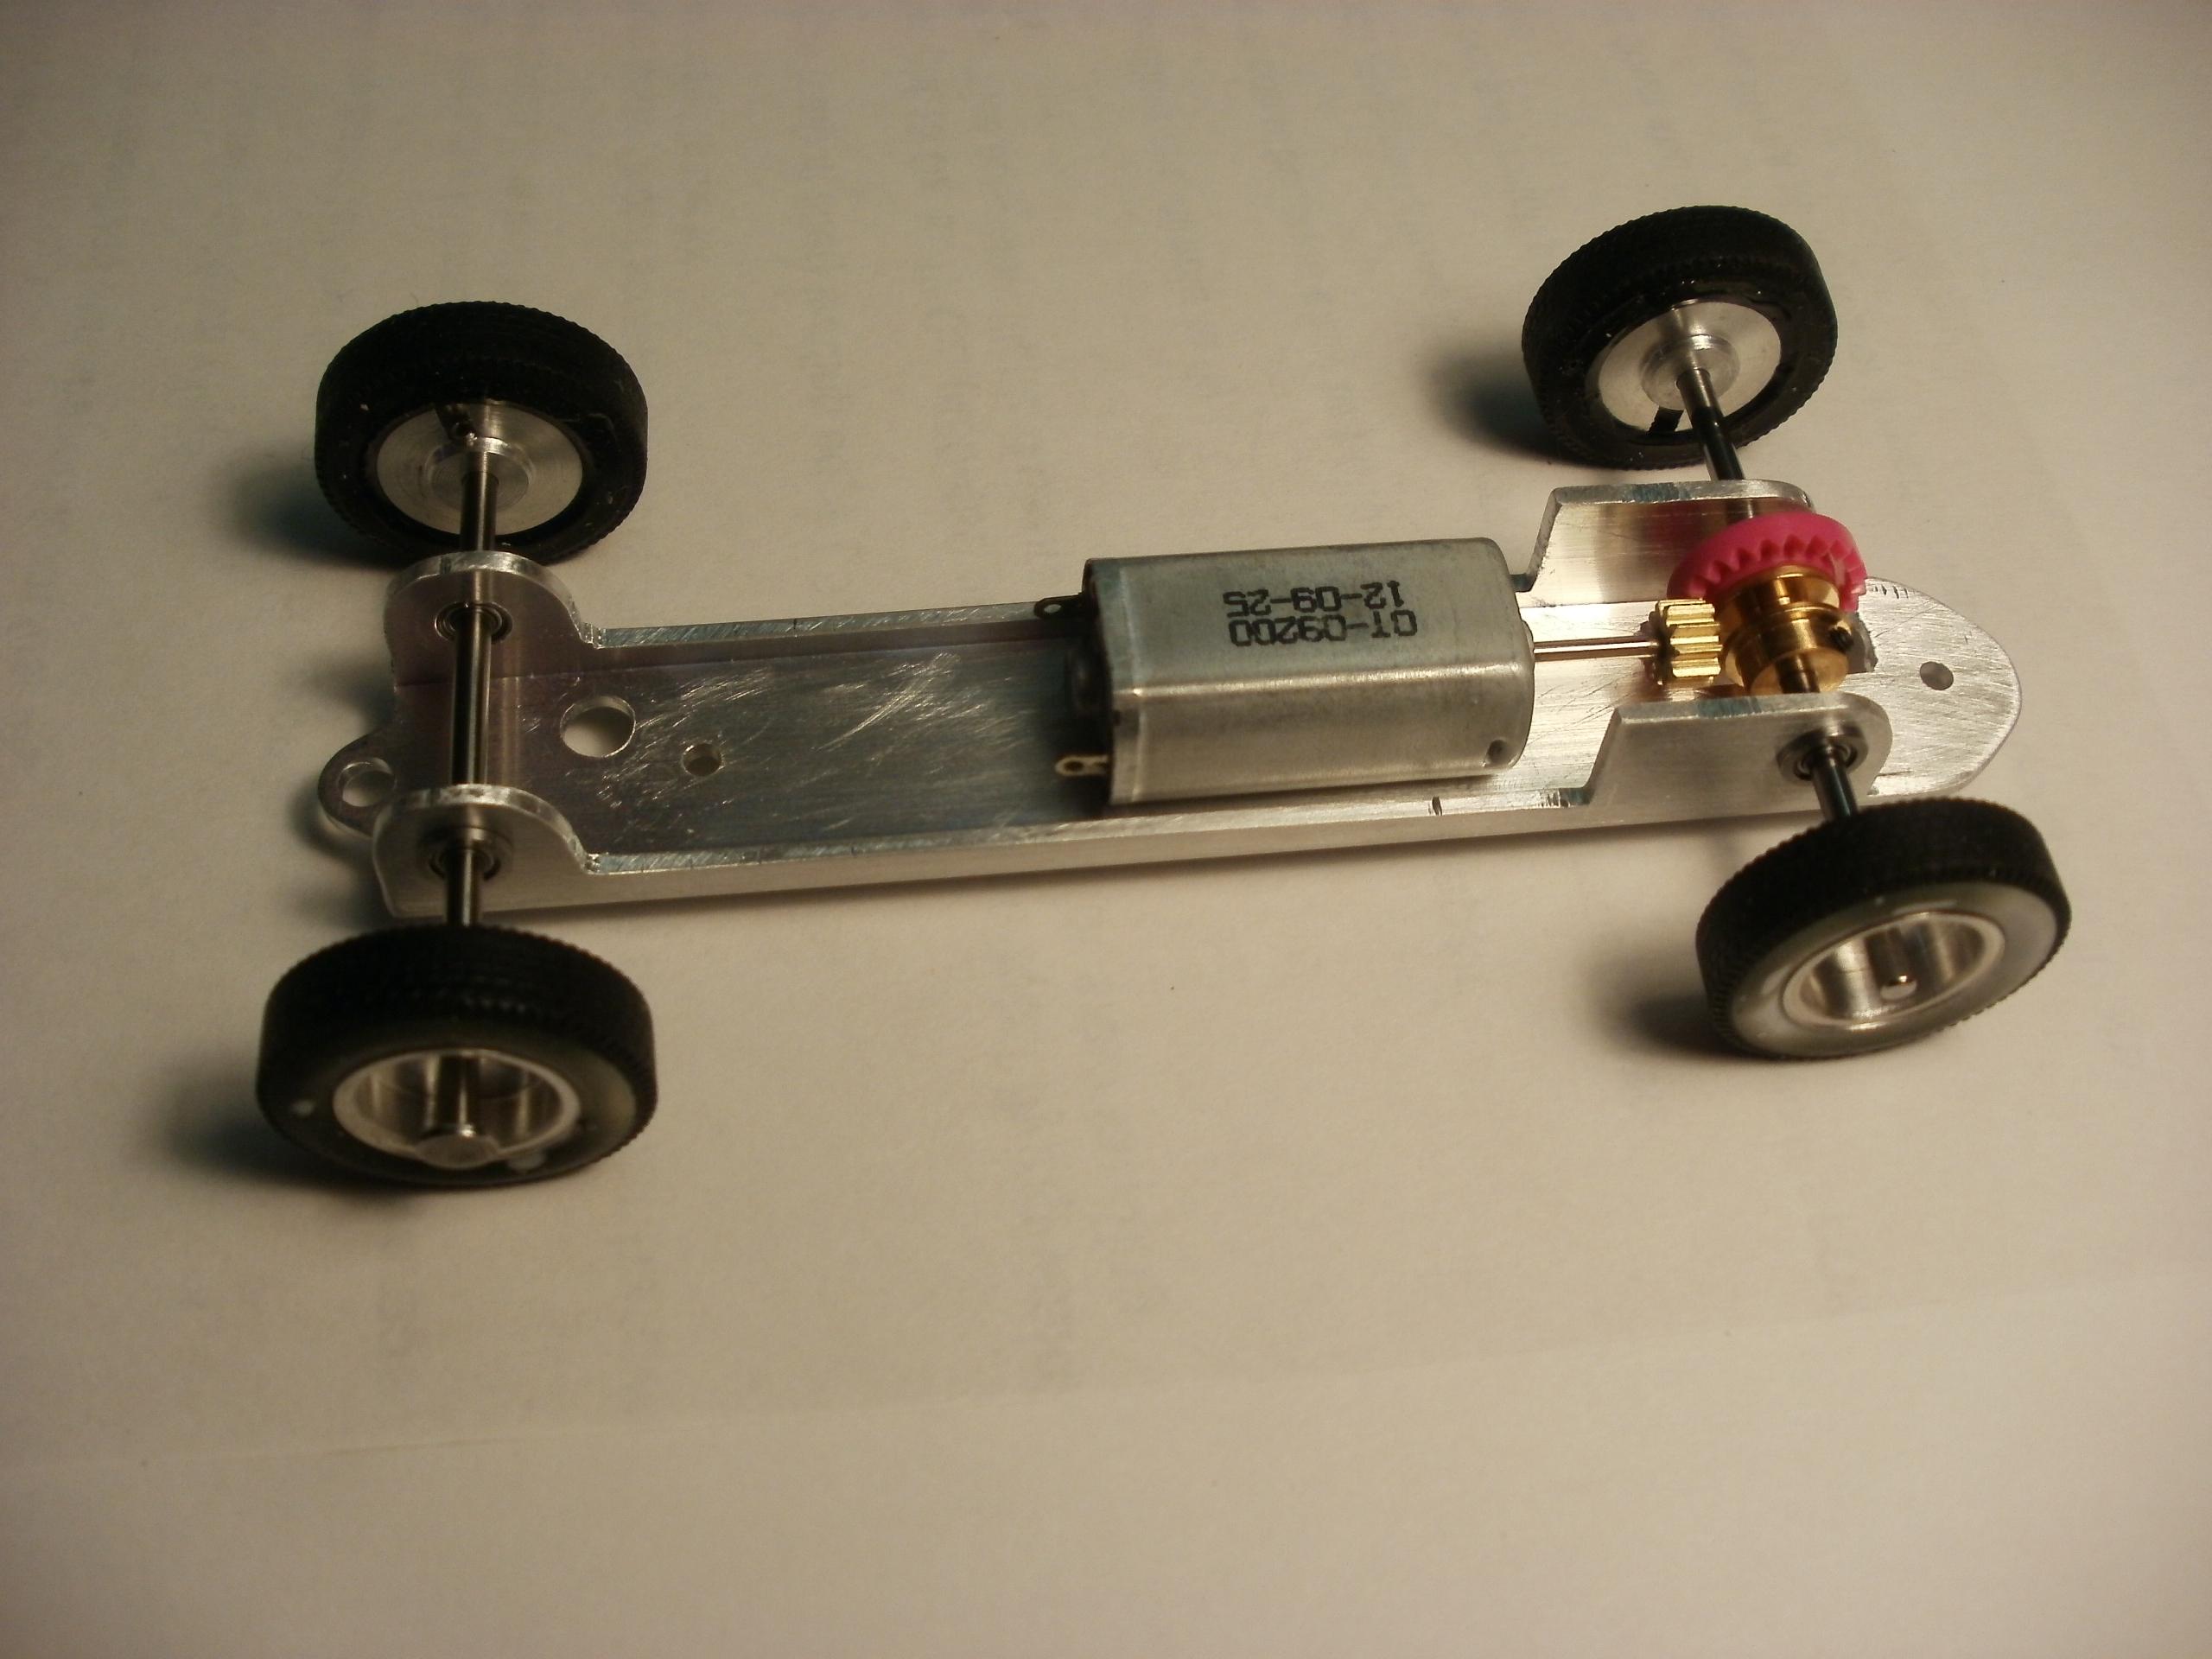
My platform for this build is Art’s Lola T70 MkII. The Lola has a gear ratio of 3.27. This is 3.33 with a 9/30 pinion to crown. I feel sorry for the crown gear. It’s going to take a serious beating behind the Fox-10. Thanks for looking. Ken.
Chassis sits 2.5 mm above the tech block. Any lower and the body screws become a danger. It’s time for paint. More pics to come when it’s painted.
It weighs 87 grams without the window or interior.
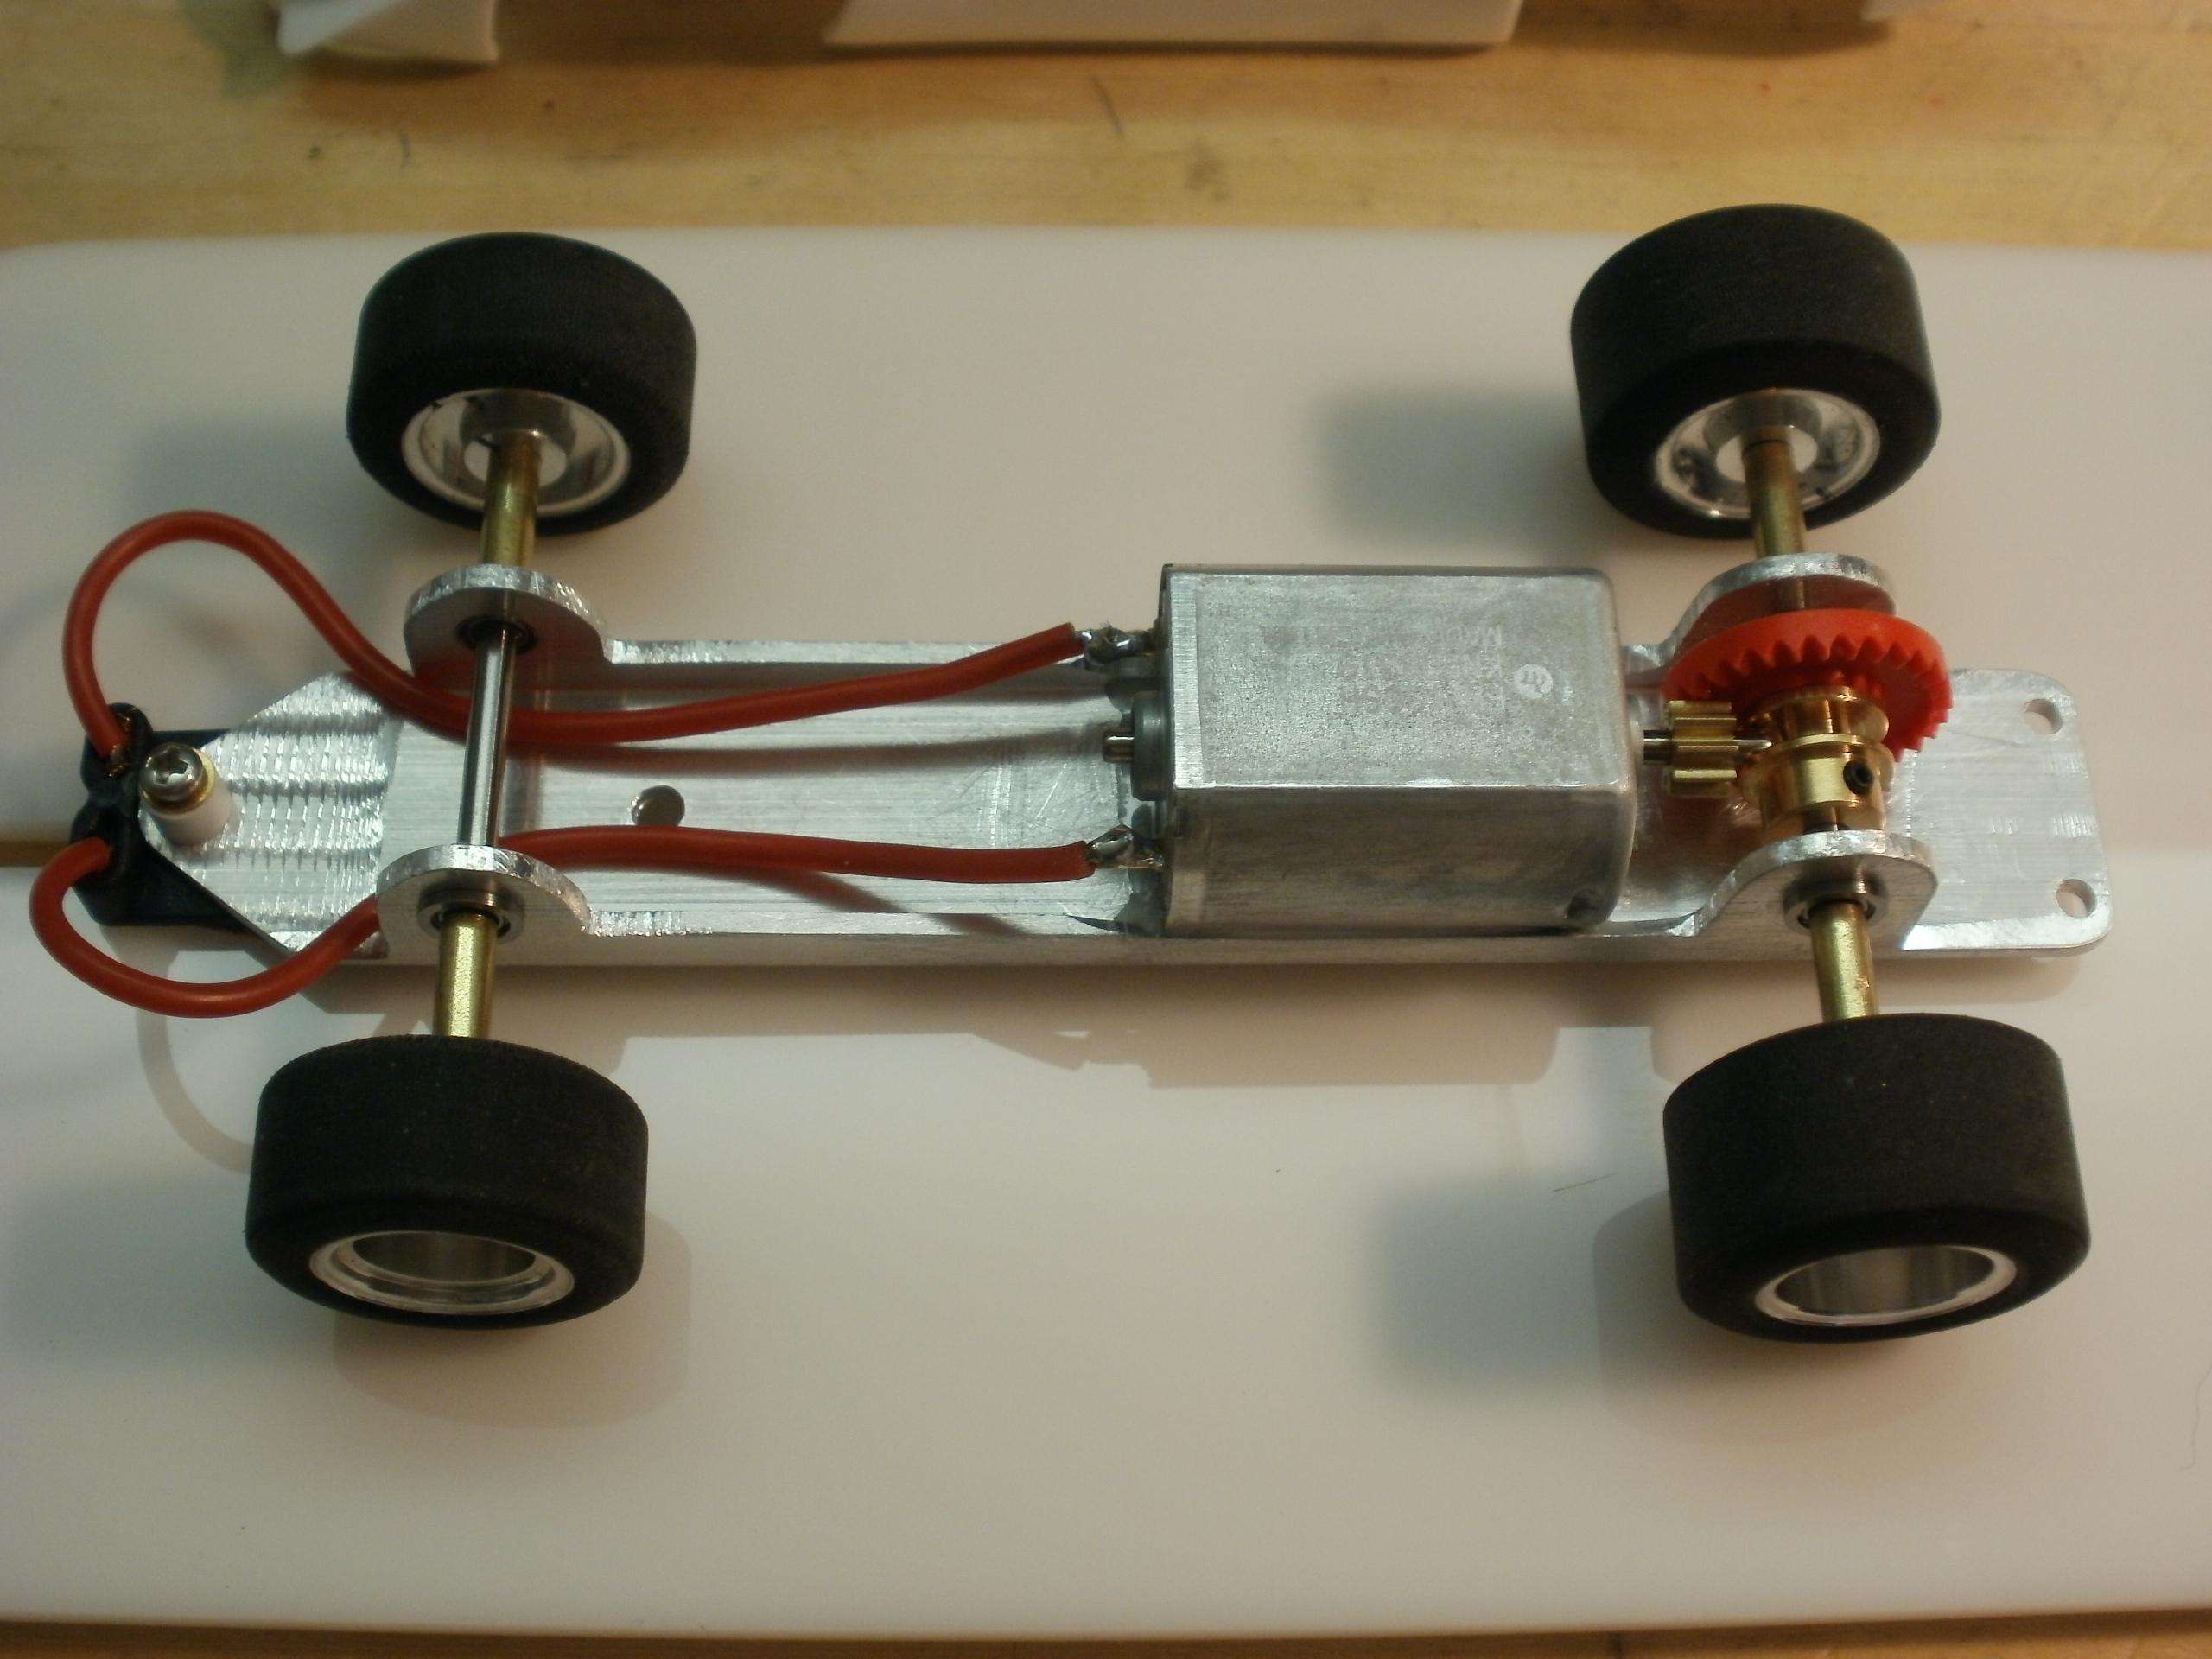
Body/chassis bottom view.
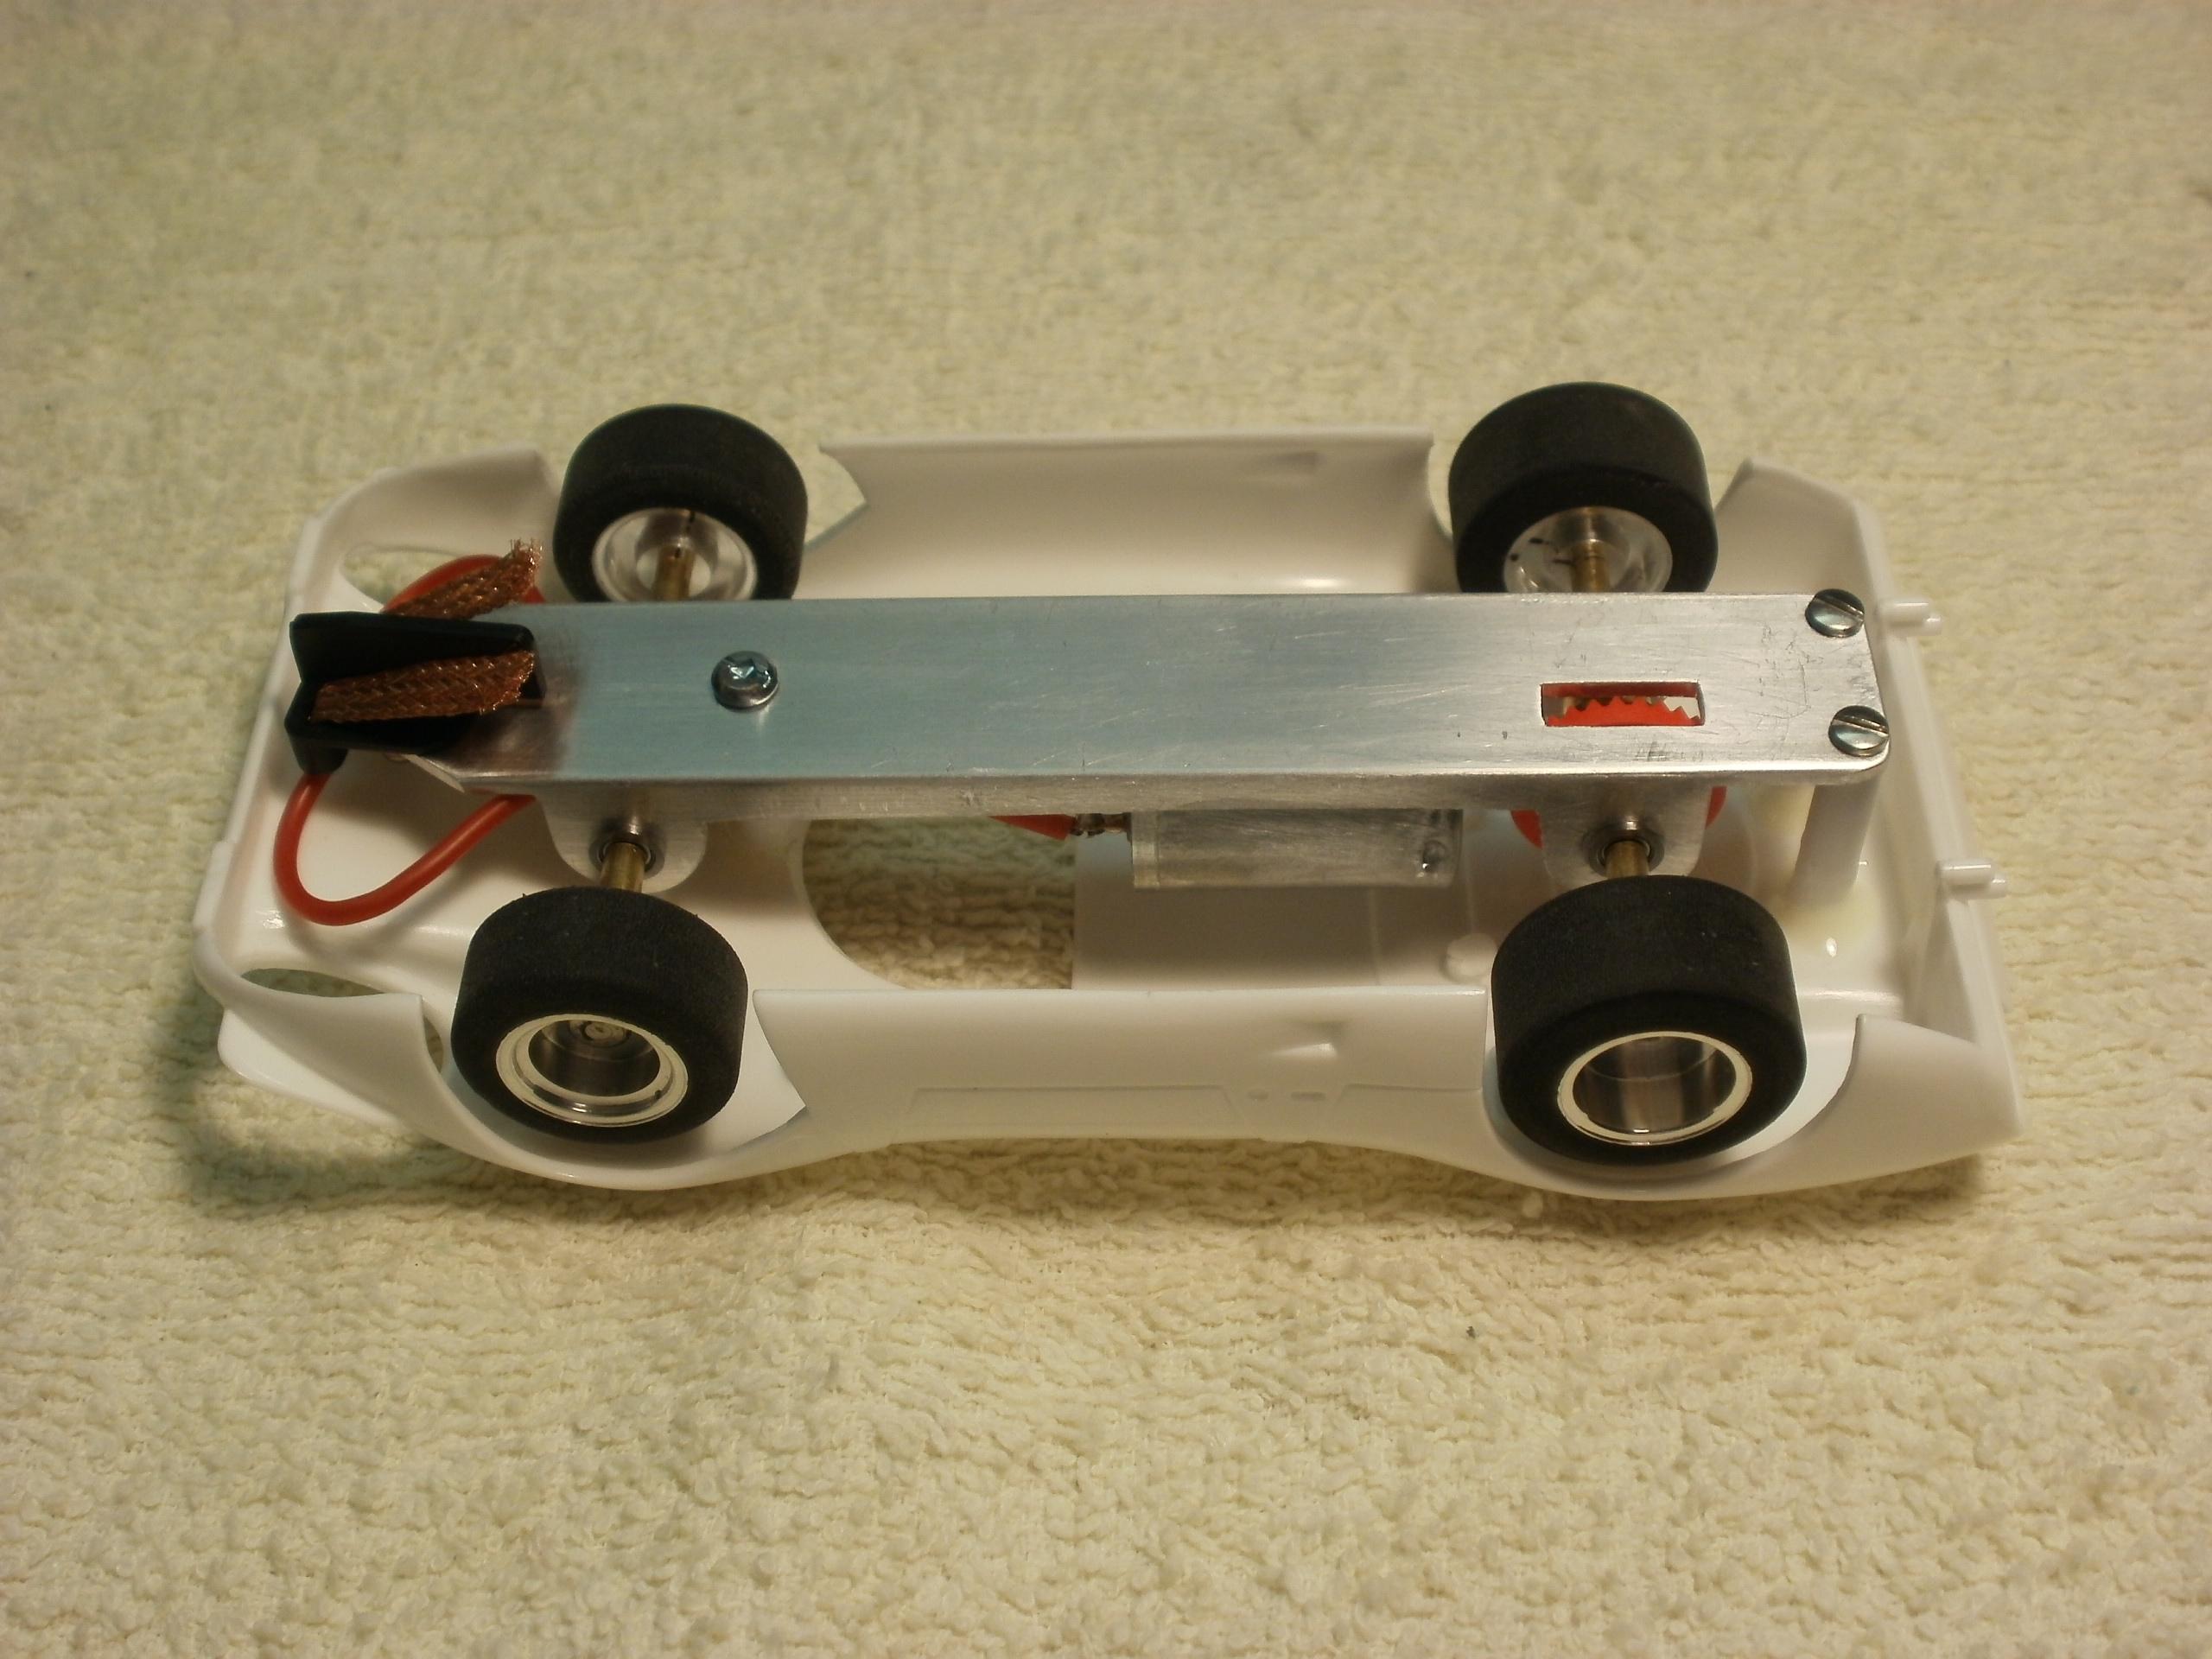
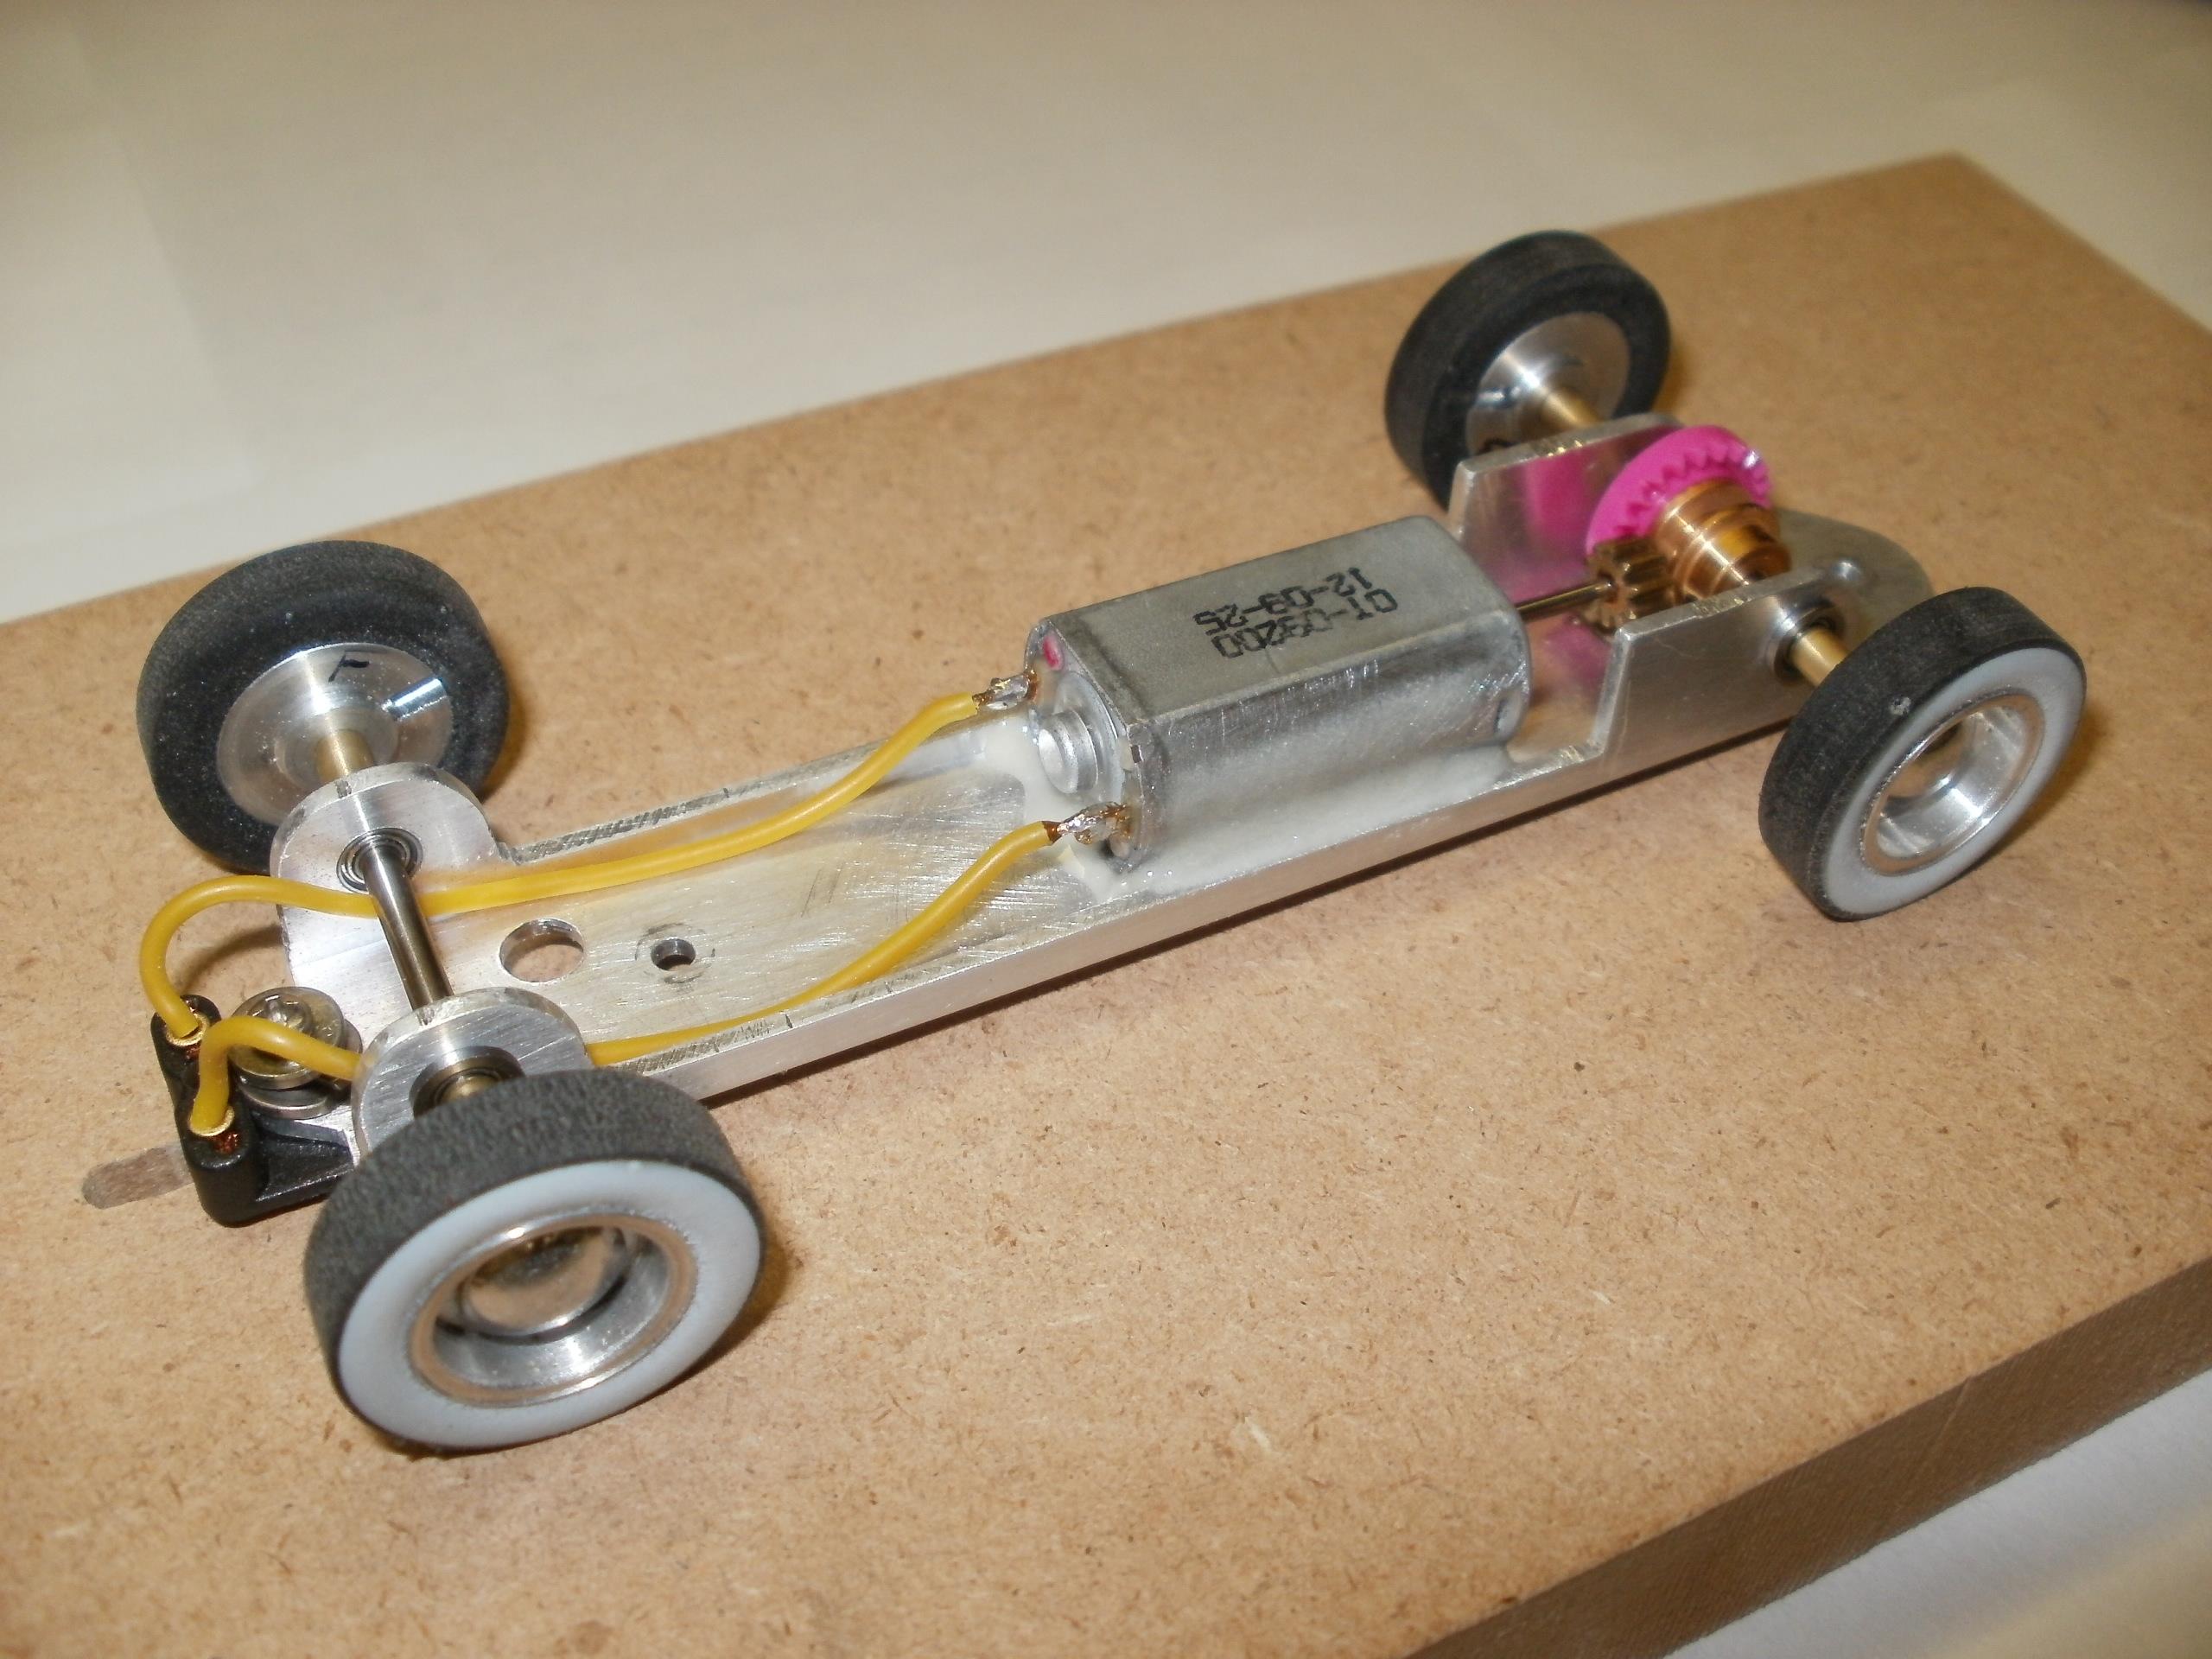
Wired and ready to run. Epoxy holds the motor in place.
Motor fits nicely now. Body post holes have been located and drilled.
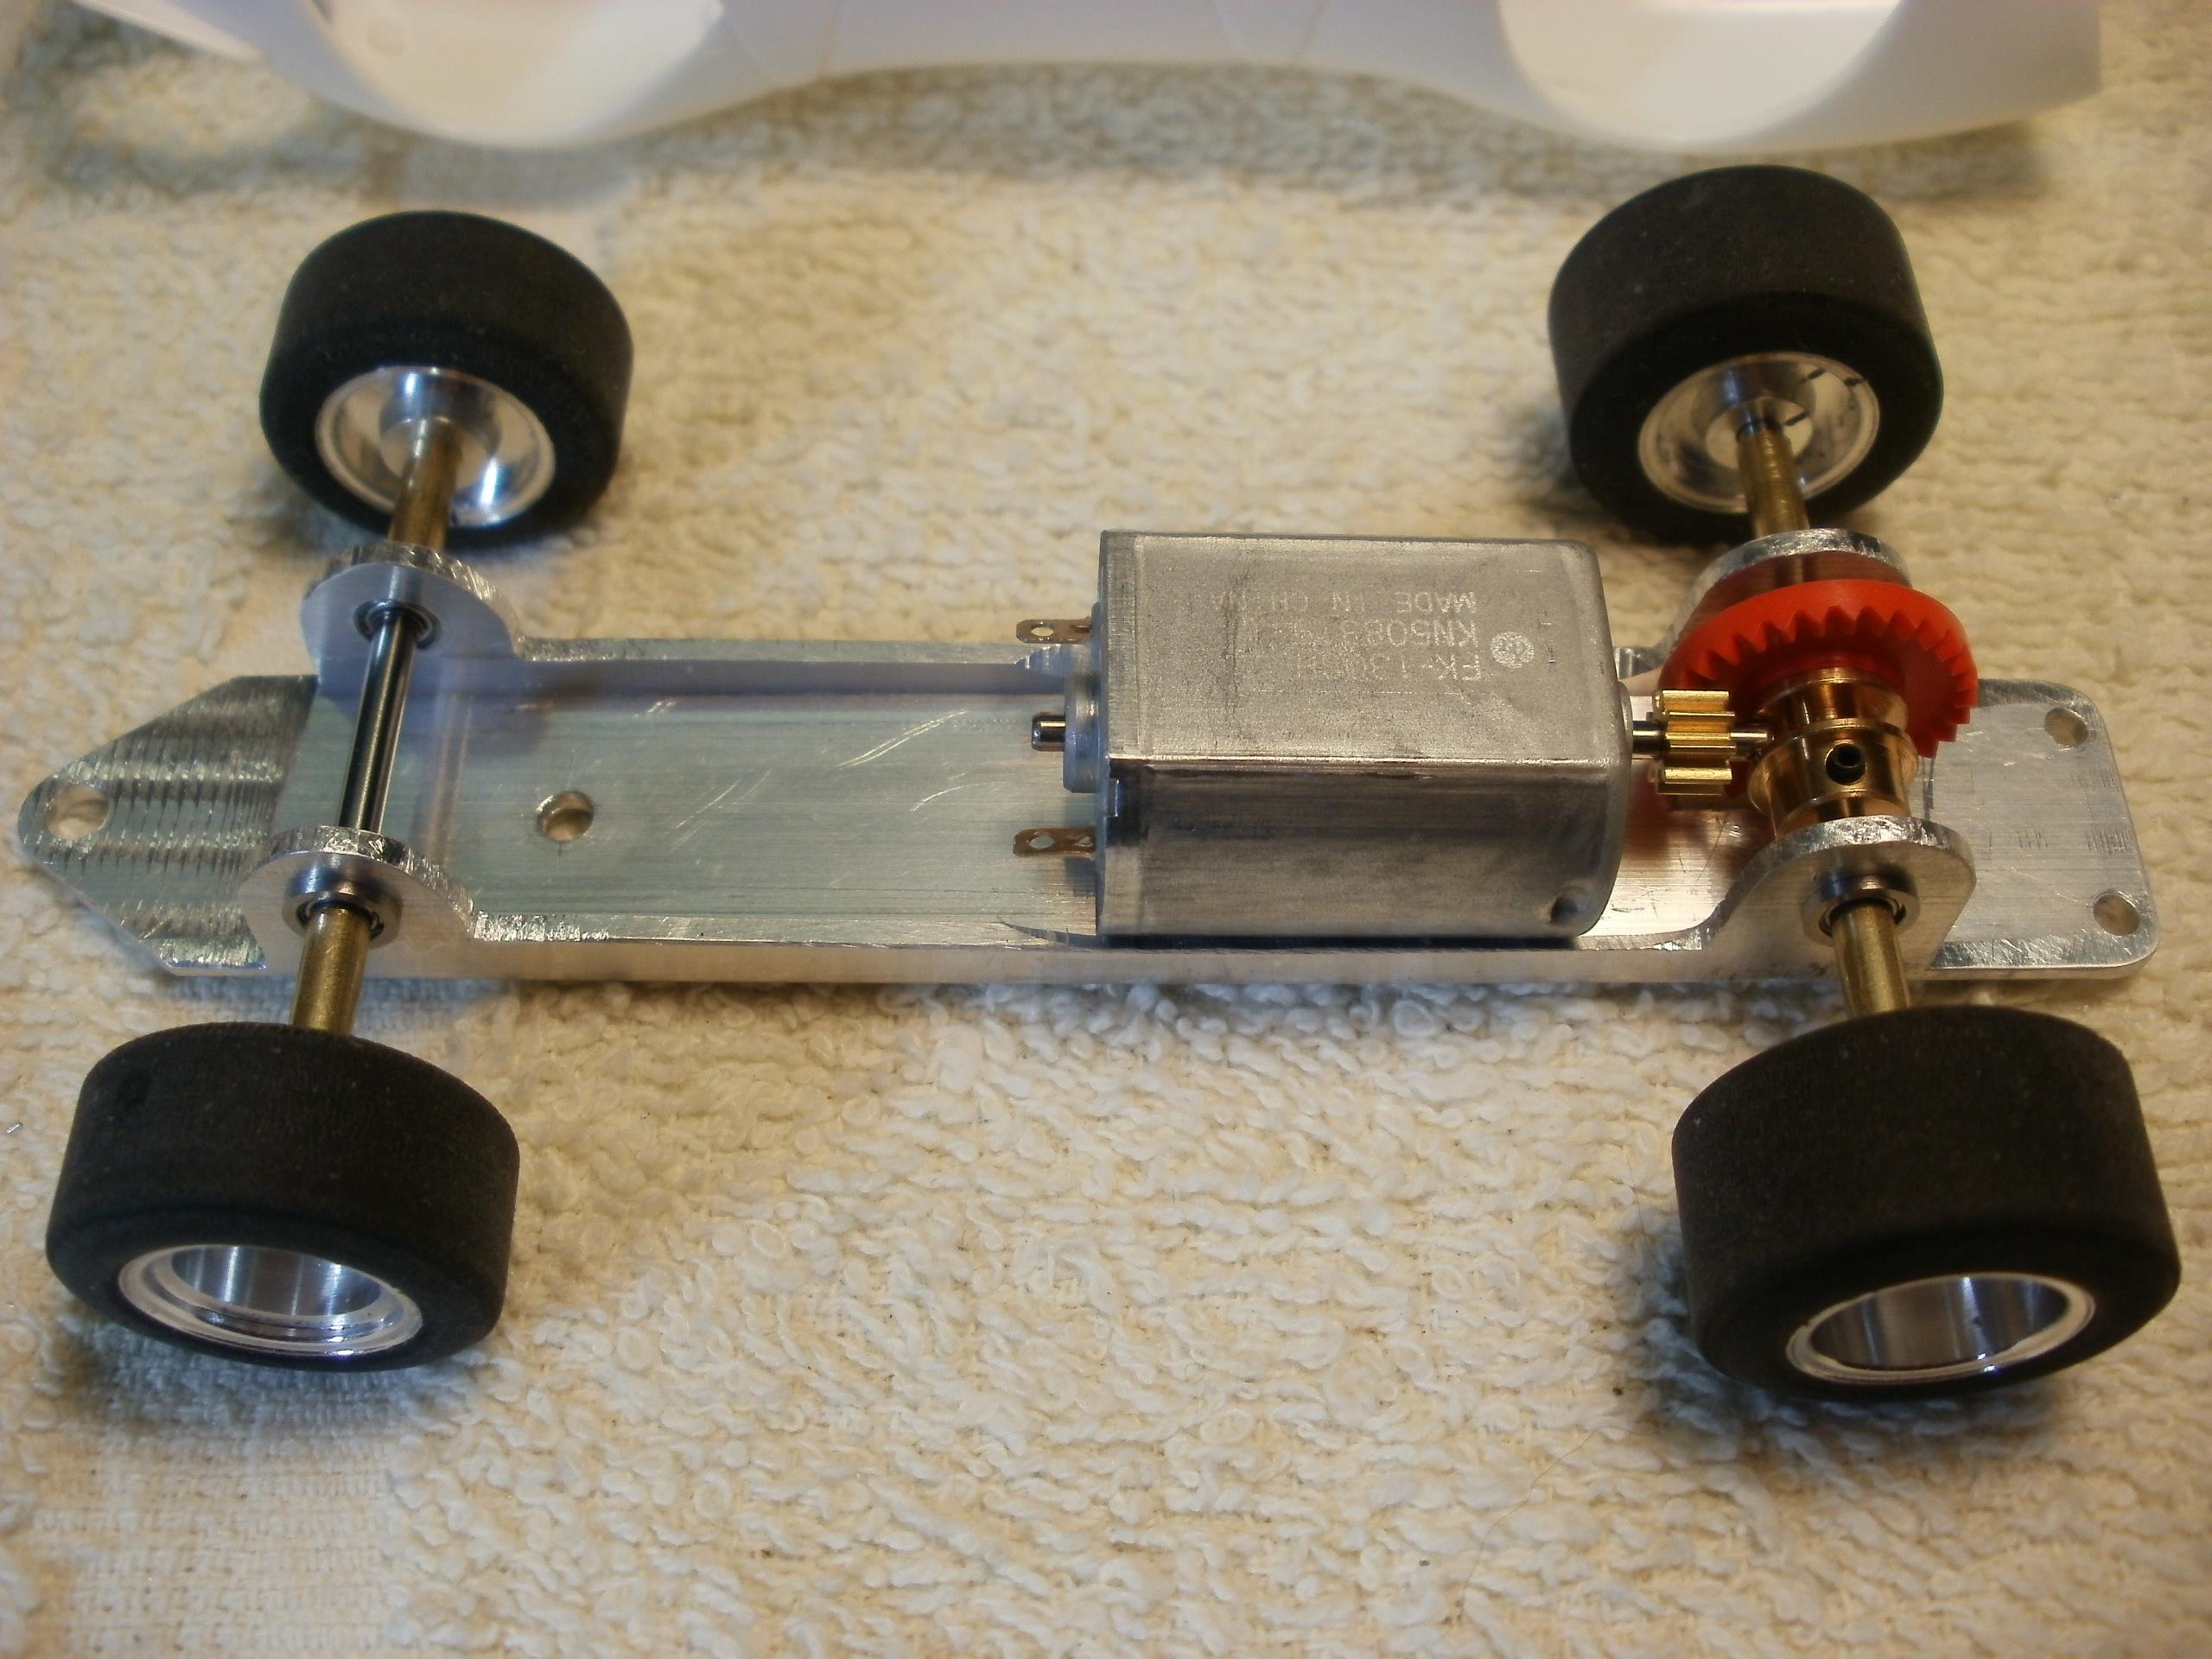
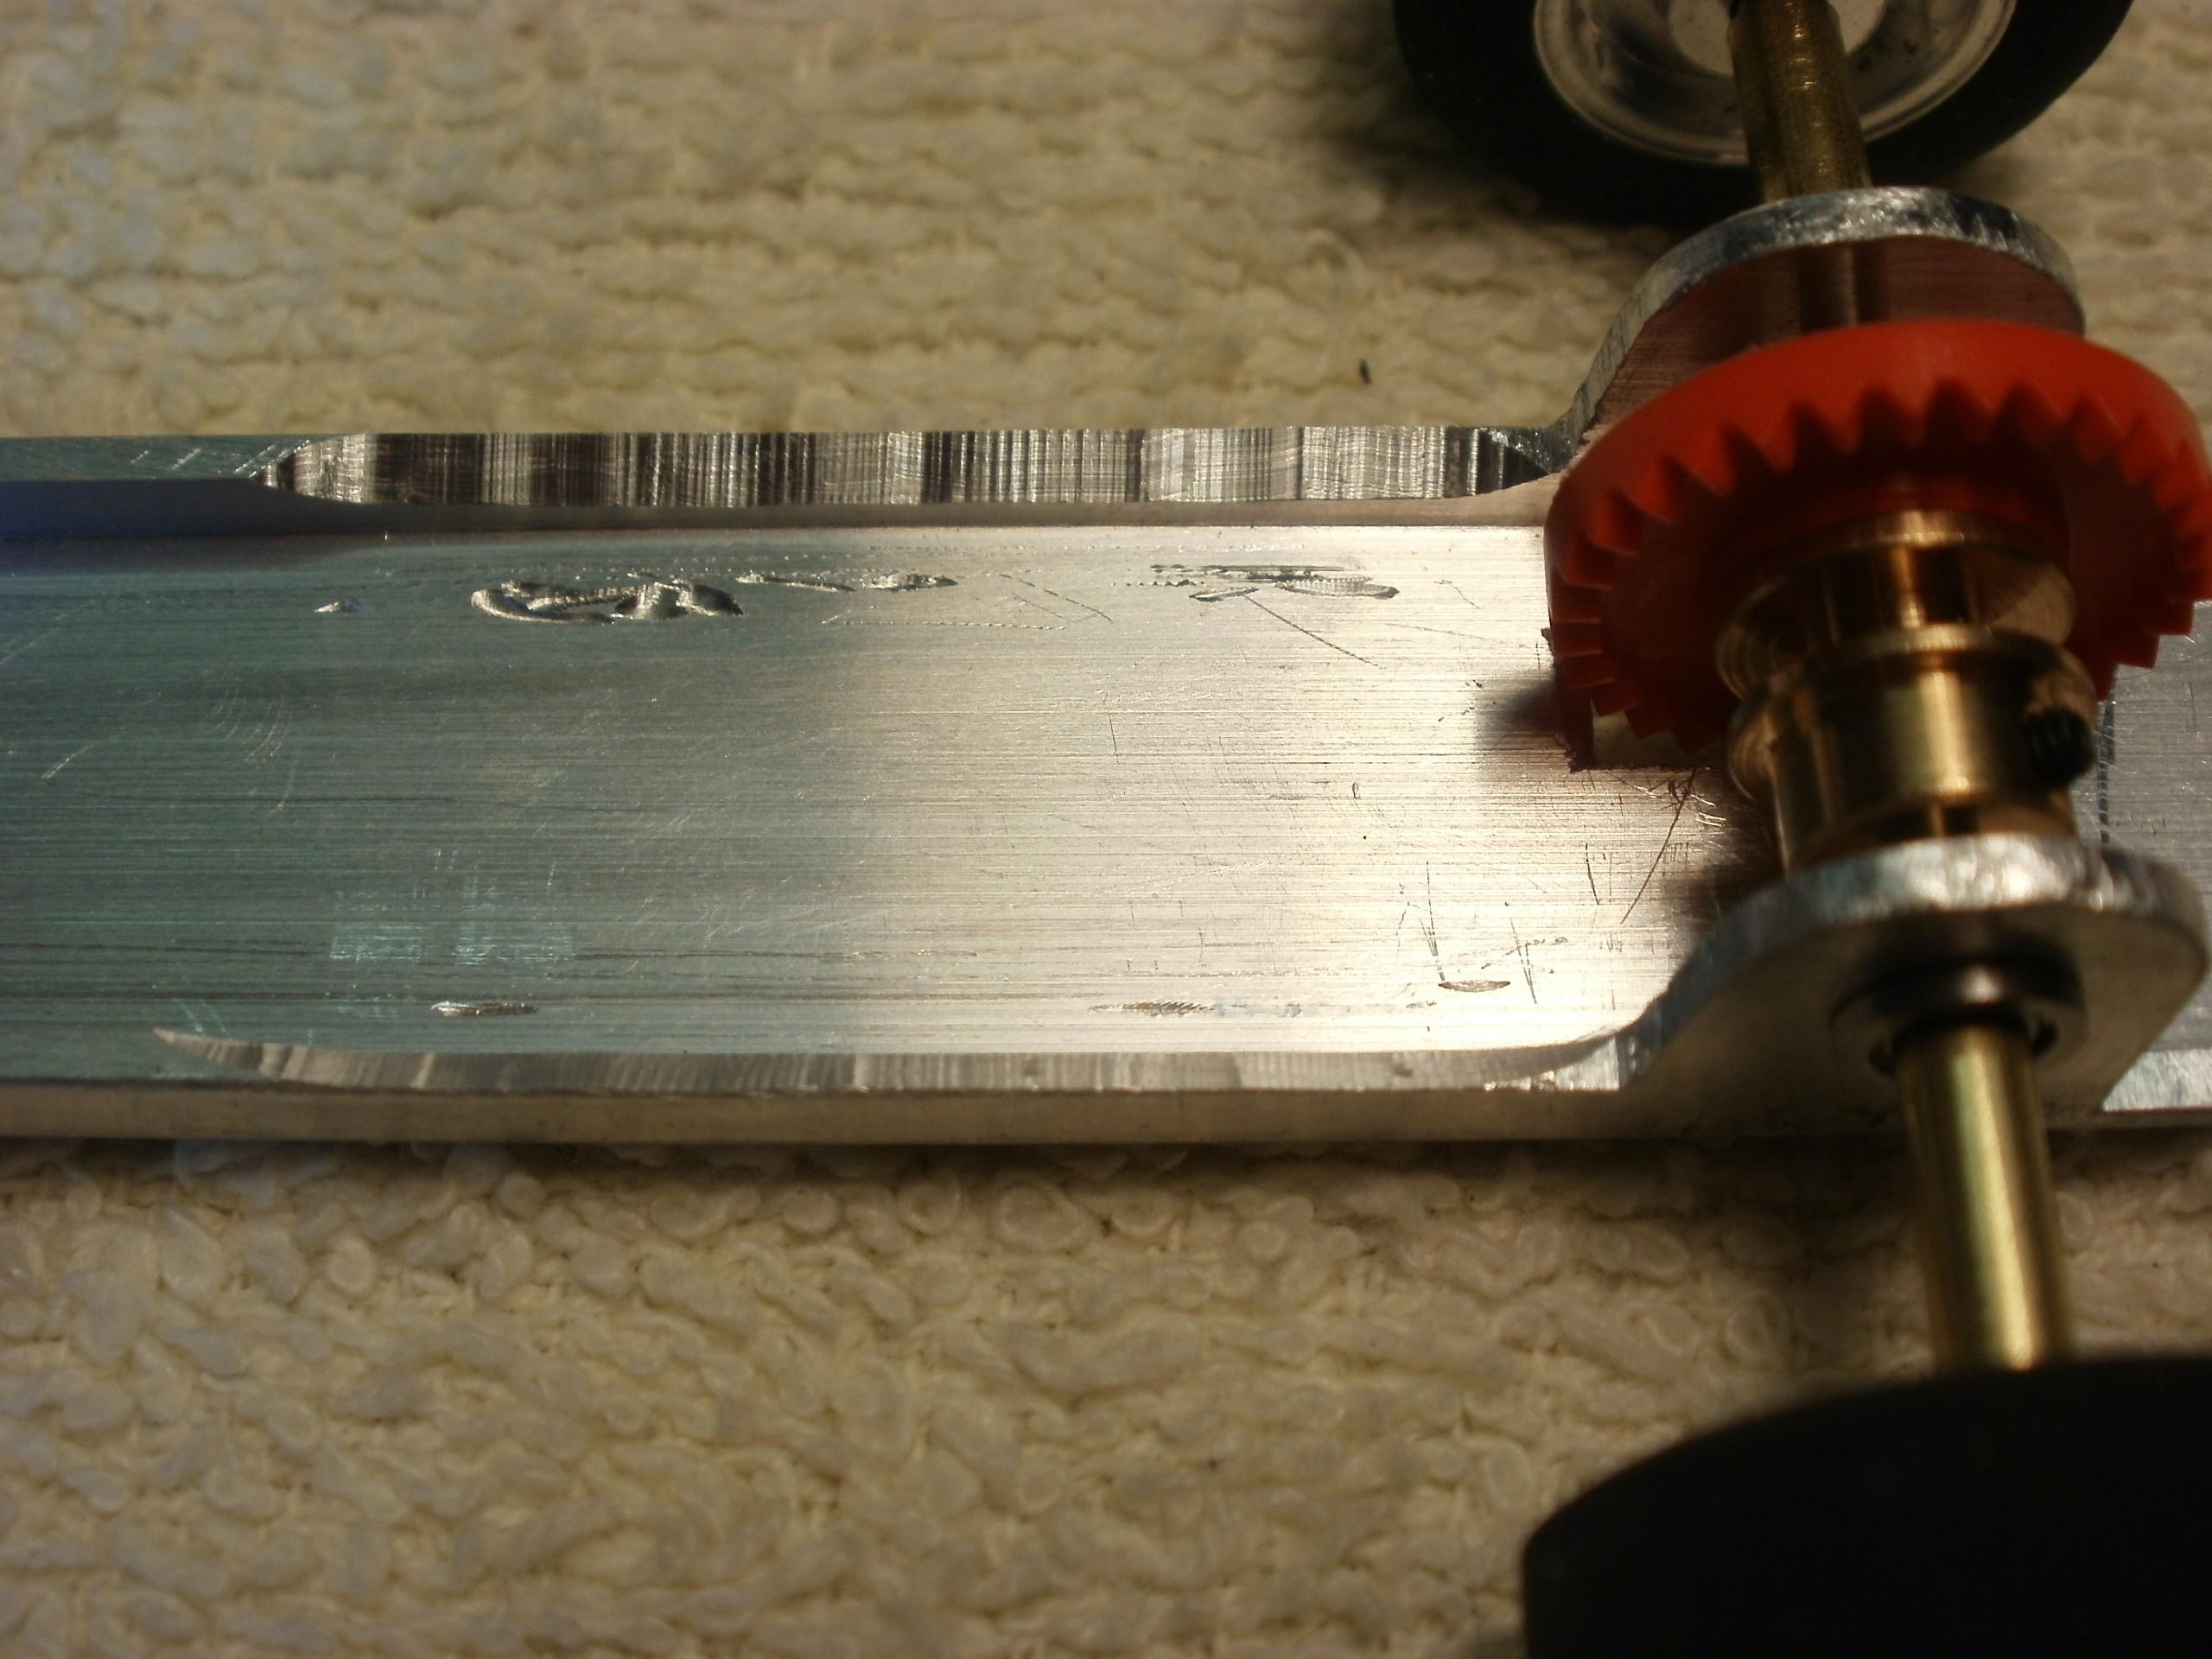
The Fox-10 was wider than the slimline slow motor so I had to remove some of the material from the channel to make it fit
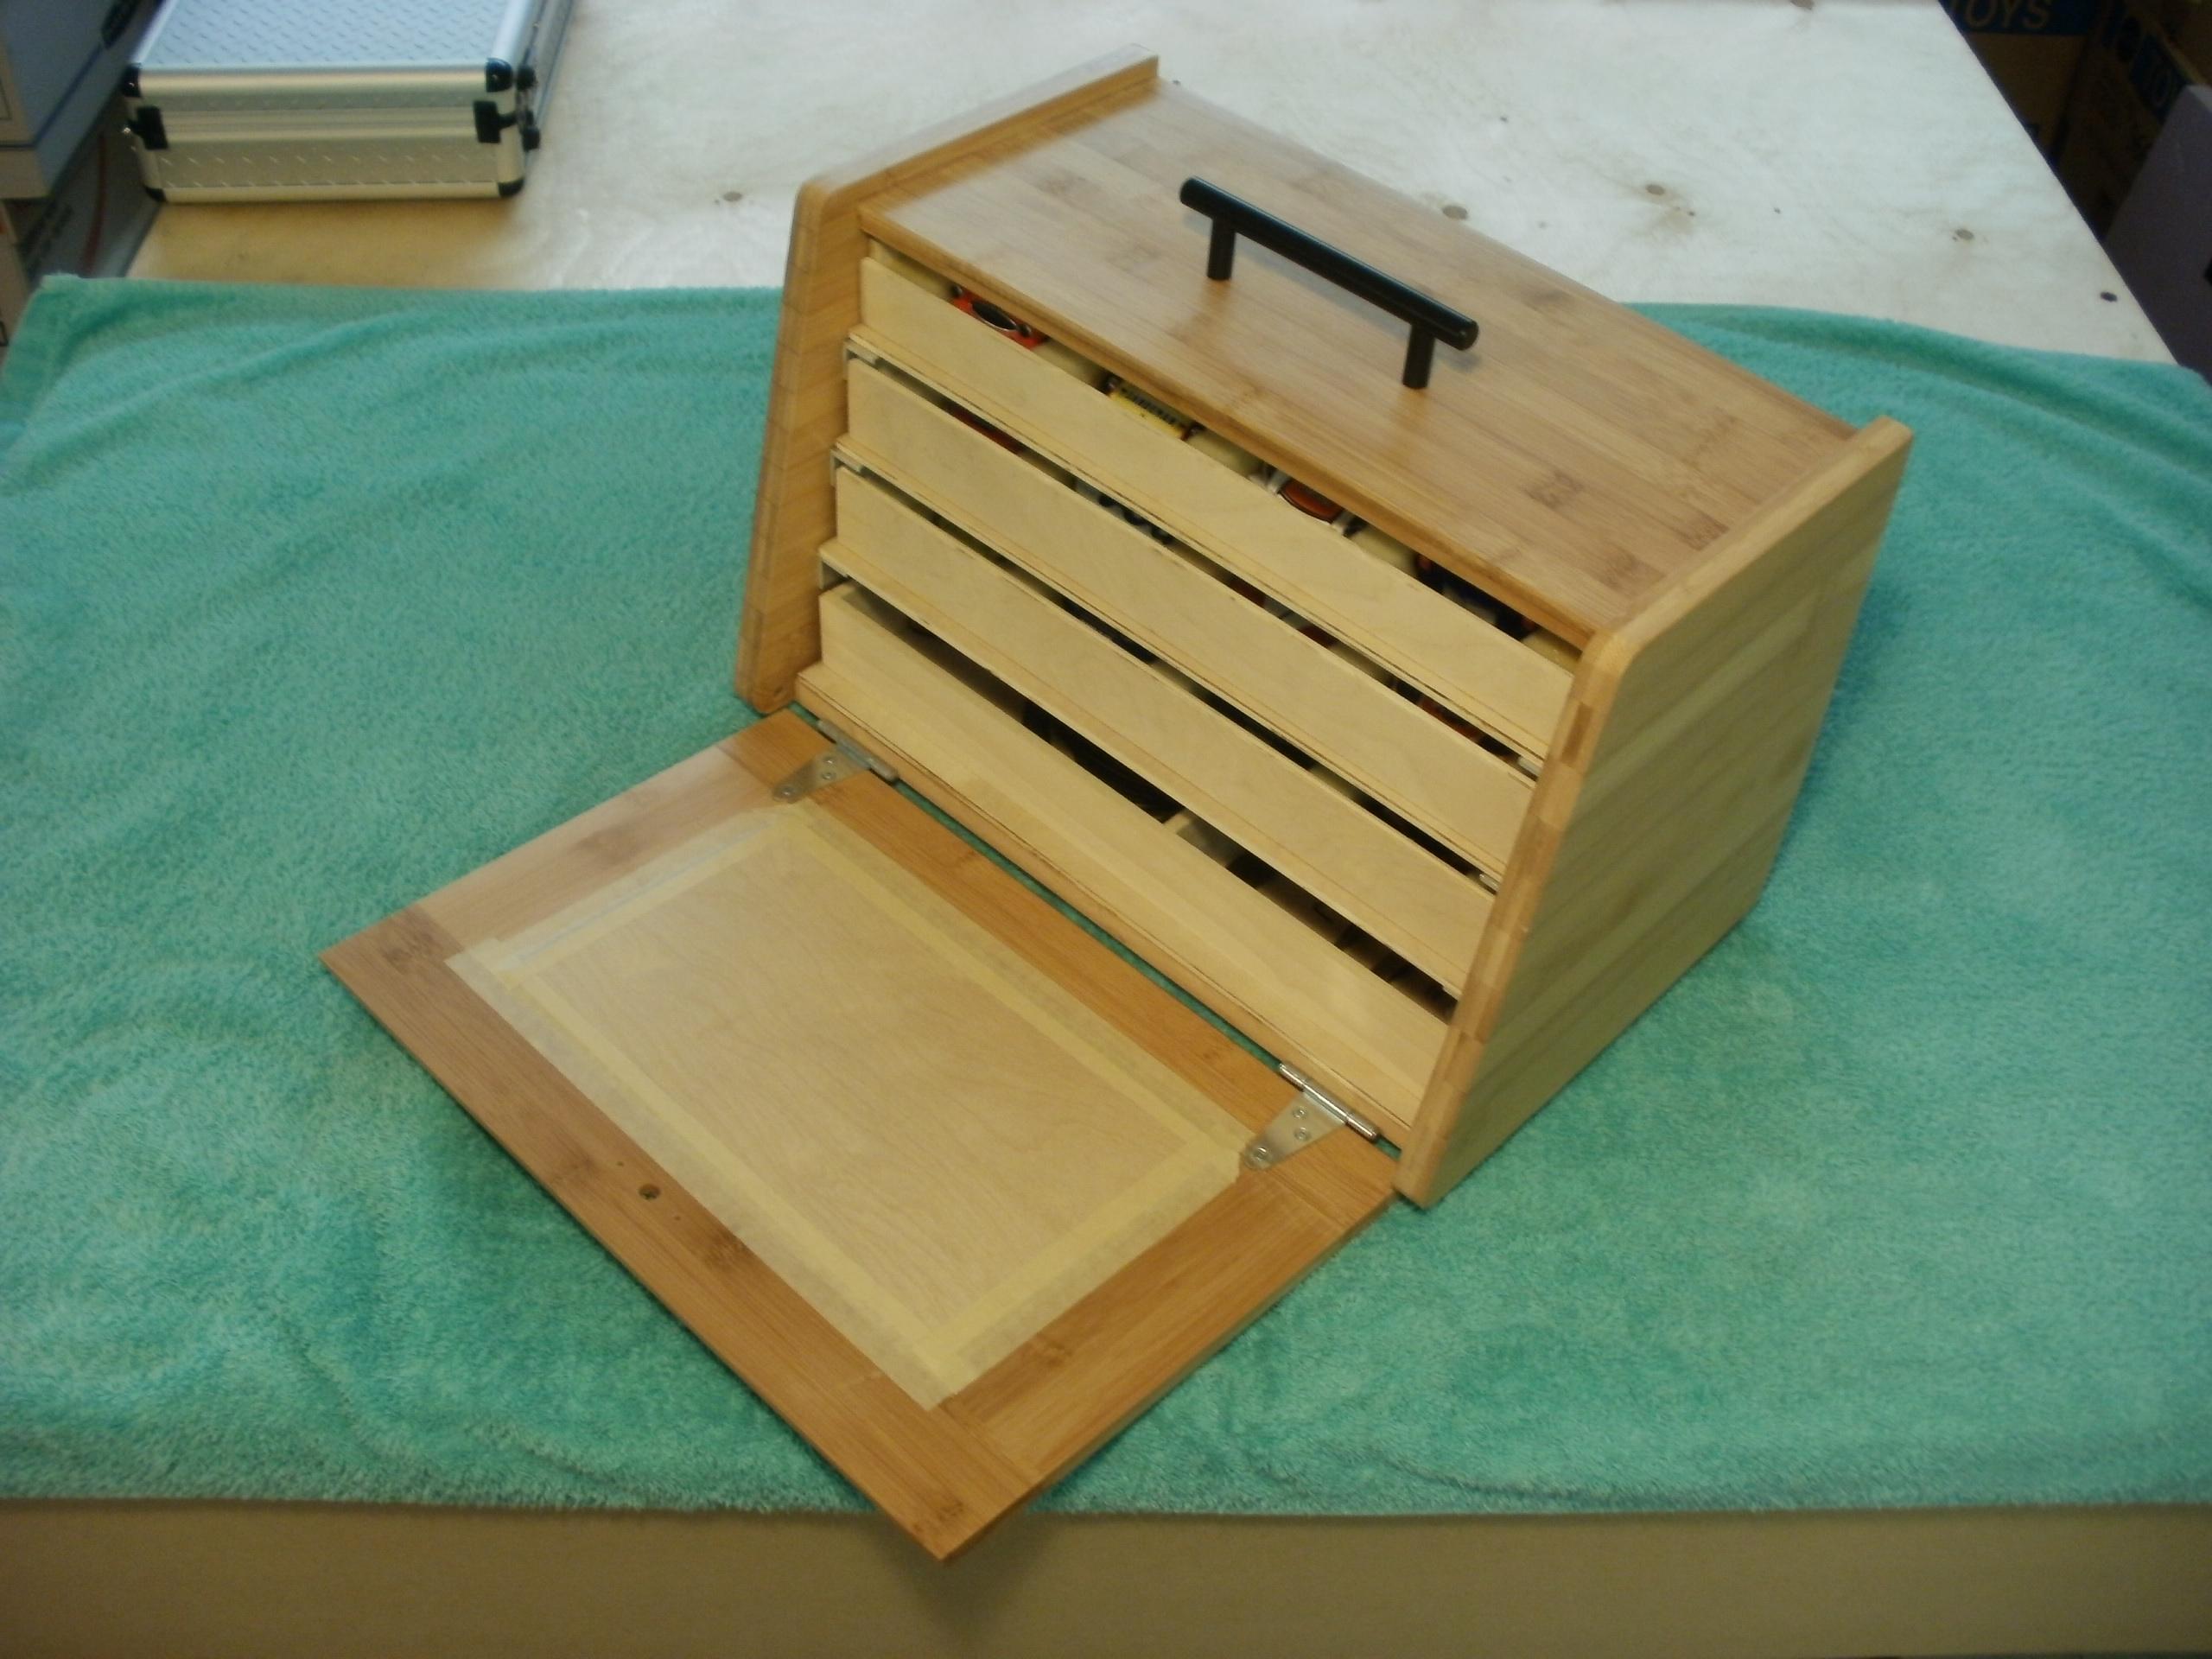
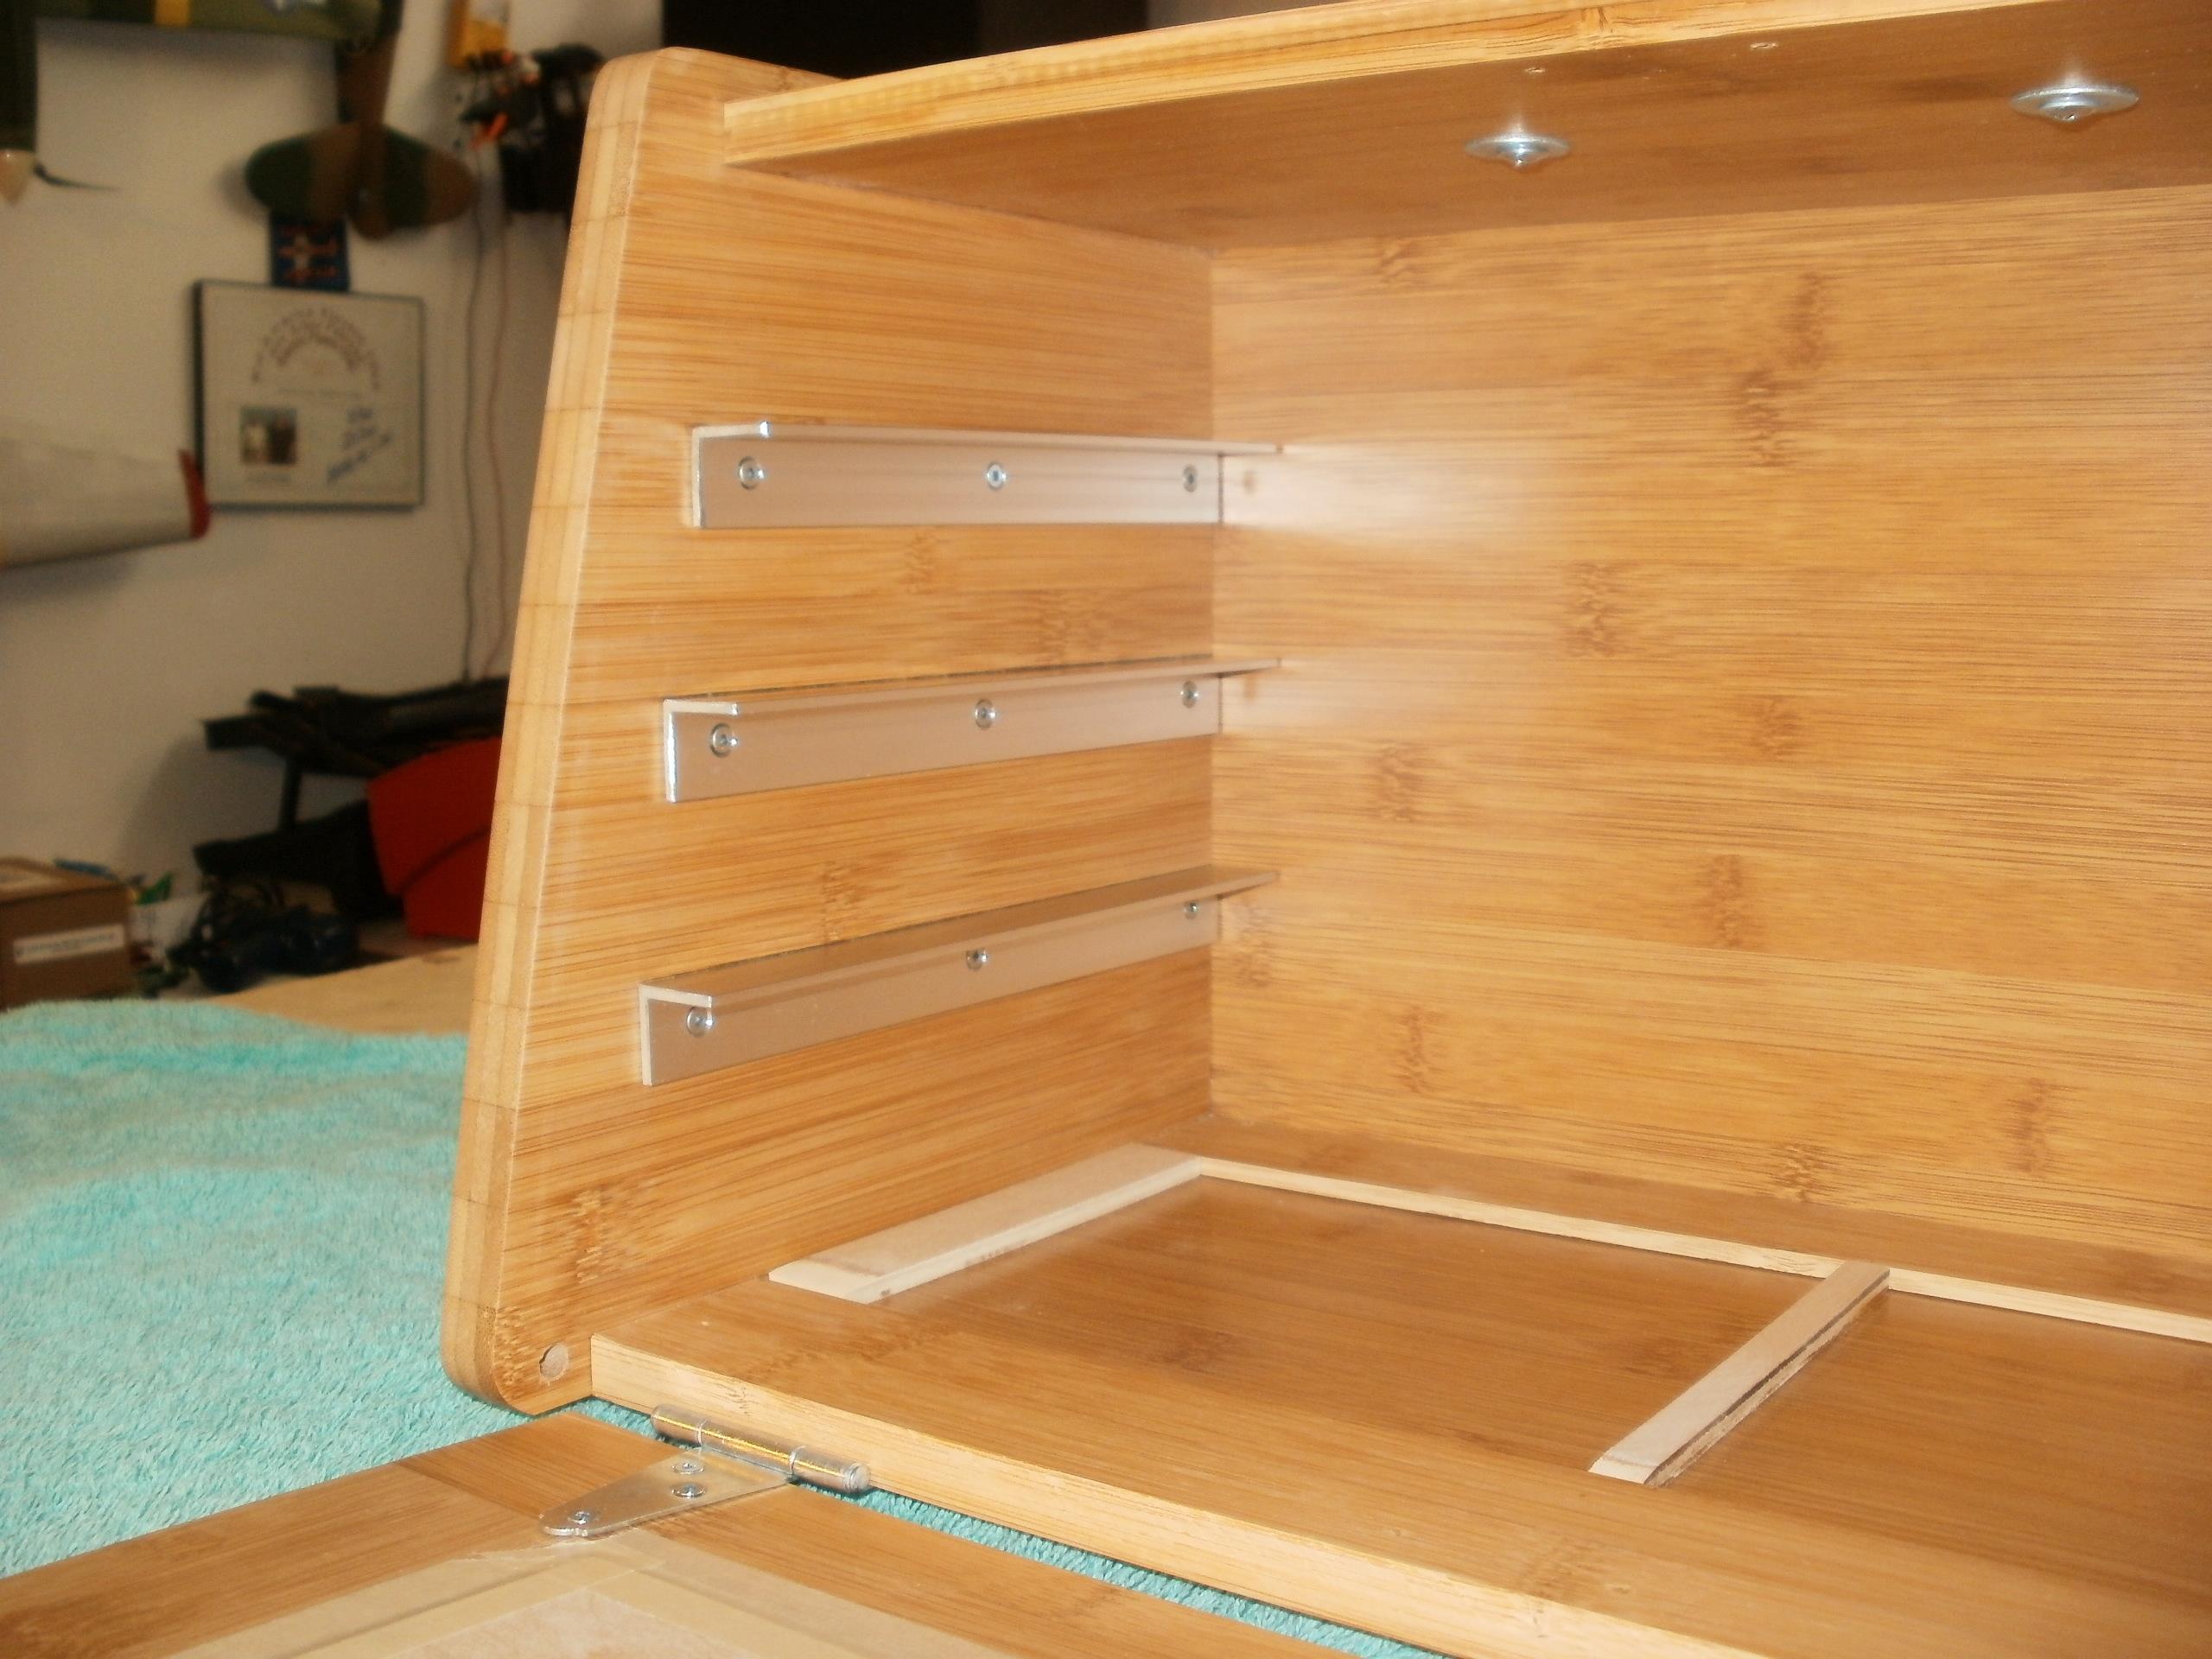
Thank you kindly! I forgot to add one last part. Not for looks, but out of respect I installed none-scuff feet so the box doesn’t scratch any surfaces at any tracks I happen to visit. Bread boxes were never meant to travel.
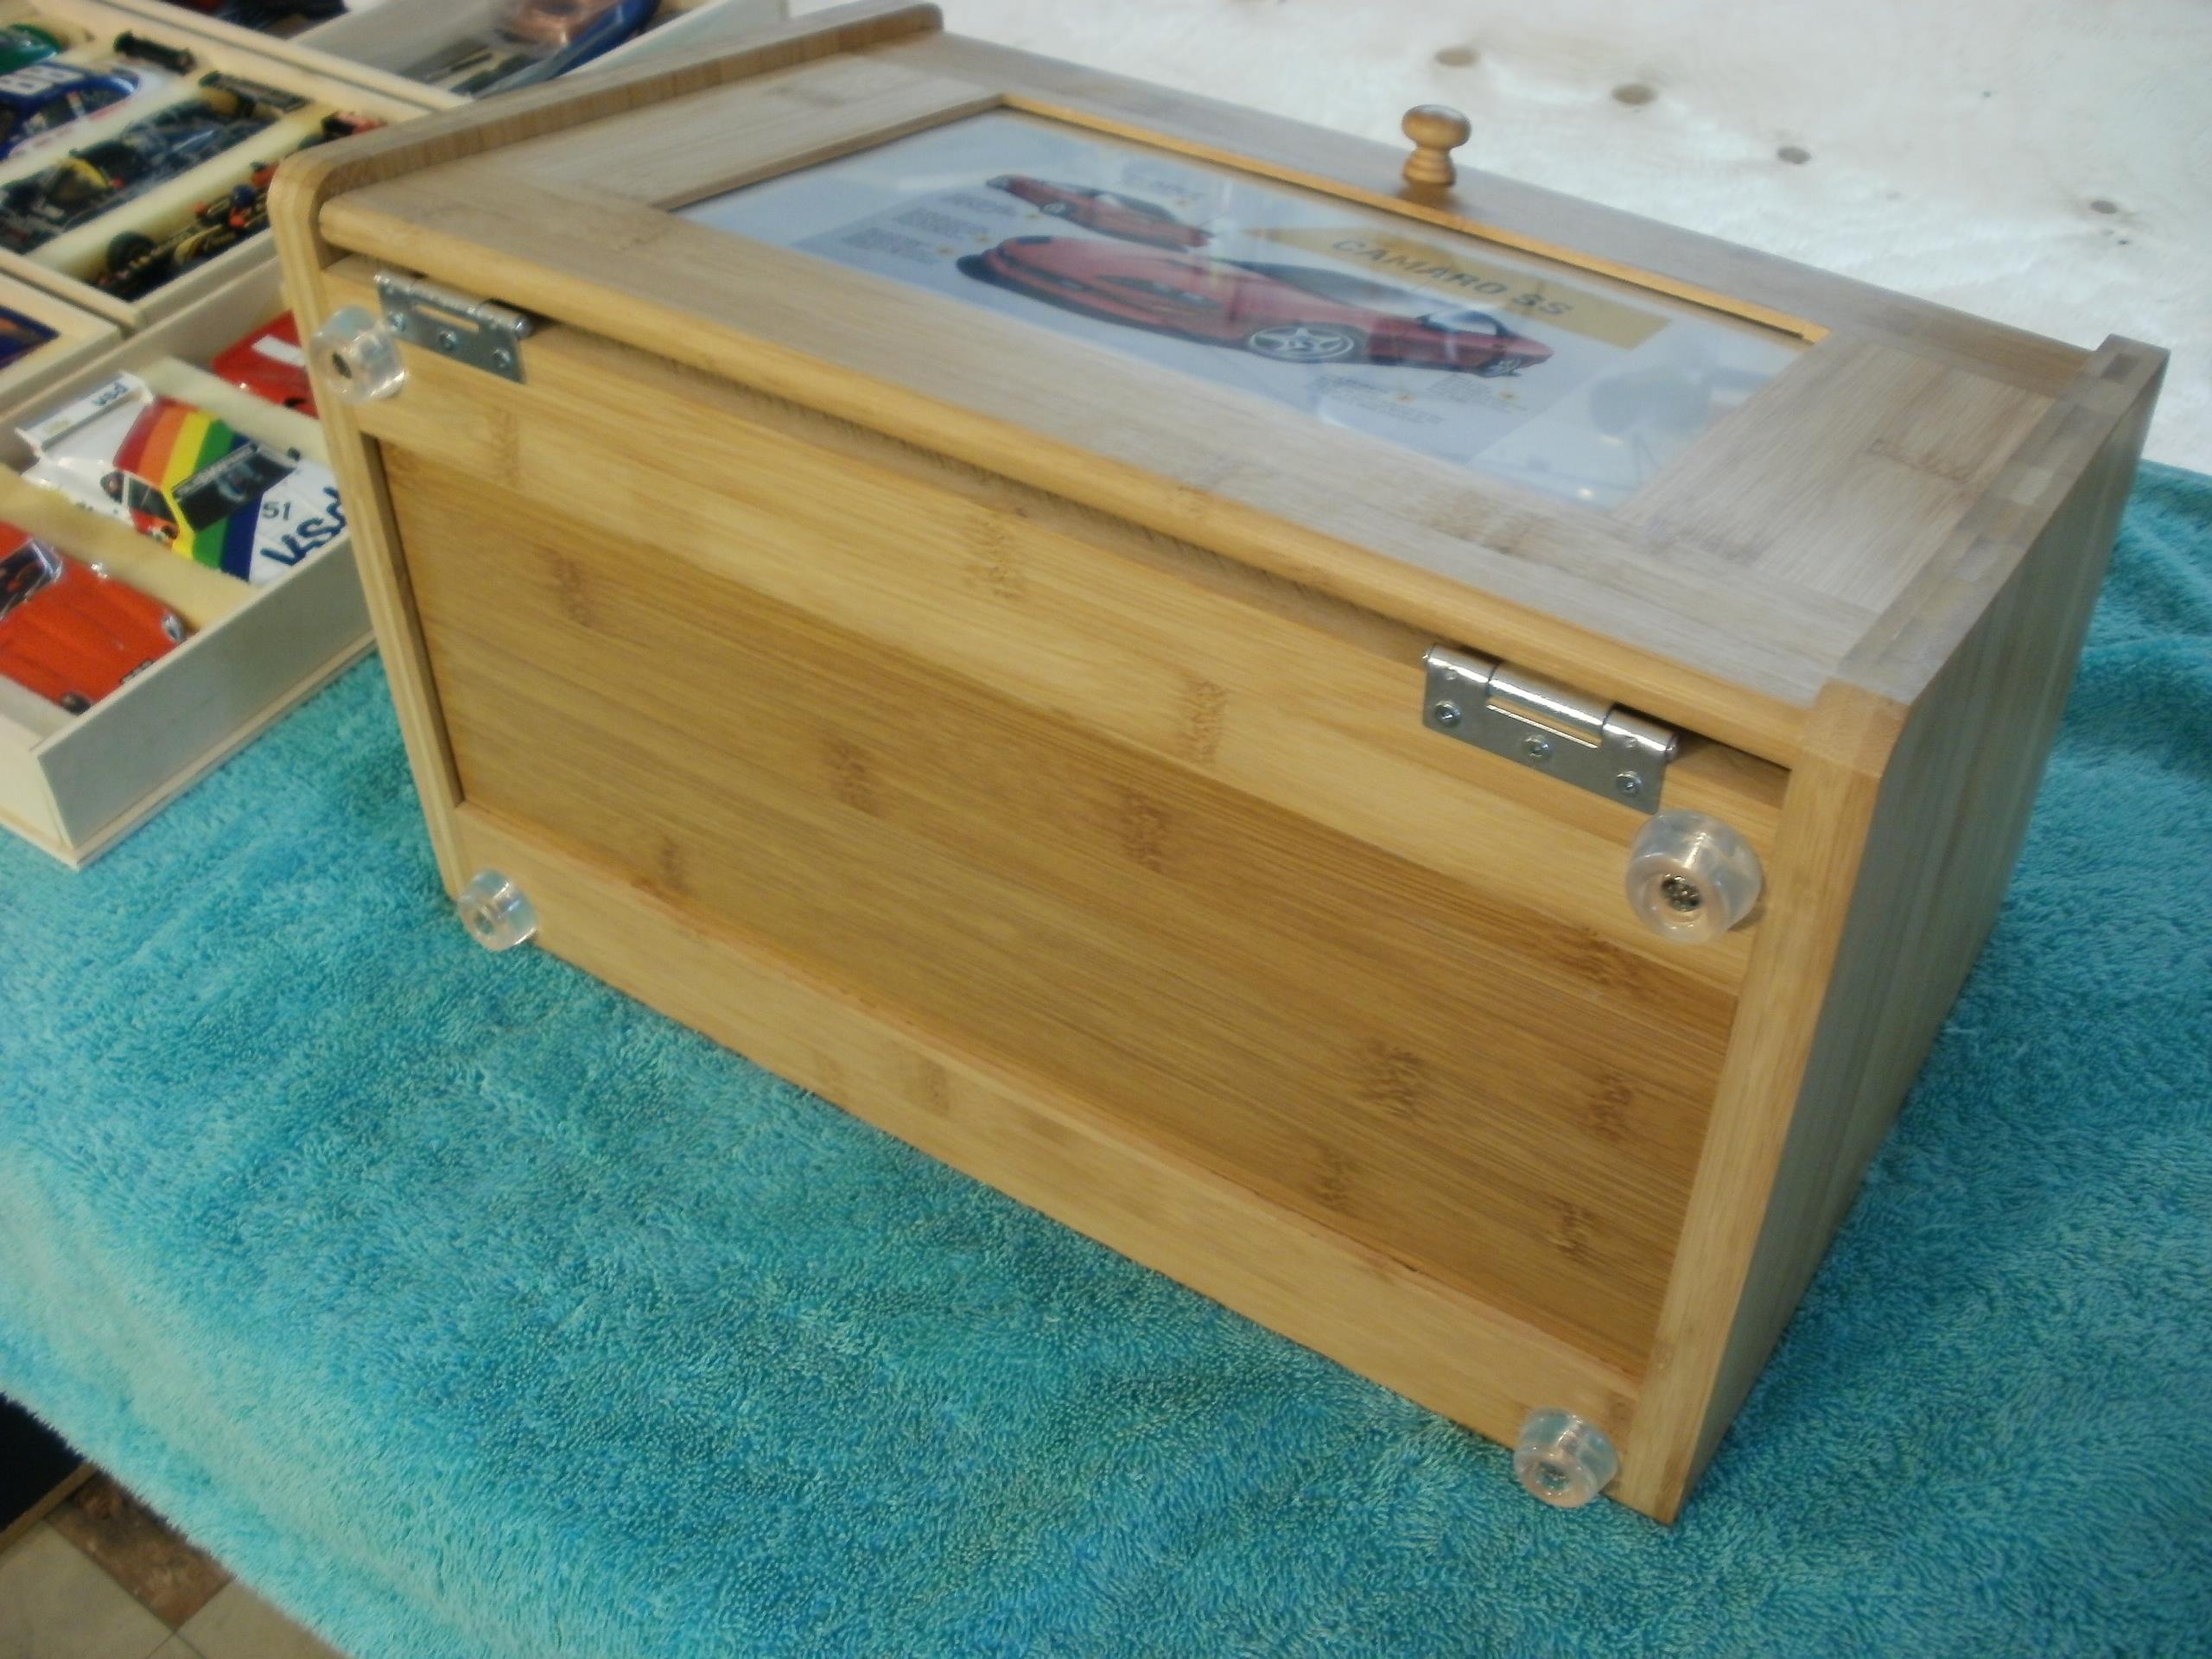
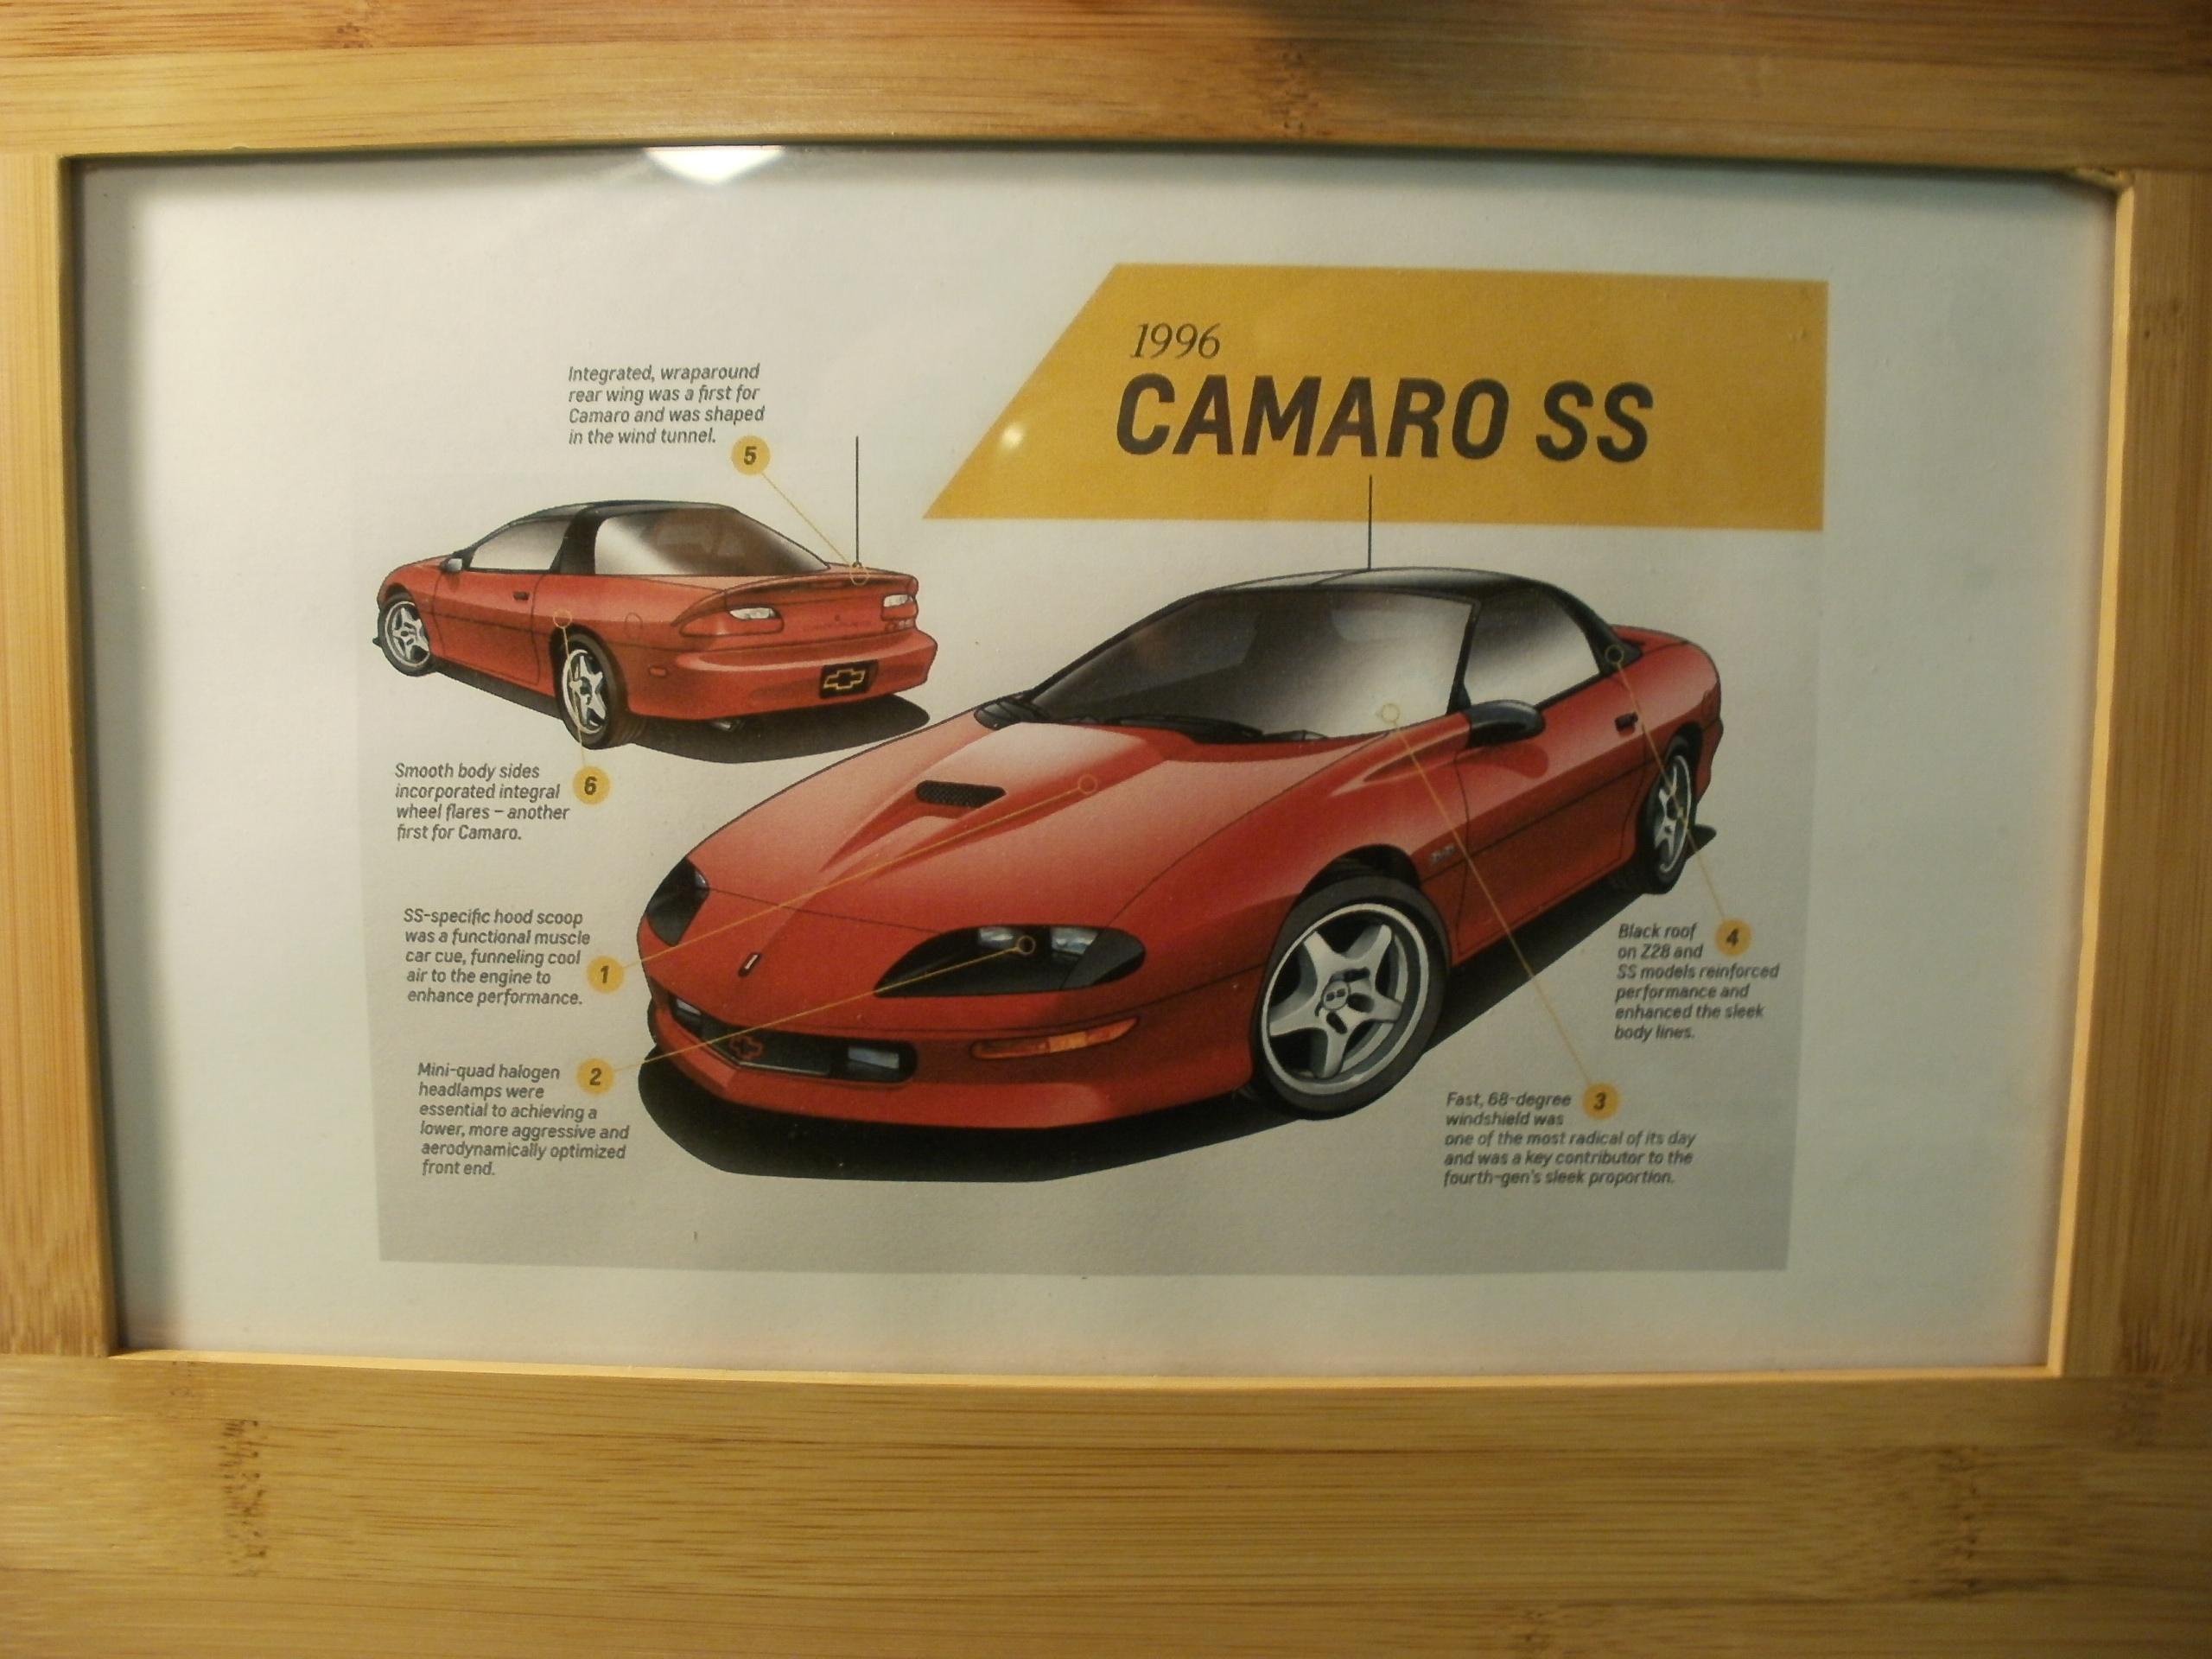
I know a guy with this exact same car. So I printed a copy and slid it behind the front glass. I hope you like it. The box I mean.
Thank you very kindly,
Ken
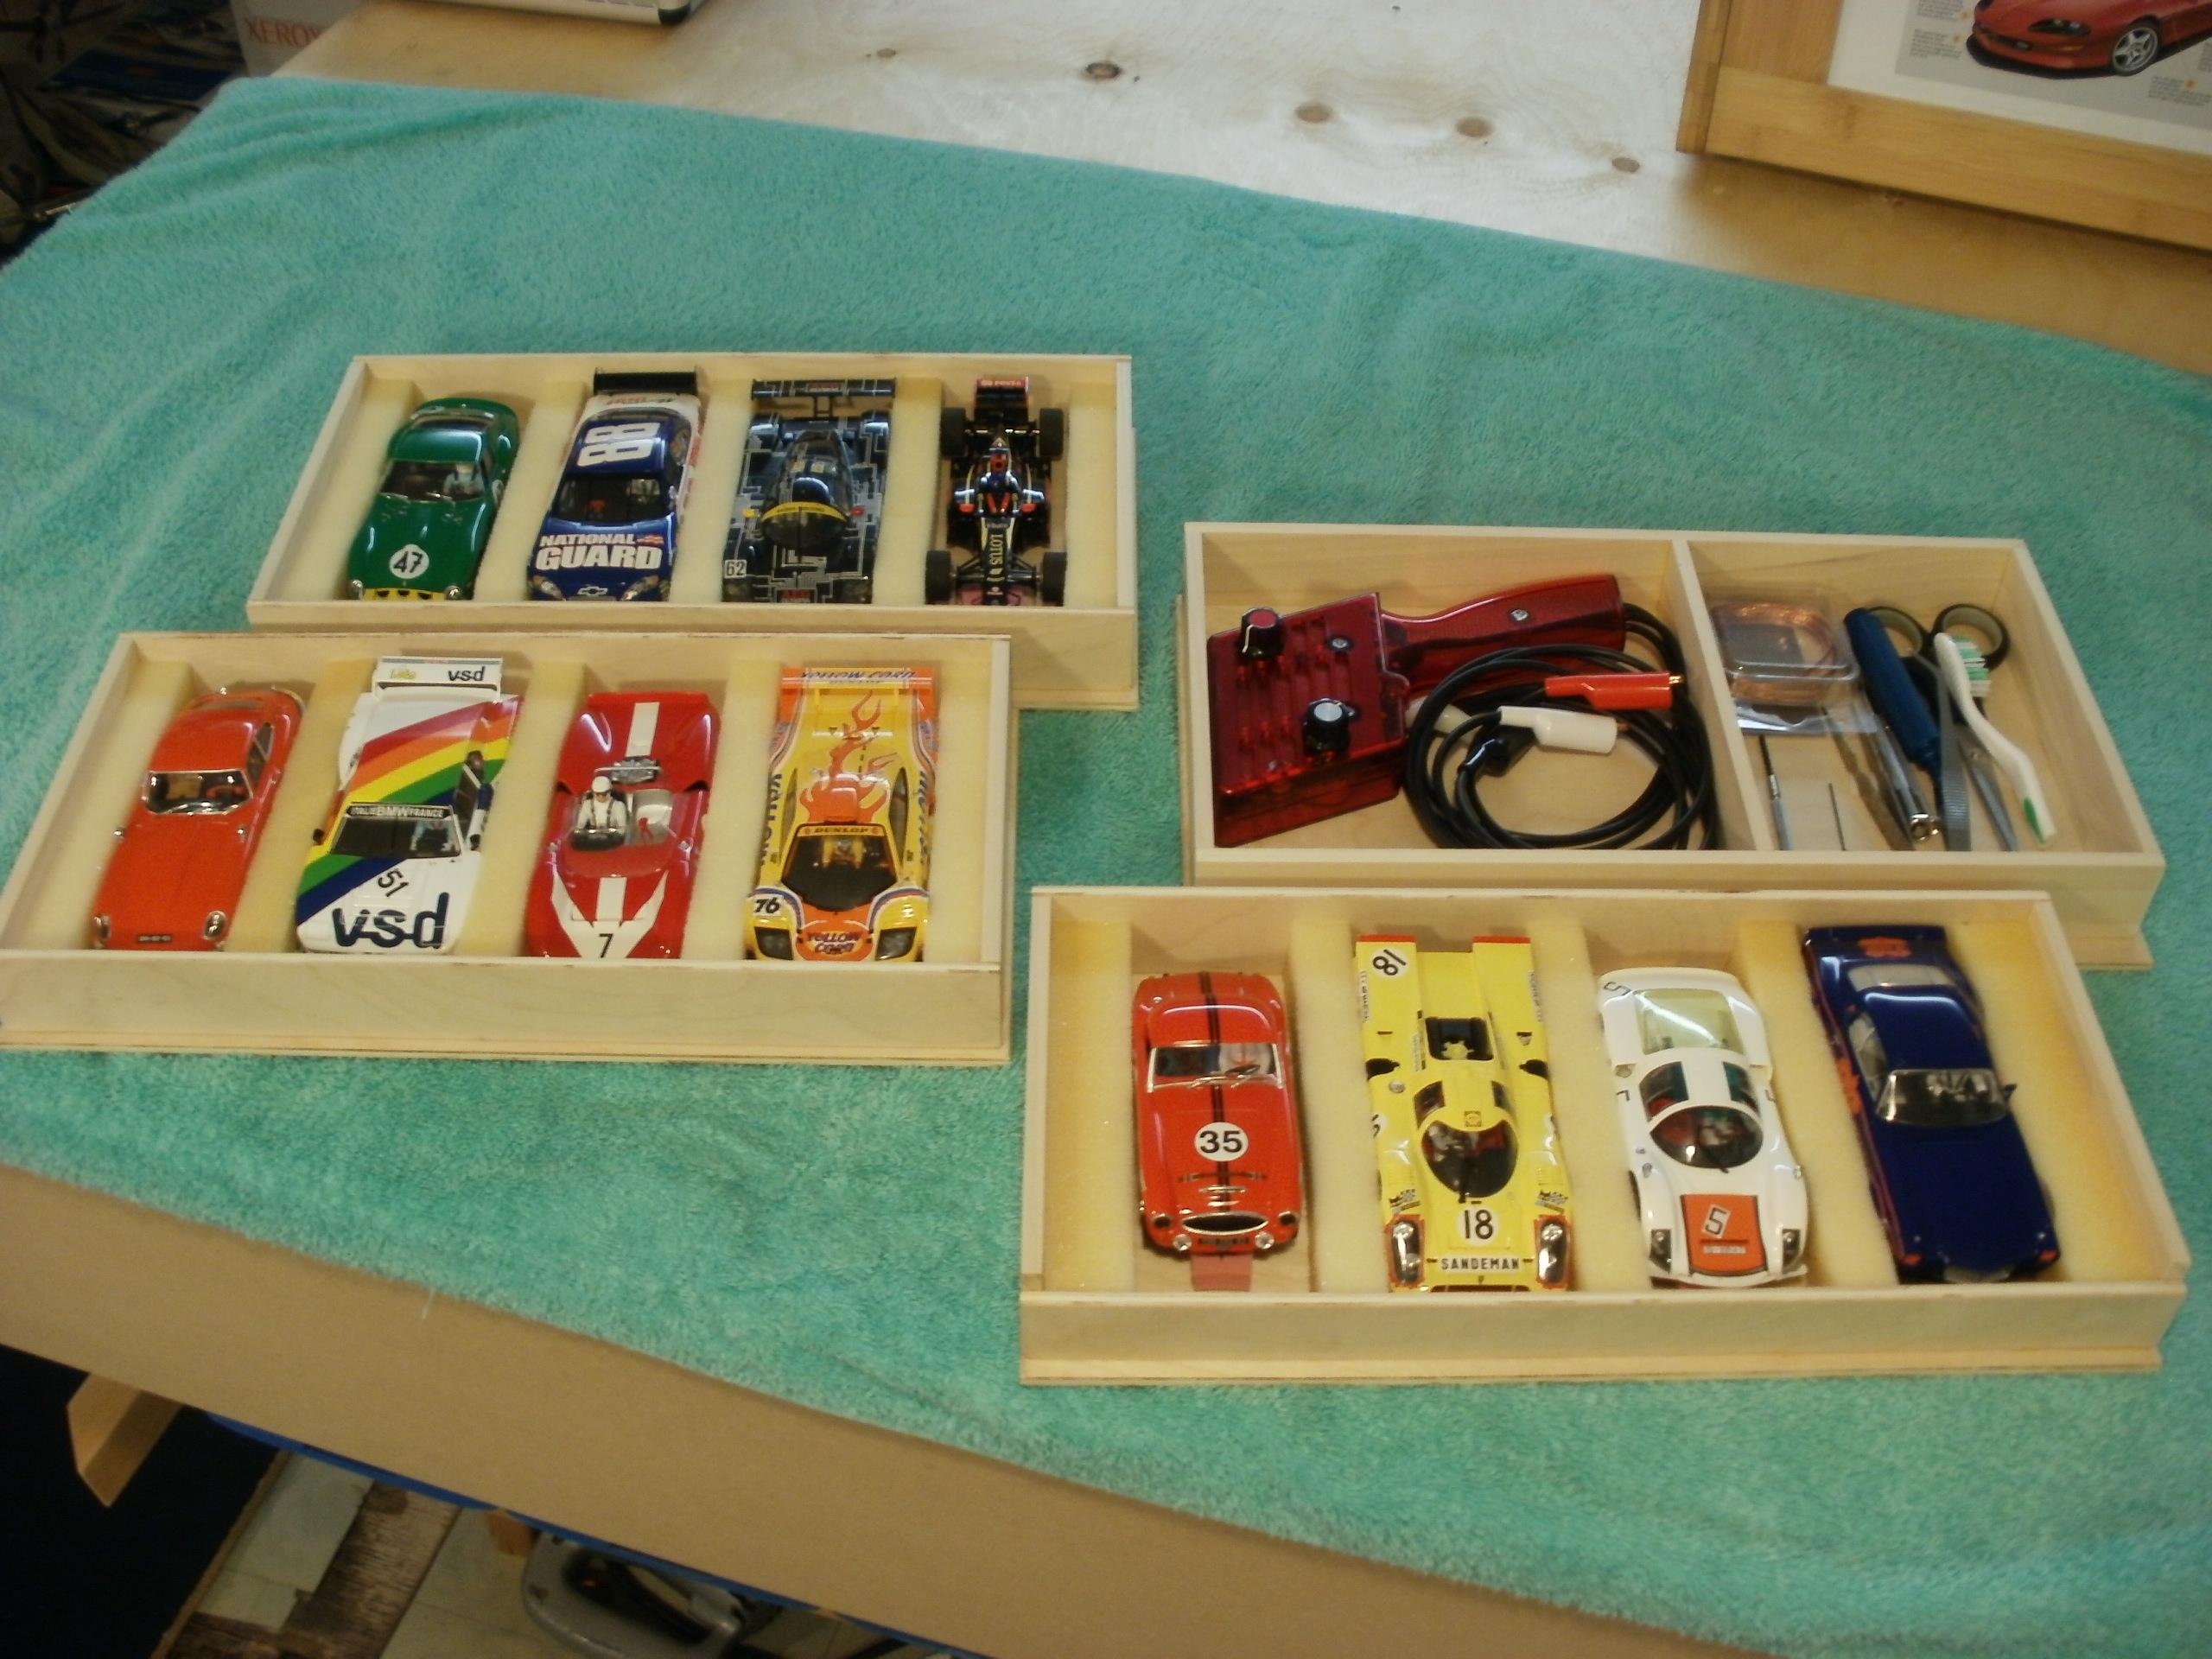
Everything in the box.
Filled the trays with cars, tools, and controller.
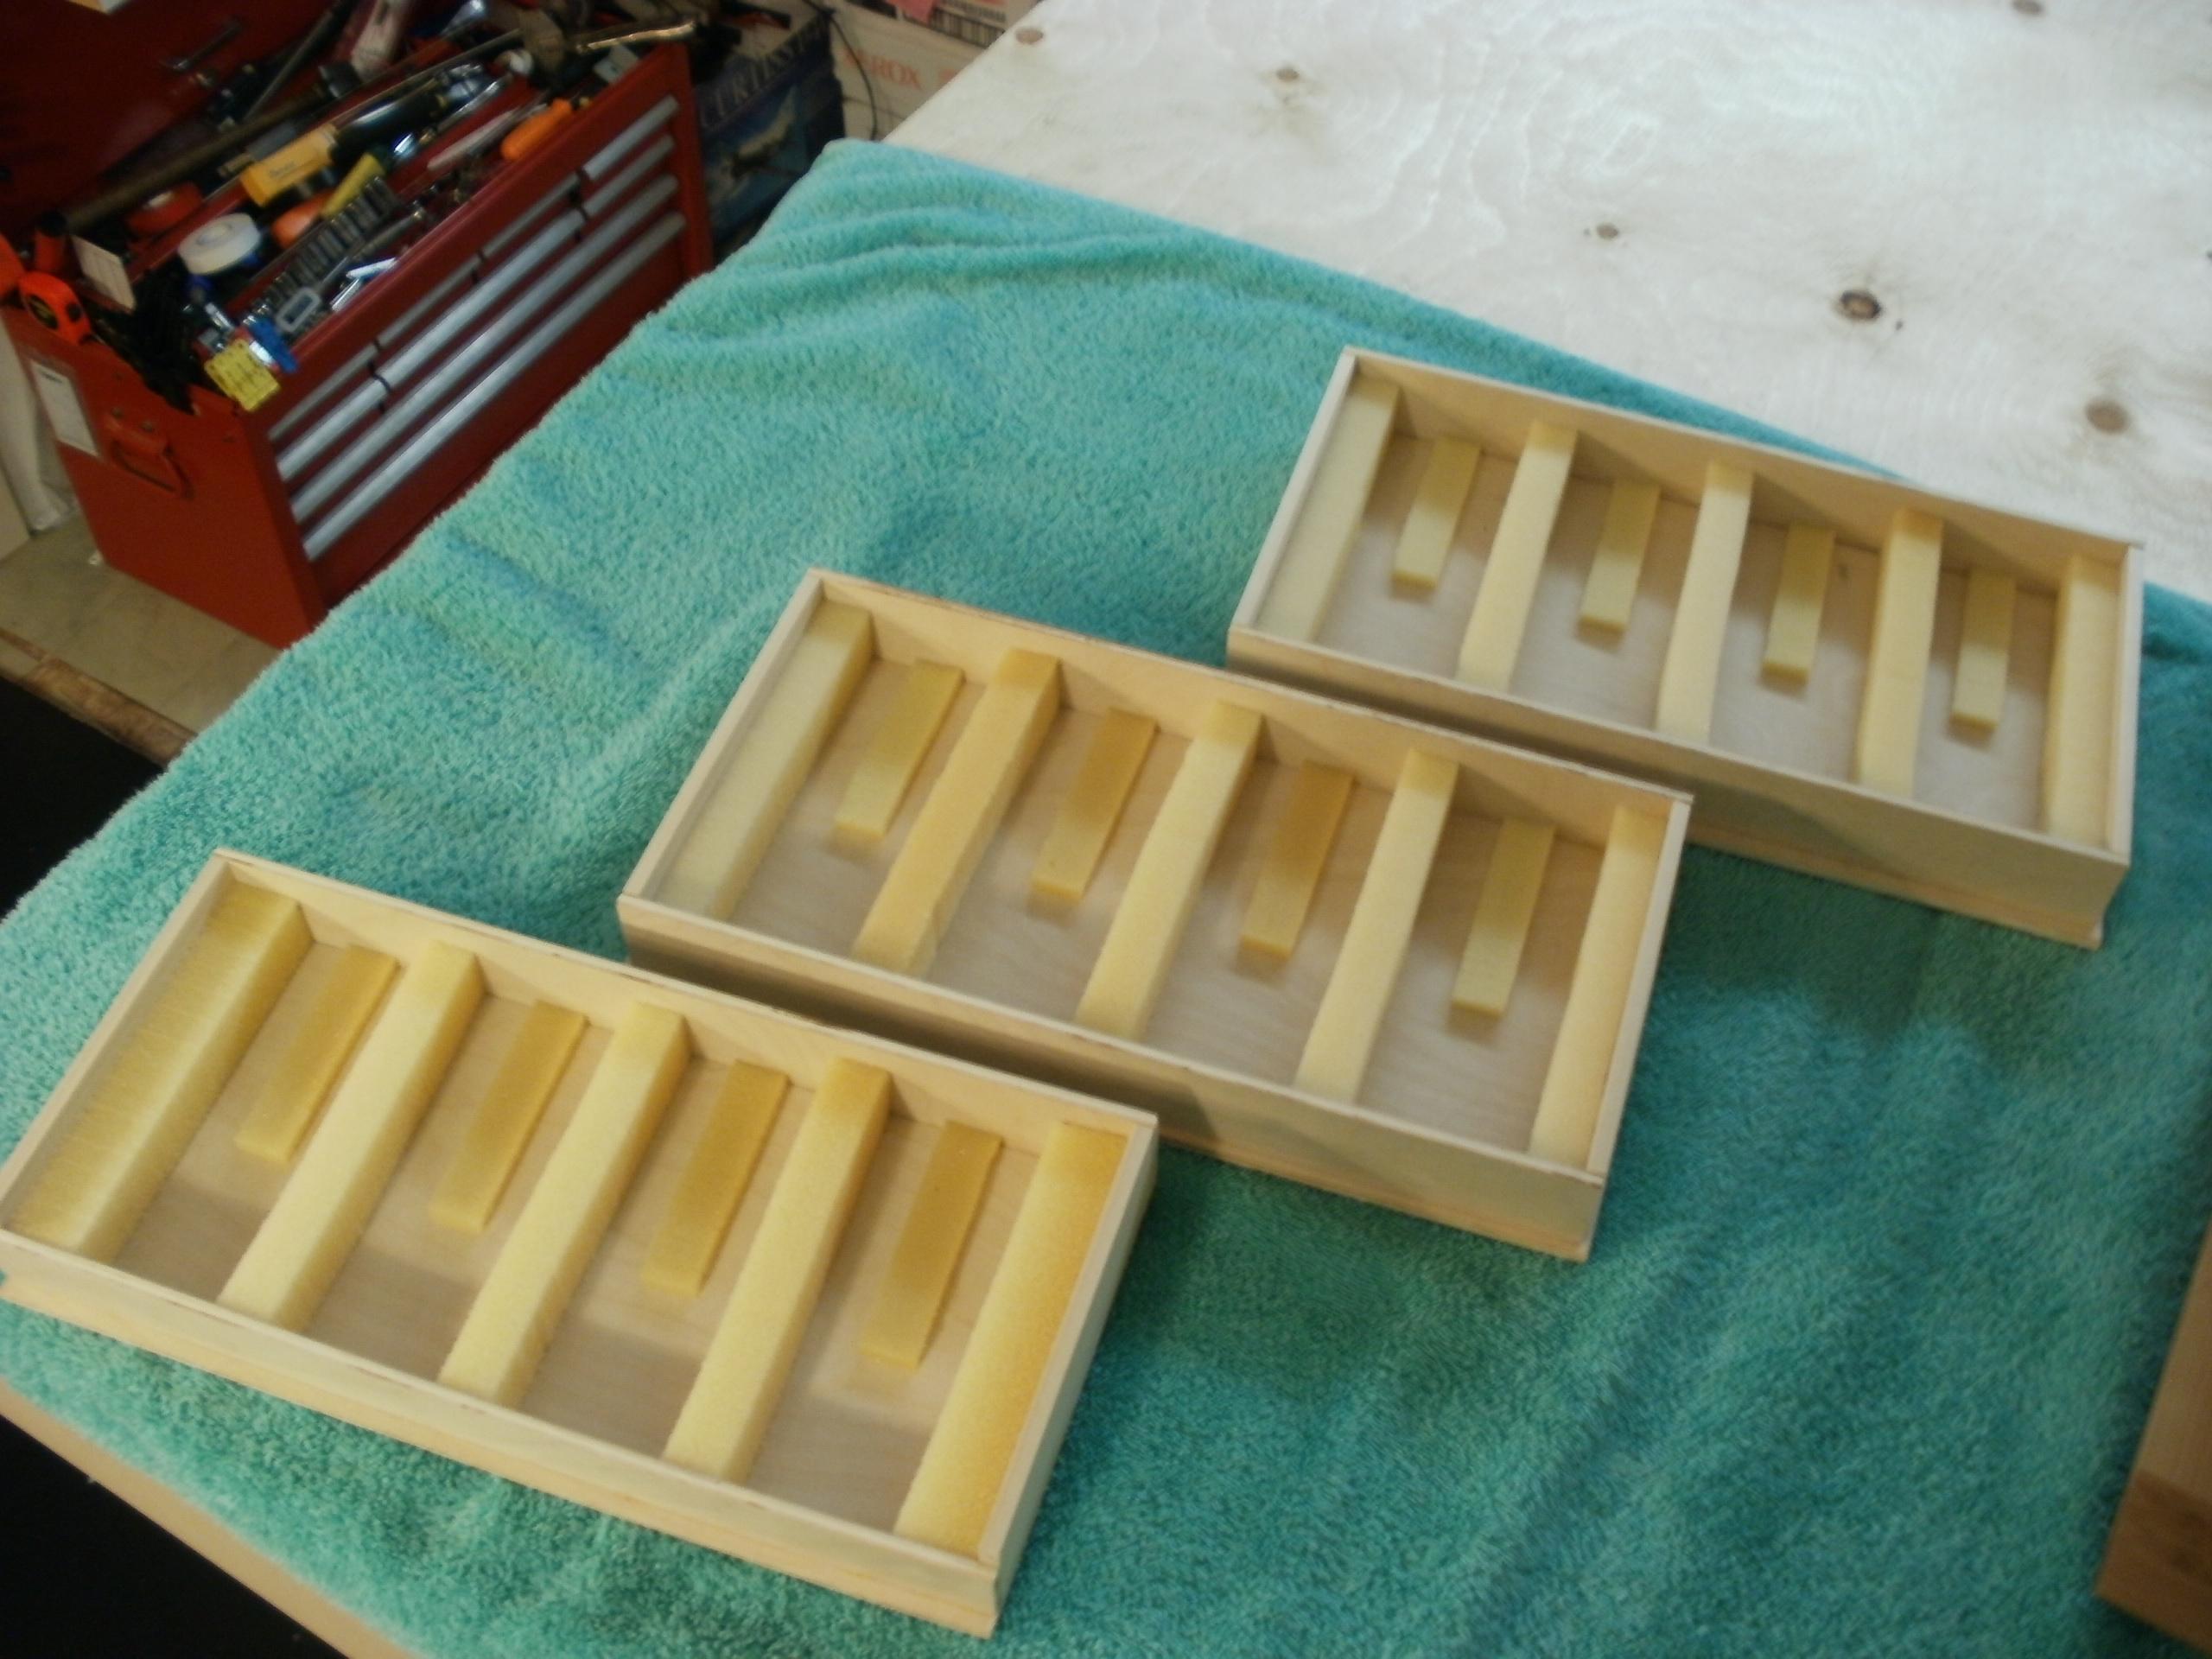
Glued foam/rubber to make car dividers and also glued a small strip to the bottom to keep the car tires from sitting on the tray.
Had the store pre-cut the shelf bottoms and made 1.5″ inch strips for walls. Used carpenters glue to assemble.
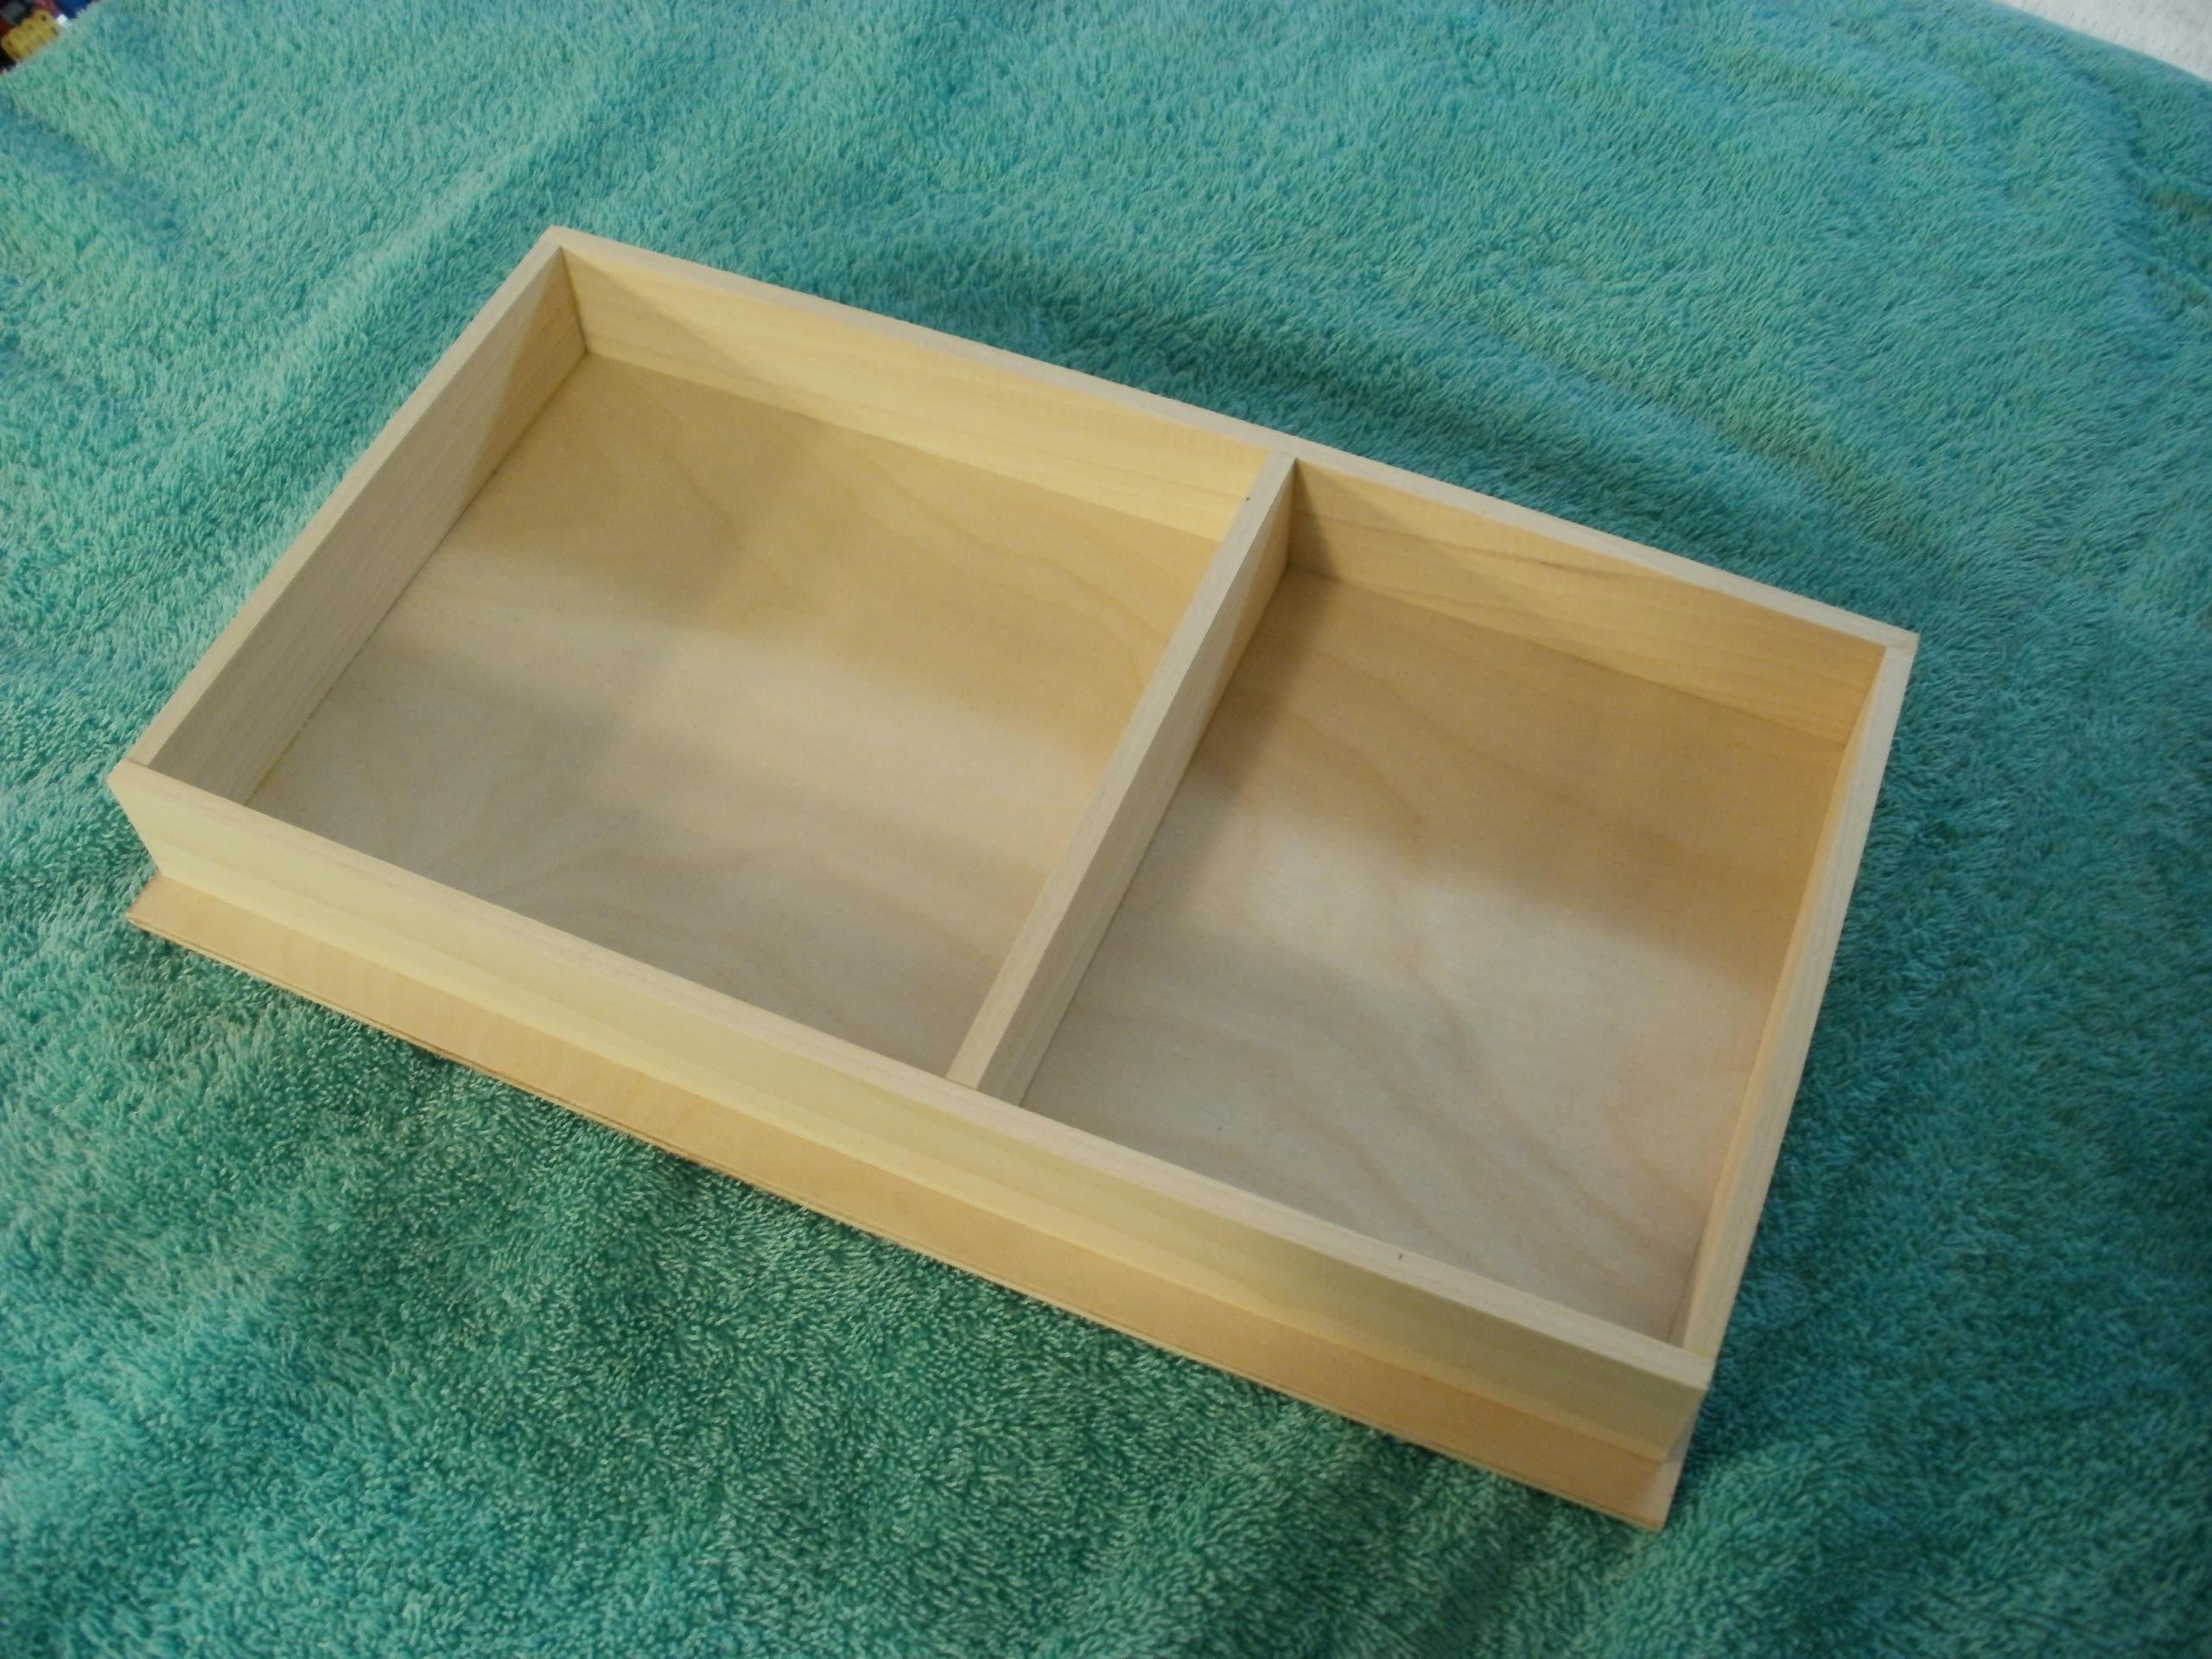
I bought some aluminum angle at the hardware store and some #4 screws. The handle is from the kitchen supplies. Hinges are from fence hardware.
Wow. I just noticed this. Thanks for the post. This really separates the steak from the tofu!
Interesting information for newbie scratch builders.
Ken
Art,
Nice looking model. The kit looks very detailed. Looking forward to seeing it completed.
Would a 1930 Chevy pickup with a load of rum or beer be legal for that class? Just asking. 🙂
Everyone’s going to need refreshments after the race.
Ken
August 8, 2018 at 12:28 pm in reply to: 1934 Aston Martin Ulster kit for the Pre-War GP series in S32 #8169Hi Felix,
The car looks great! Nice work!
Ken
July 5, 2018 at 2:17 pm in reply to: Wheels: Hot Rod, 1950's Grand Prix, 1960's Grand Prix (Group 1) #7512Art,
Thank you very kindly.
I’m just about to send an order of “CB” 14×6 wheels back. Why? They are only 12mm in diameter. CB Wheels measures the wheel at the hub under the tire where you can’t see. Makes total sense to me. Make sure to check the real measurement charts before ordering wheels.
There is no alternative to RS Slots, UK. There seems to be no way to rush a set of wheels. Plan ahead when building. So I’ve recently figured out.
Ken
Thank you for the compliments Micheal and Steve. My real hope now is that it runs better than it looks.
The tires are no longer rubbing on the body. That’s one less thing to debug.
I just need to make time to create the interior. Anyone got some spare time they can sell me? This working for a living really takes up my time. :wacko:
Ken
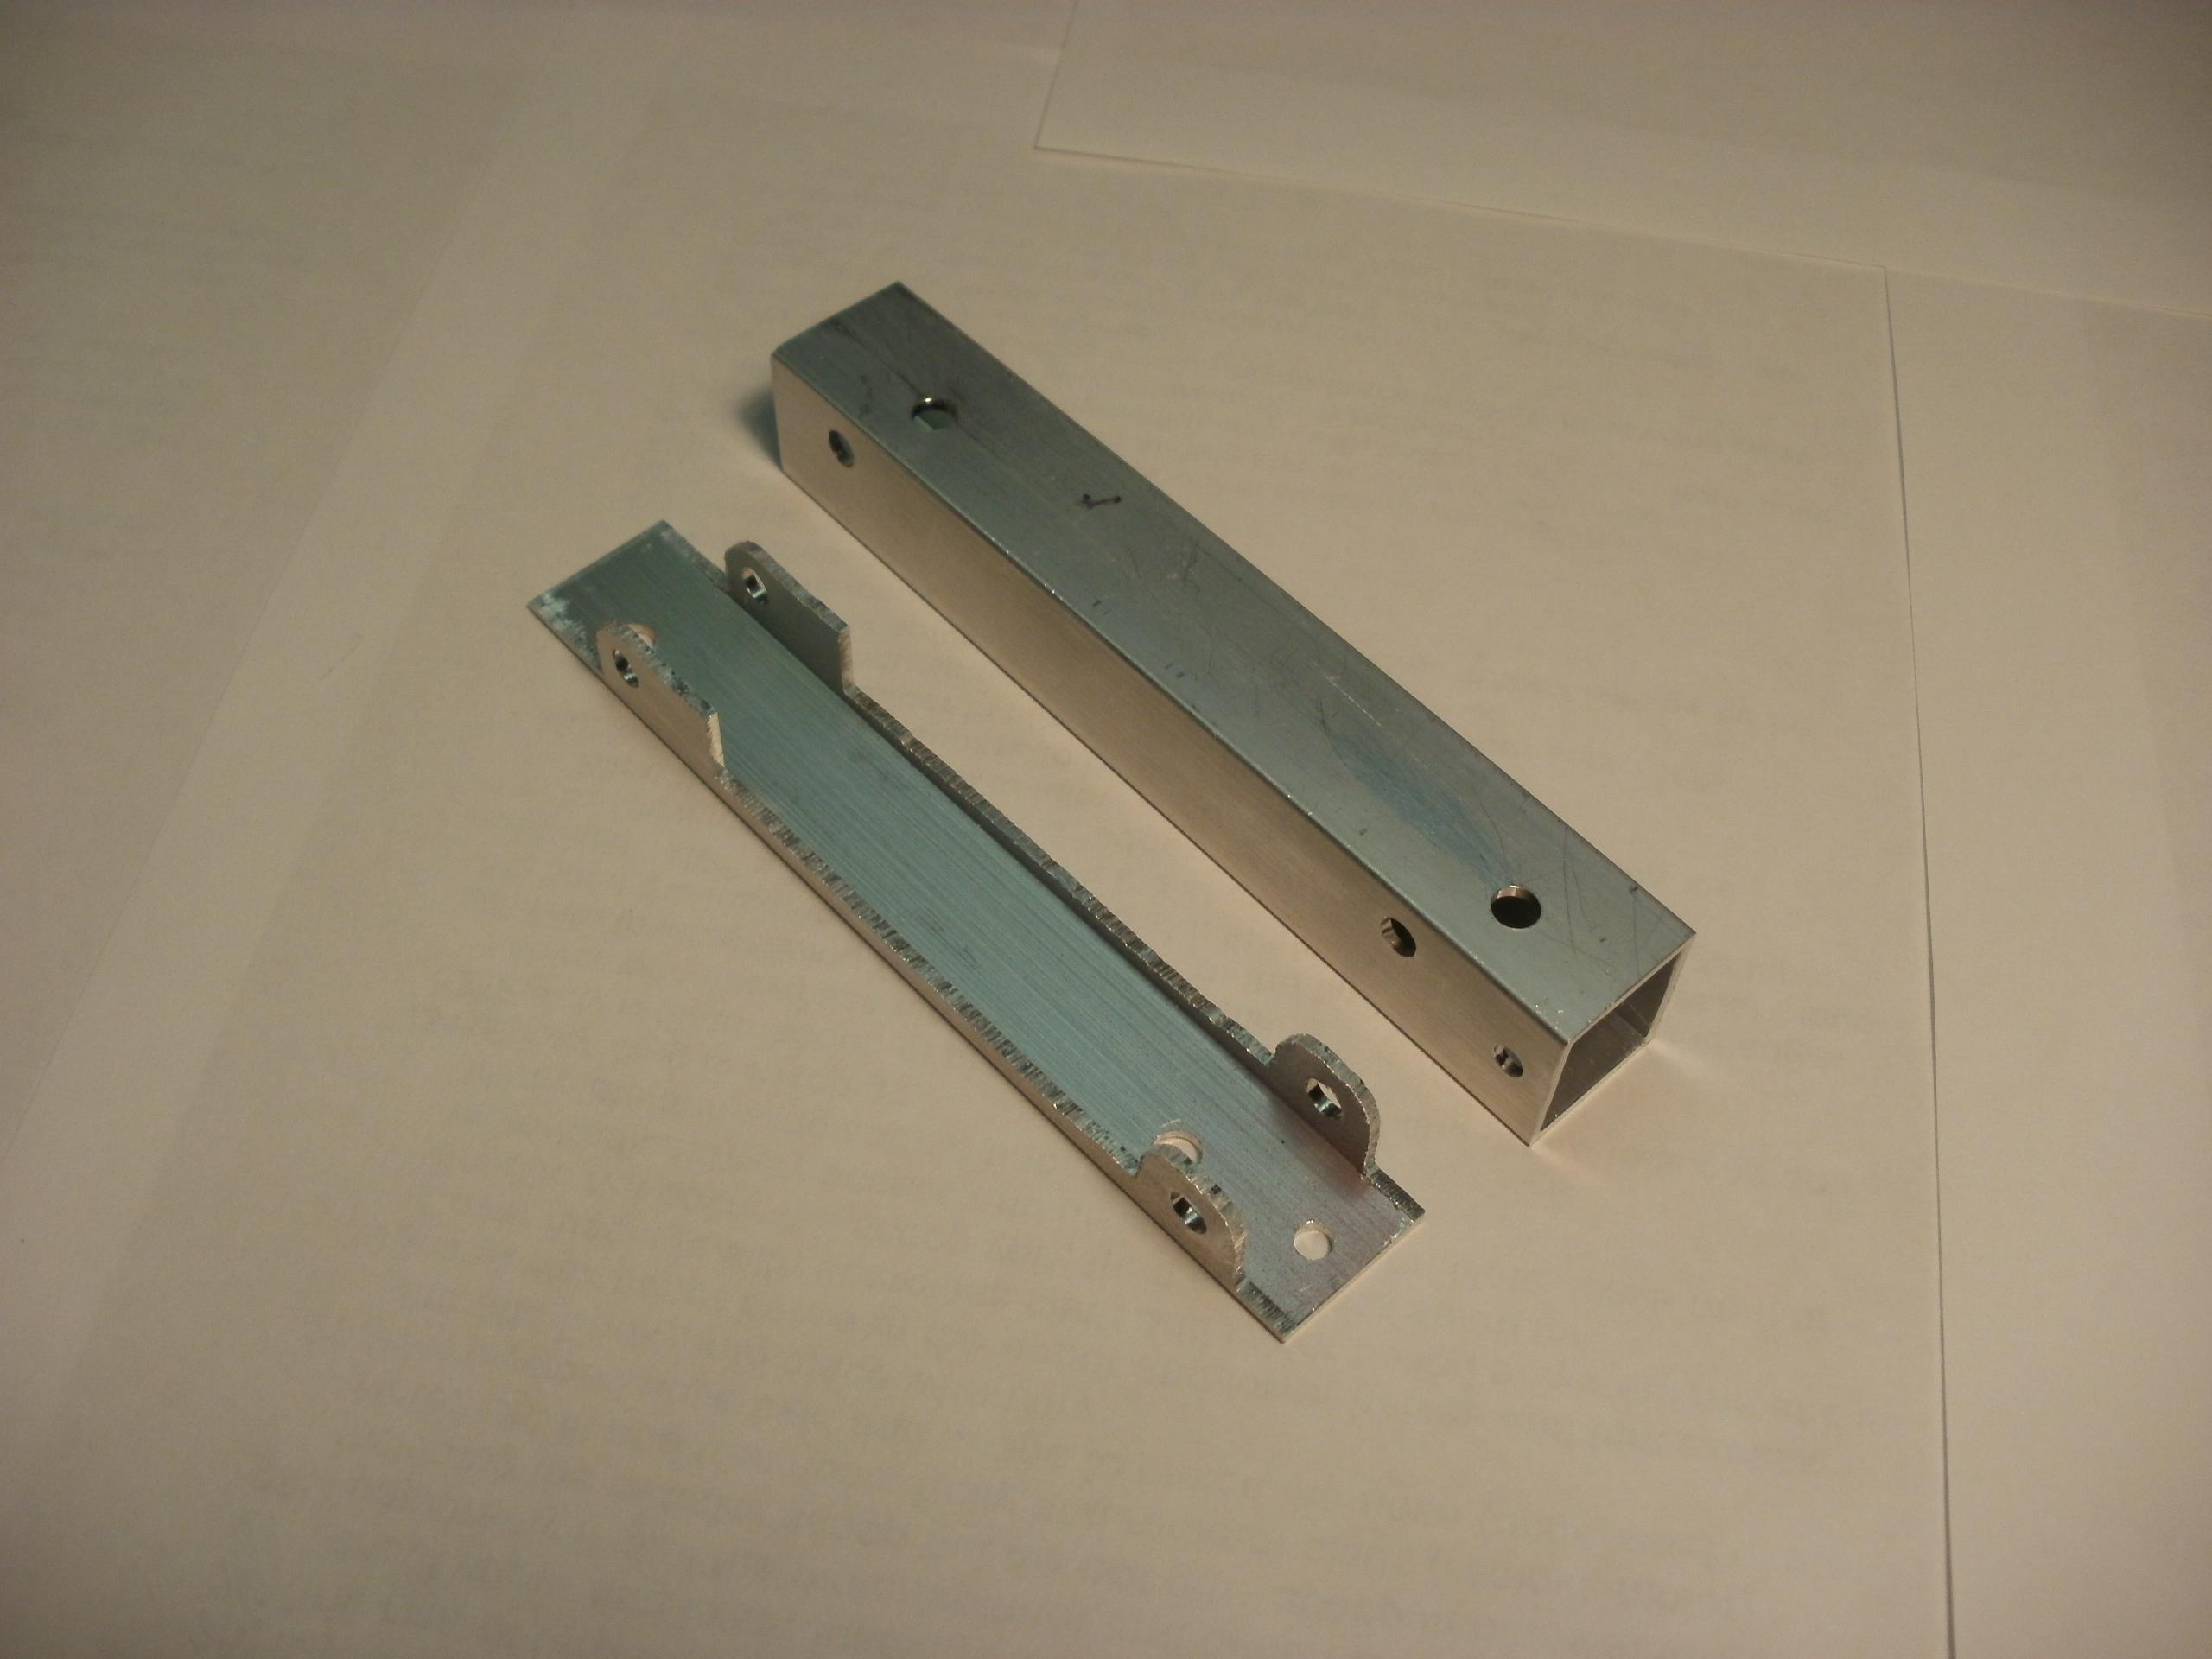
Bearings are Sloting Plus part# SP055000 single flange roller bearings (3/32ID x 3/16OD)
Size #14 “Nachi” drill = 0.181″ diameter, and a .1875″ “Dormer” reamer.
Drill the hole through both sides of the square tubing. Ream immediately after drilling while the part is still in the vice or the bearings won’t line up properly. Use lots of oil on the drill and reamer to keep the hole diameter accurate.
It might be wise to invest in a center drill too. Nothing worse than a wandering drill bit.
Ken
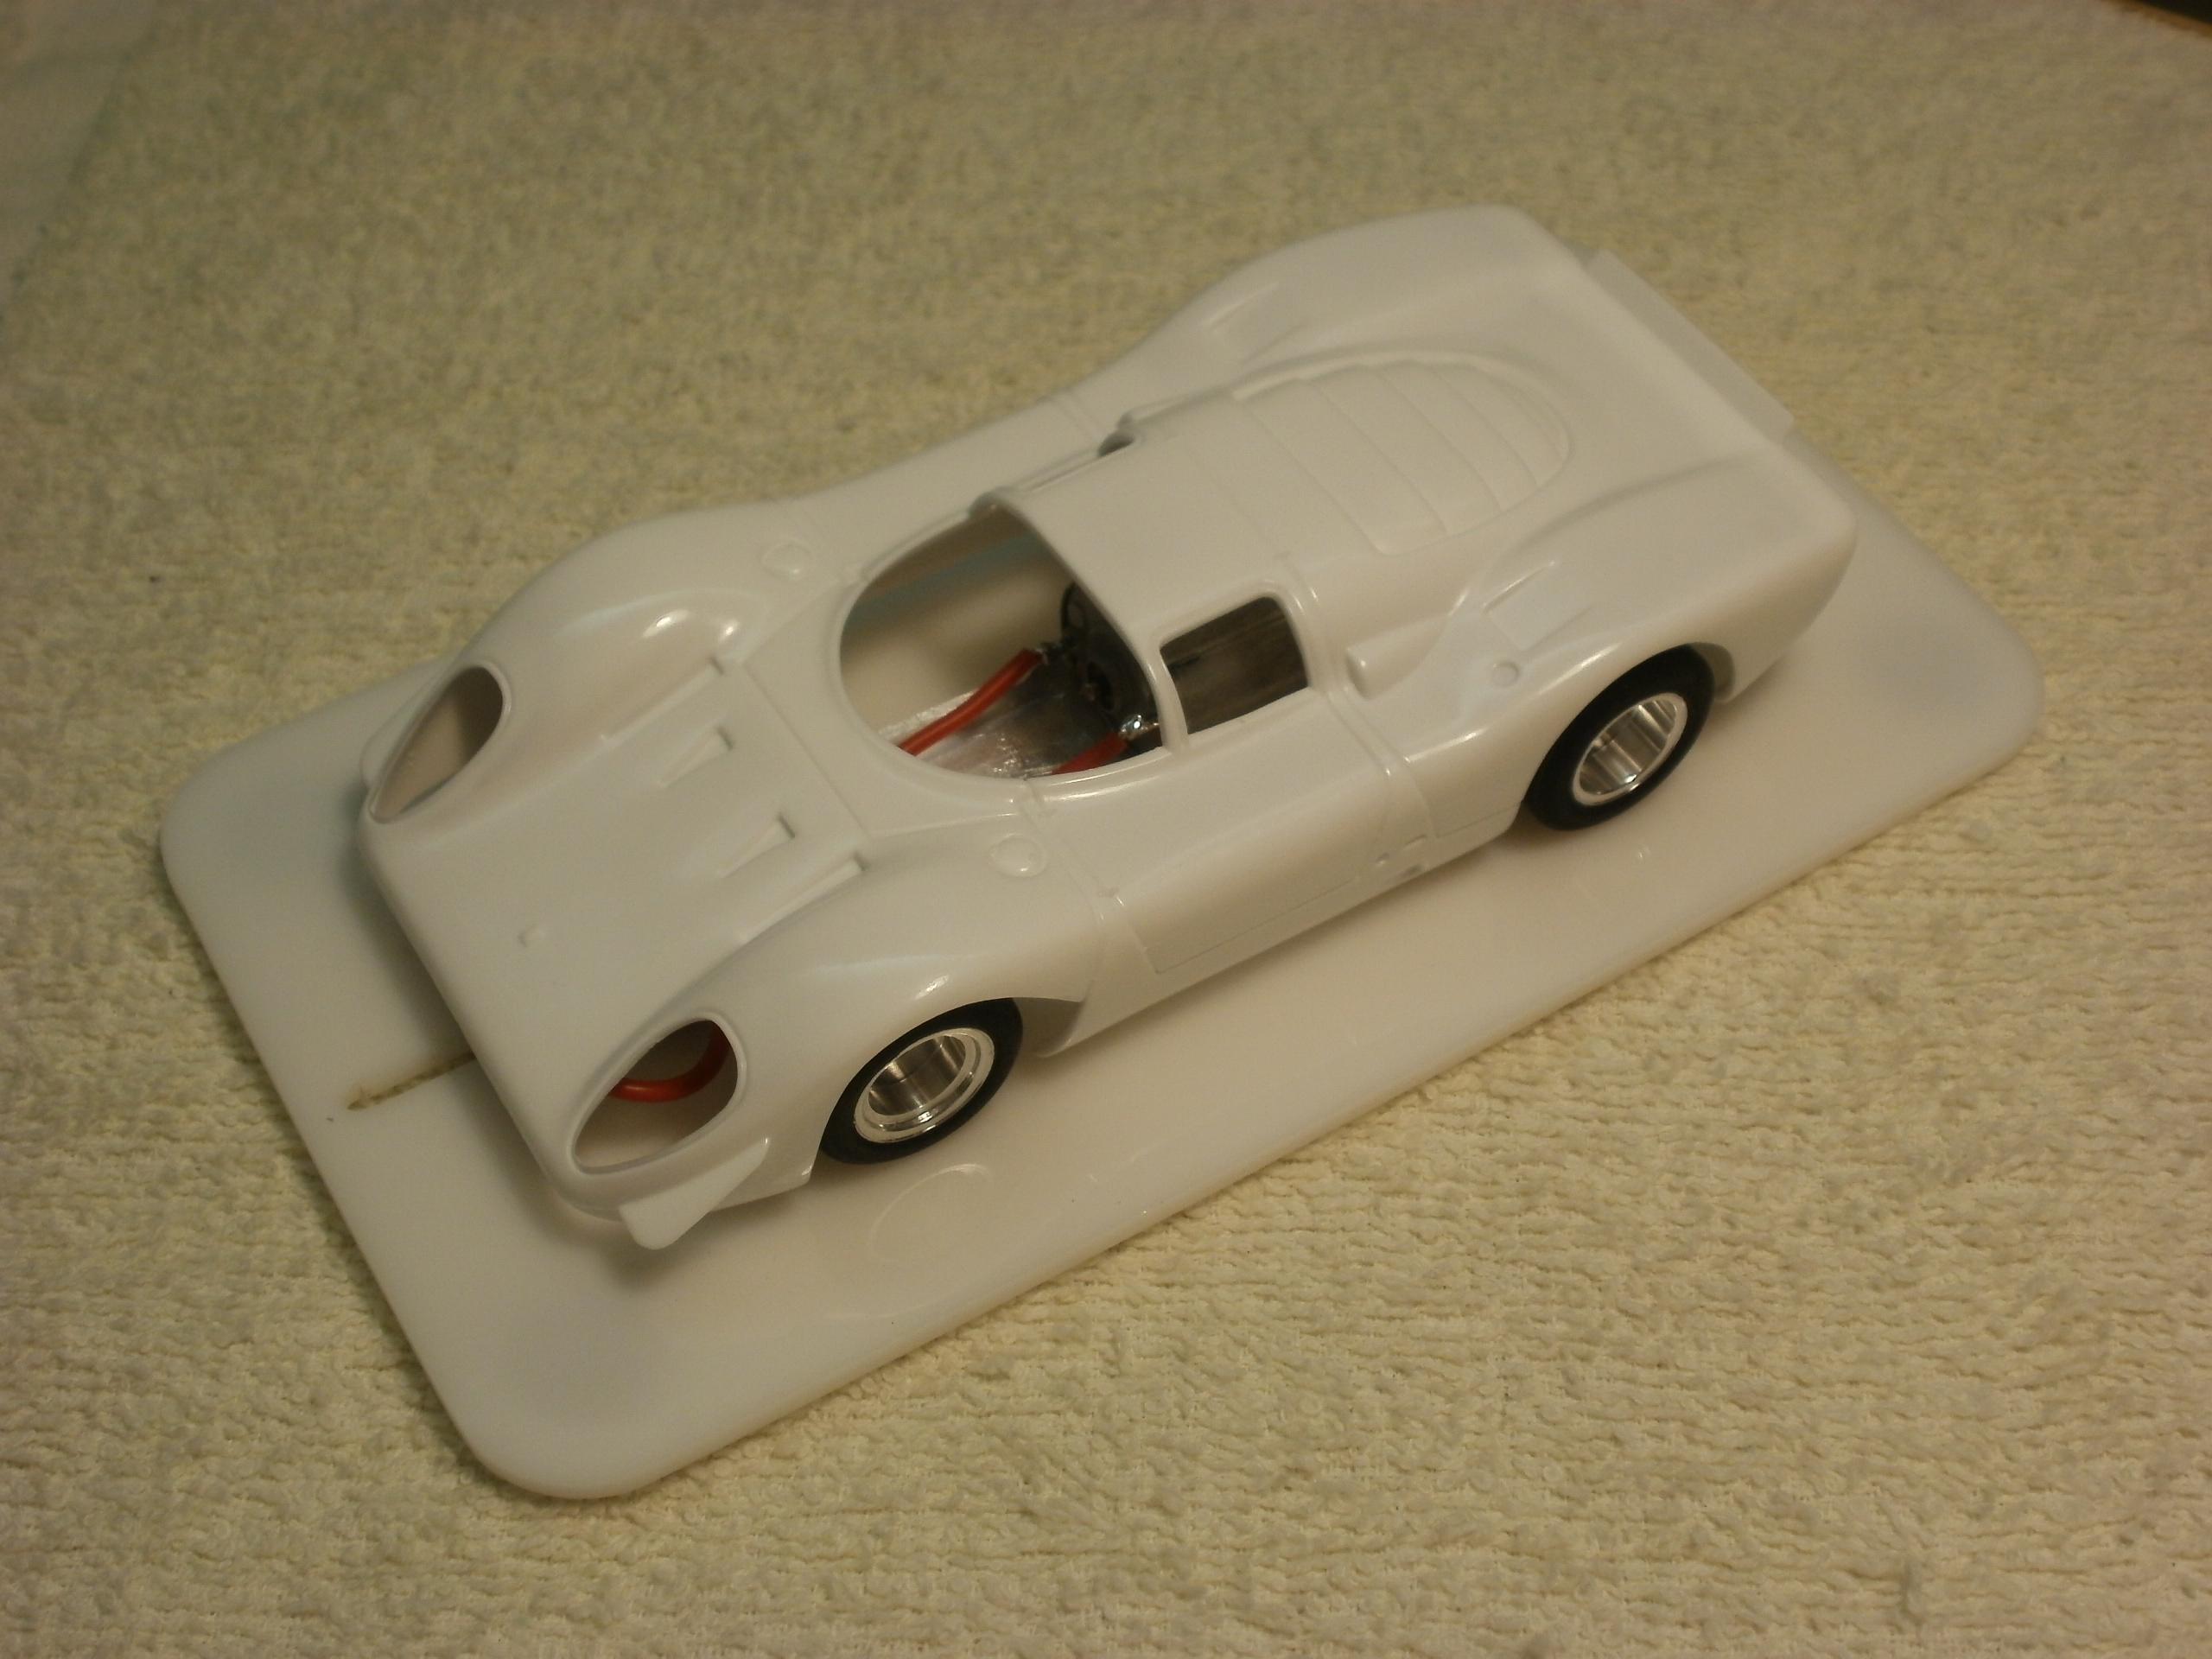
On the block. More pics to follow with interior and final weight. Thank you very kindly, Ken.
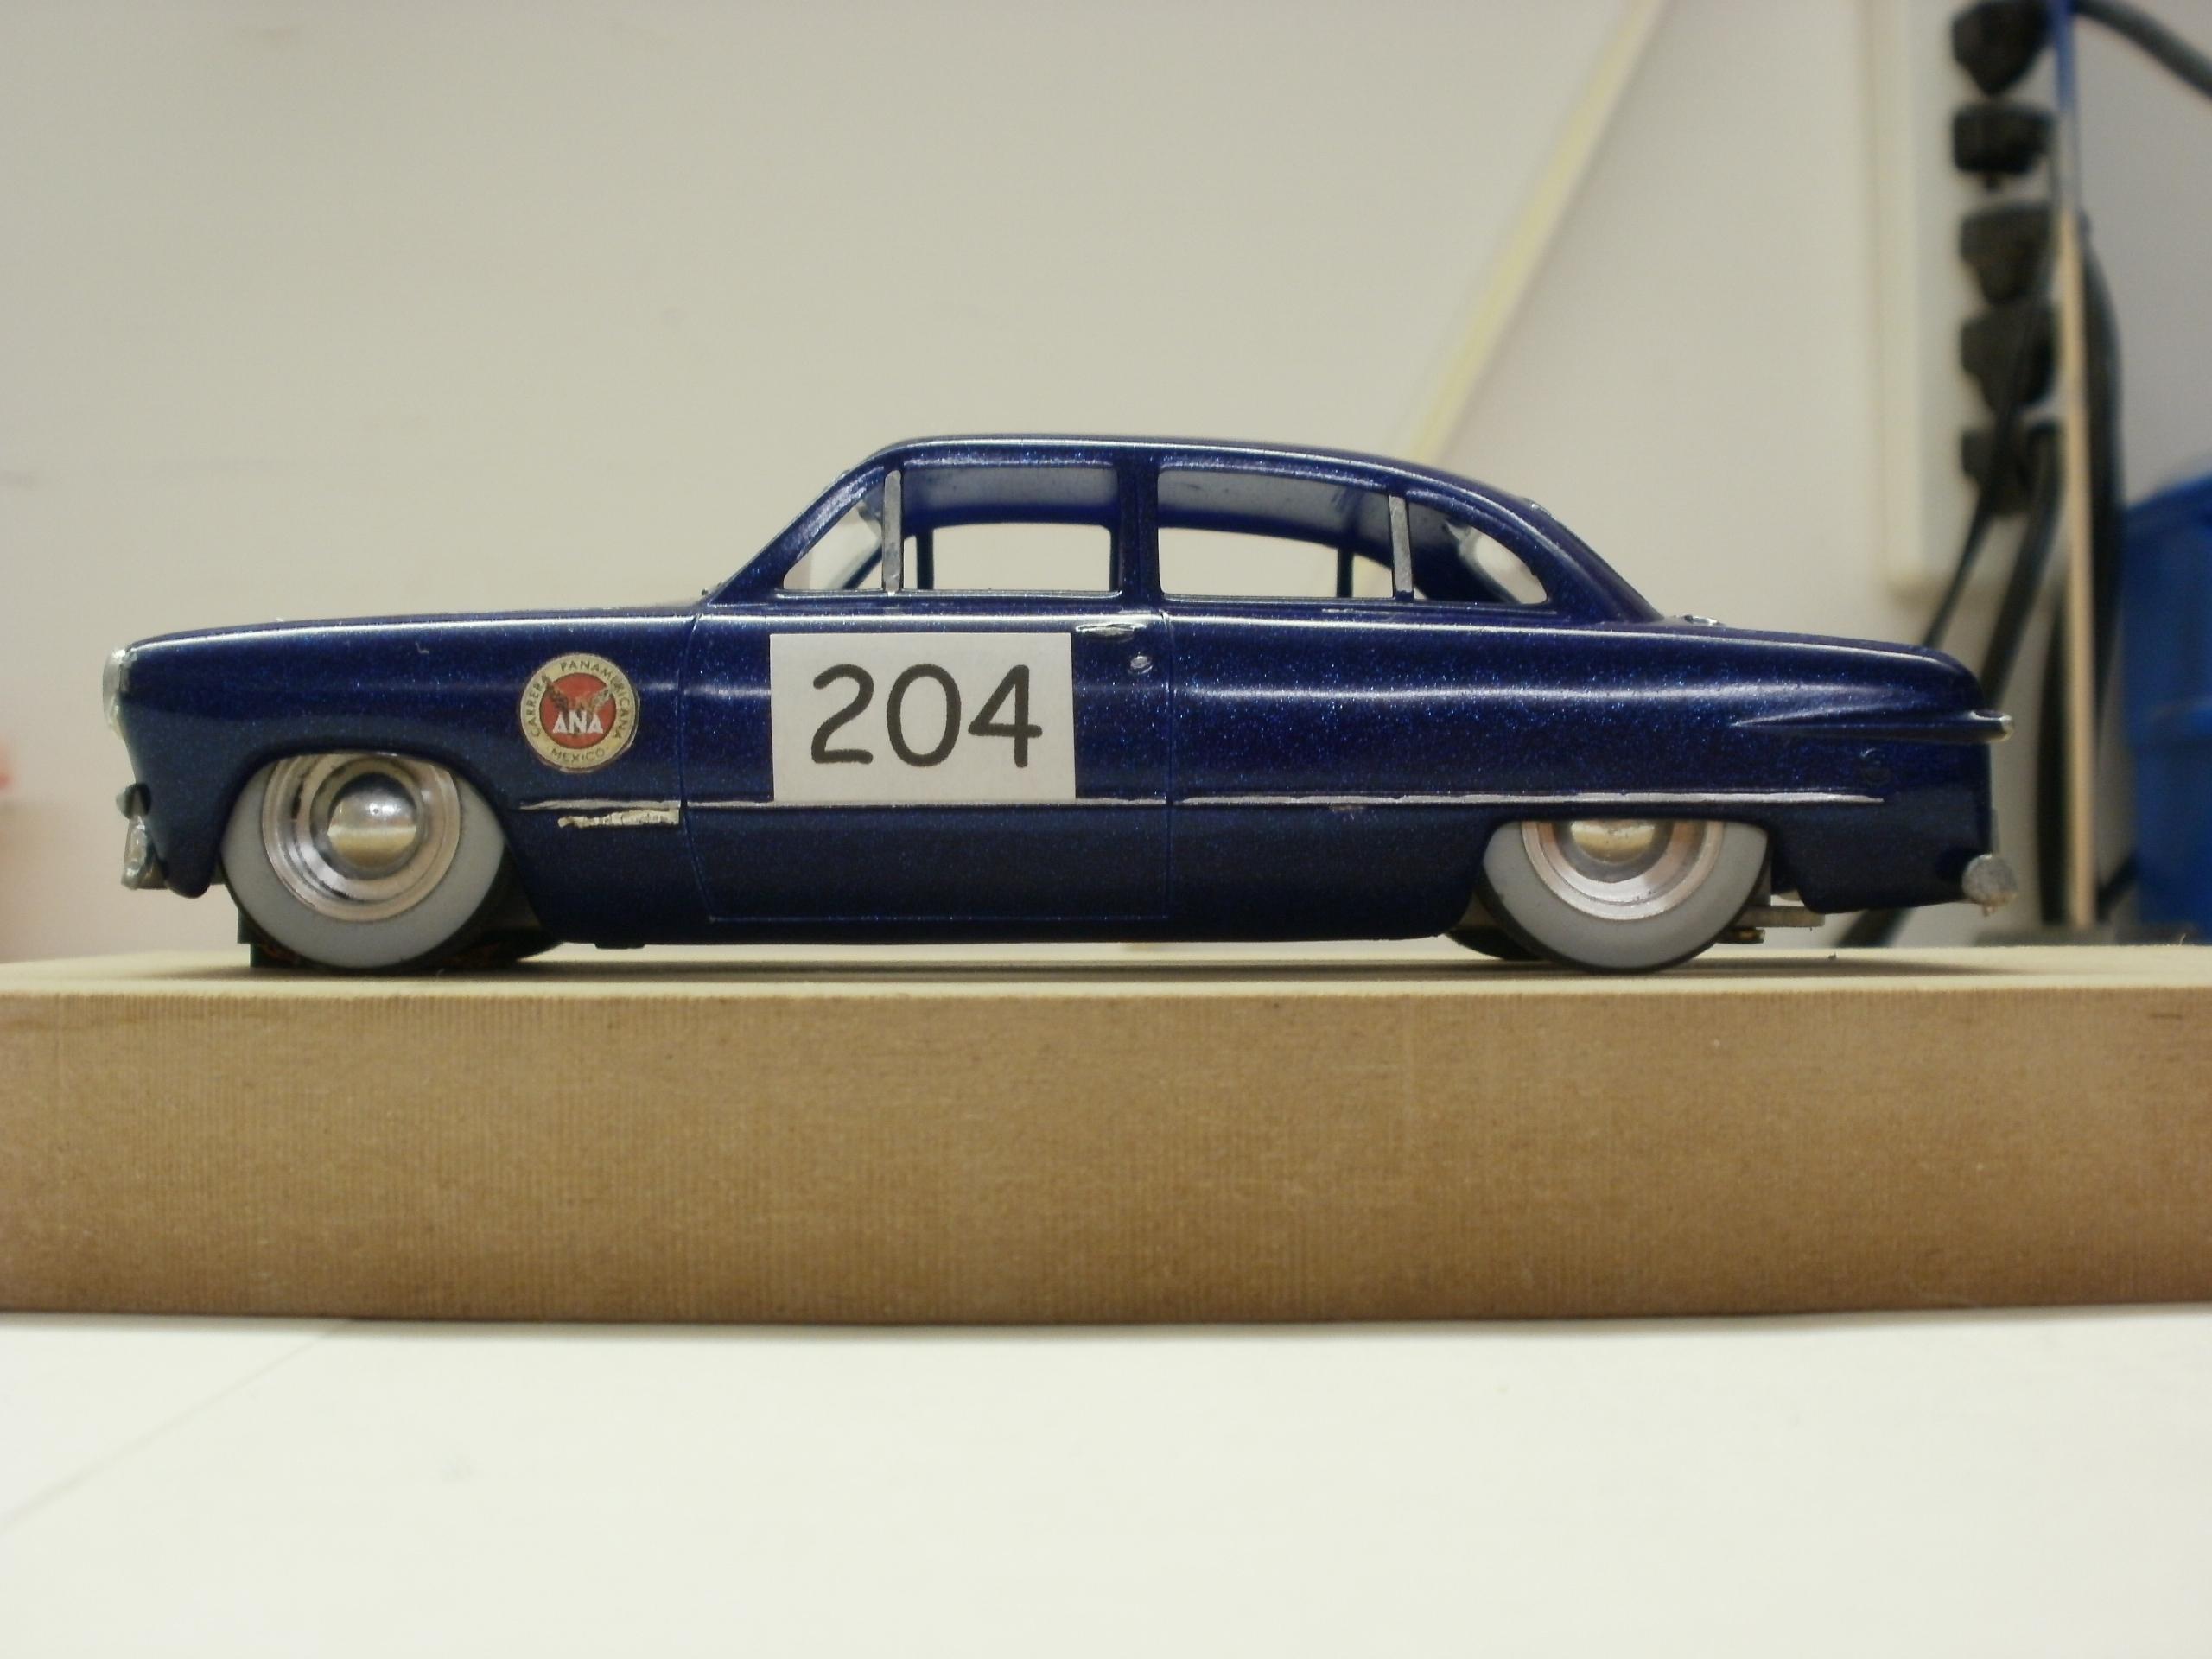
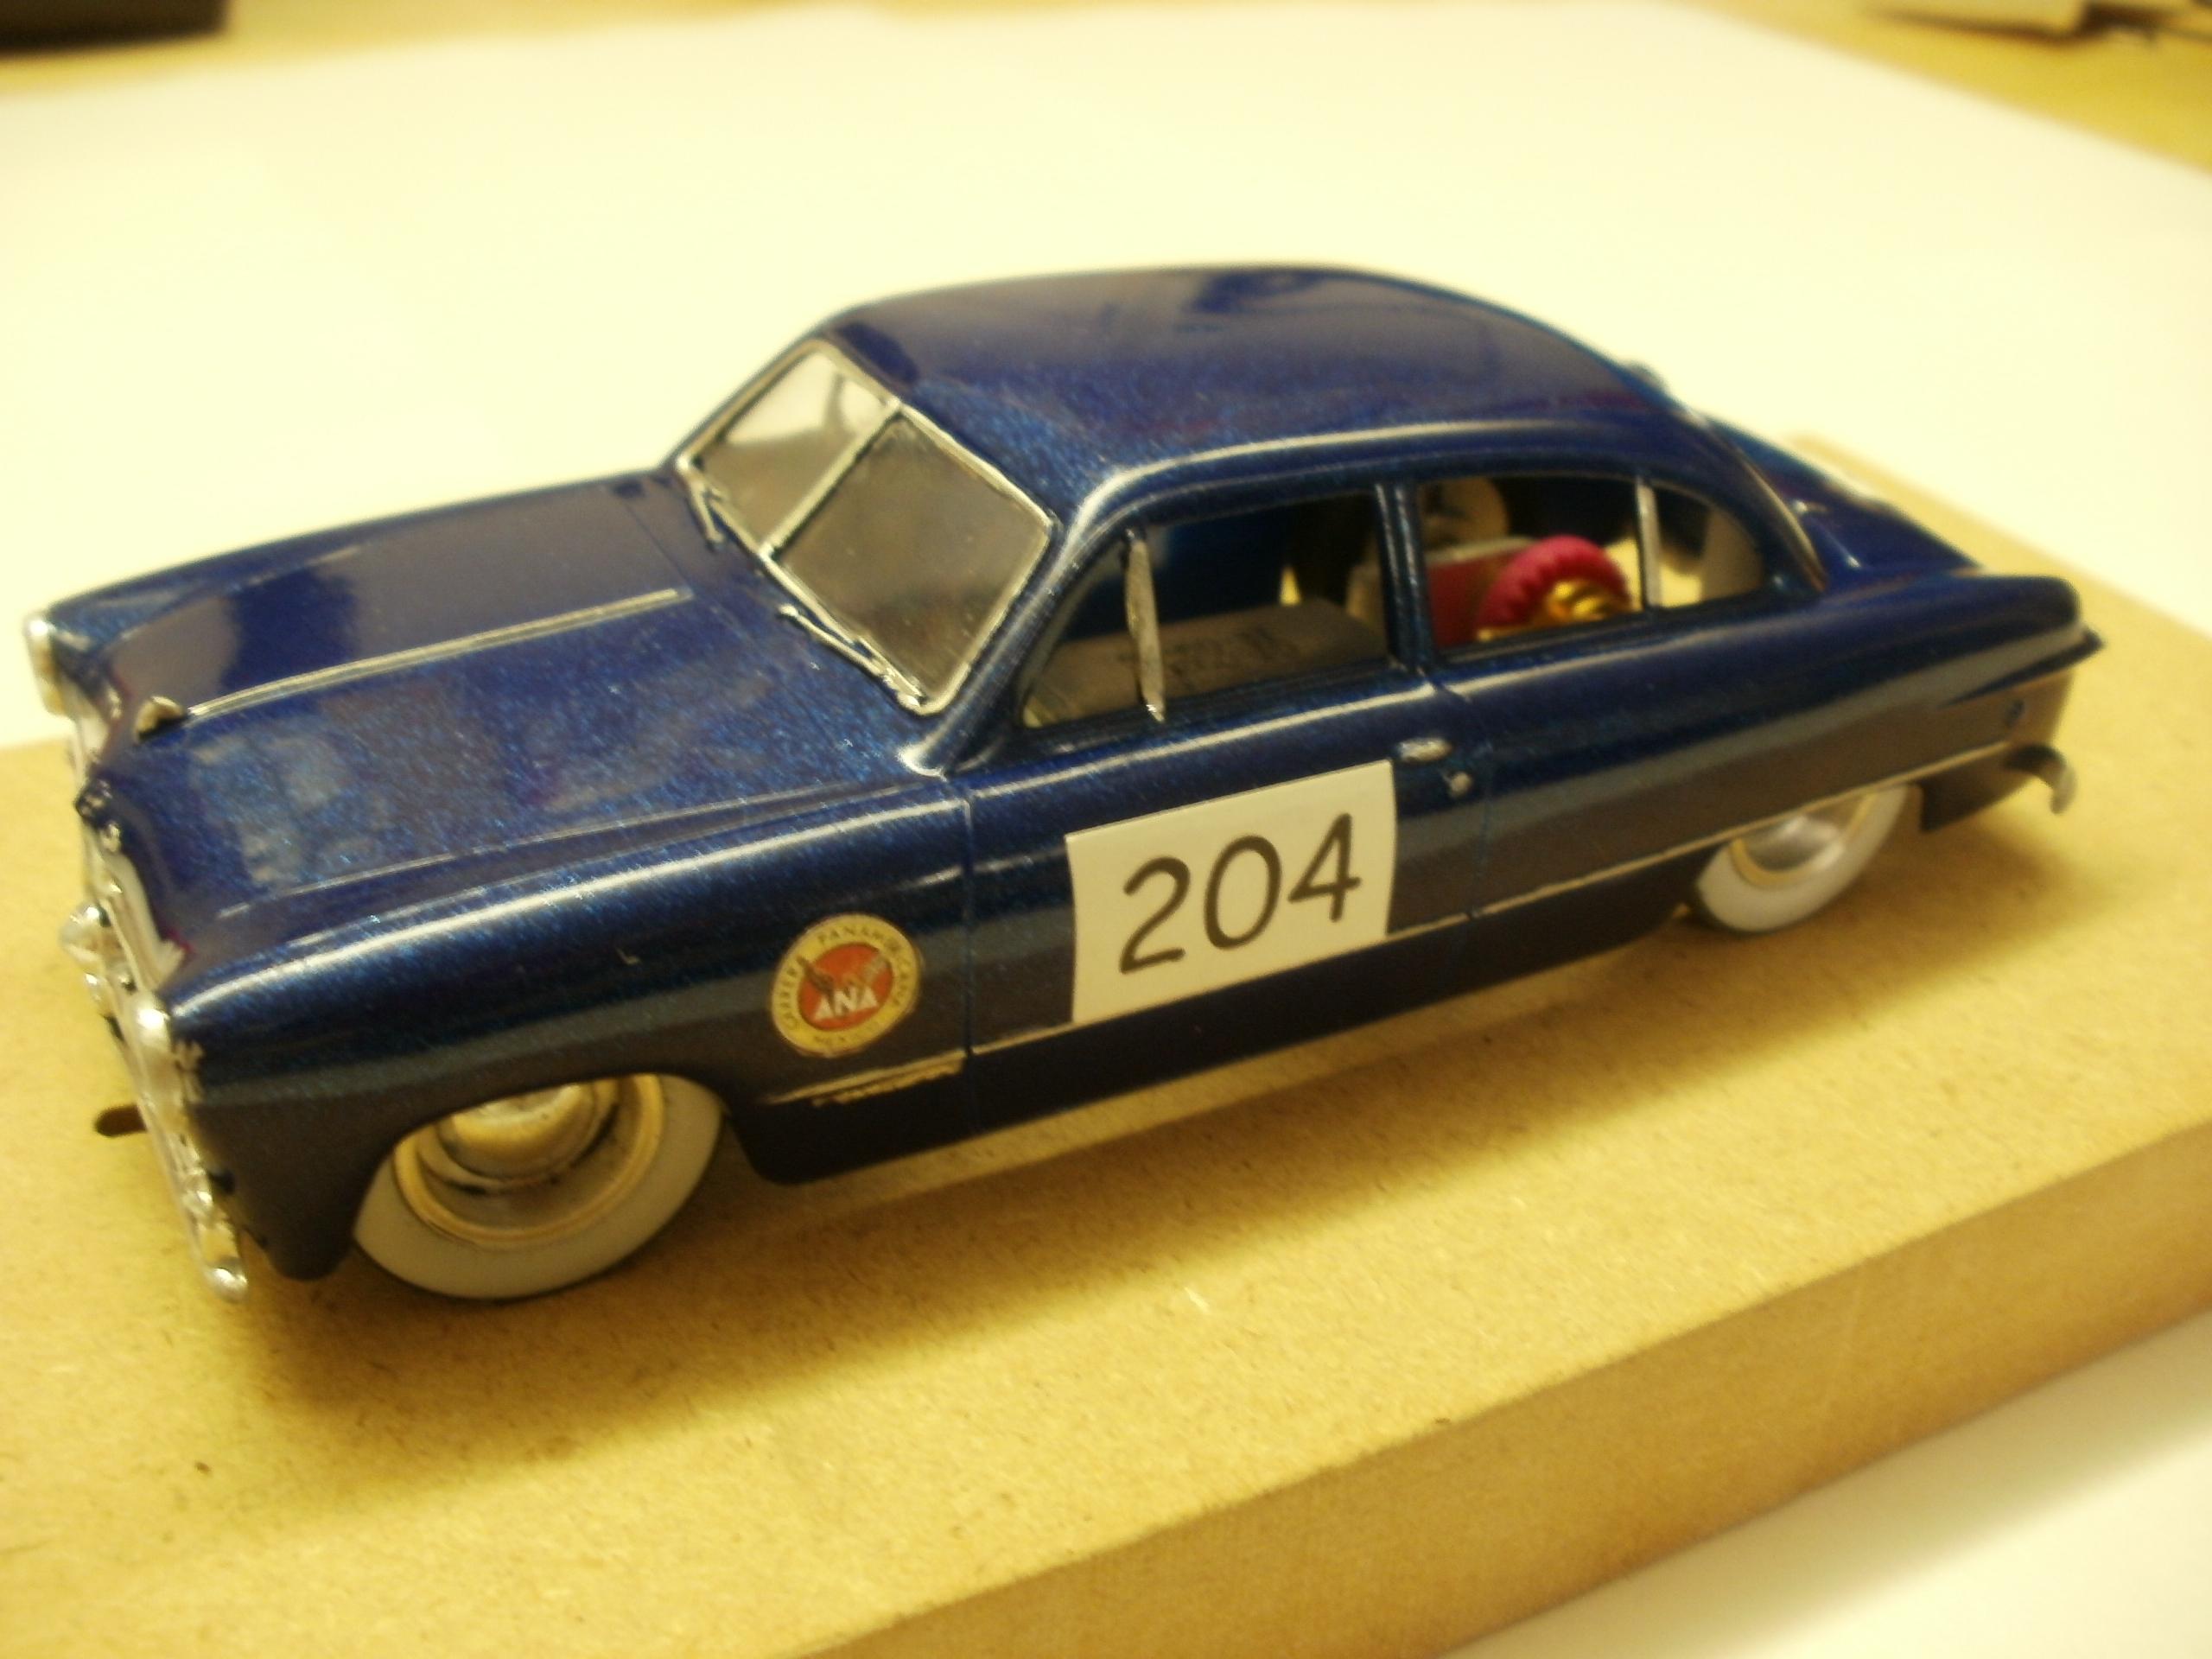
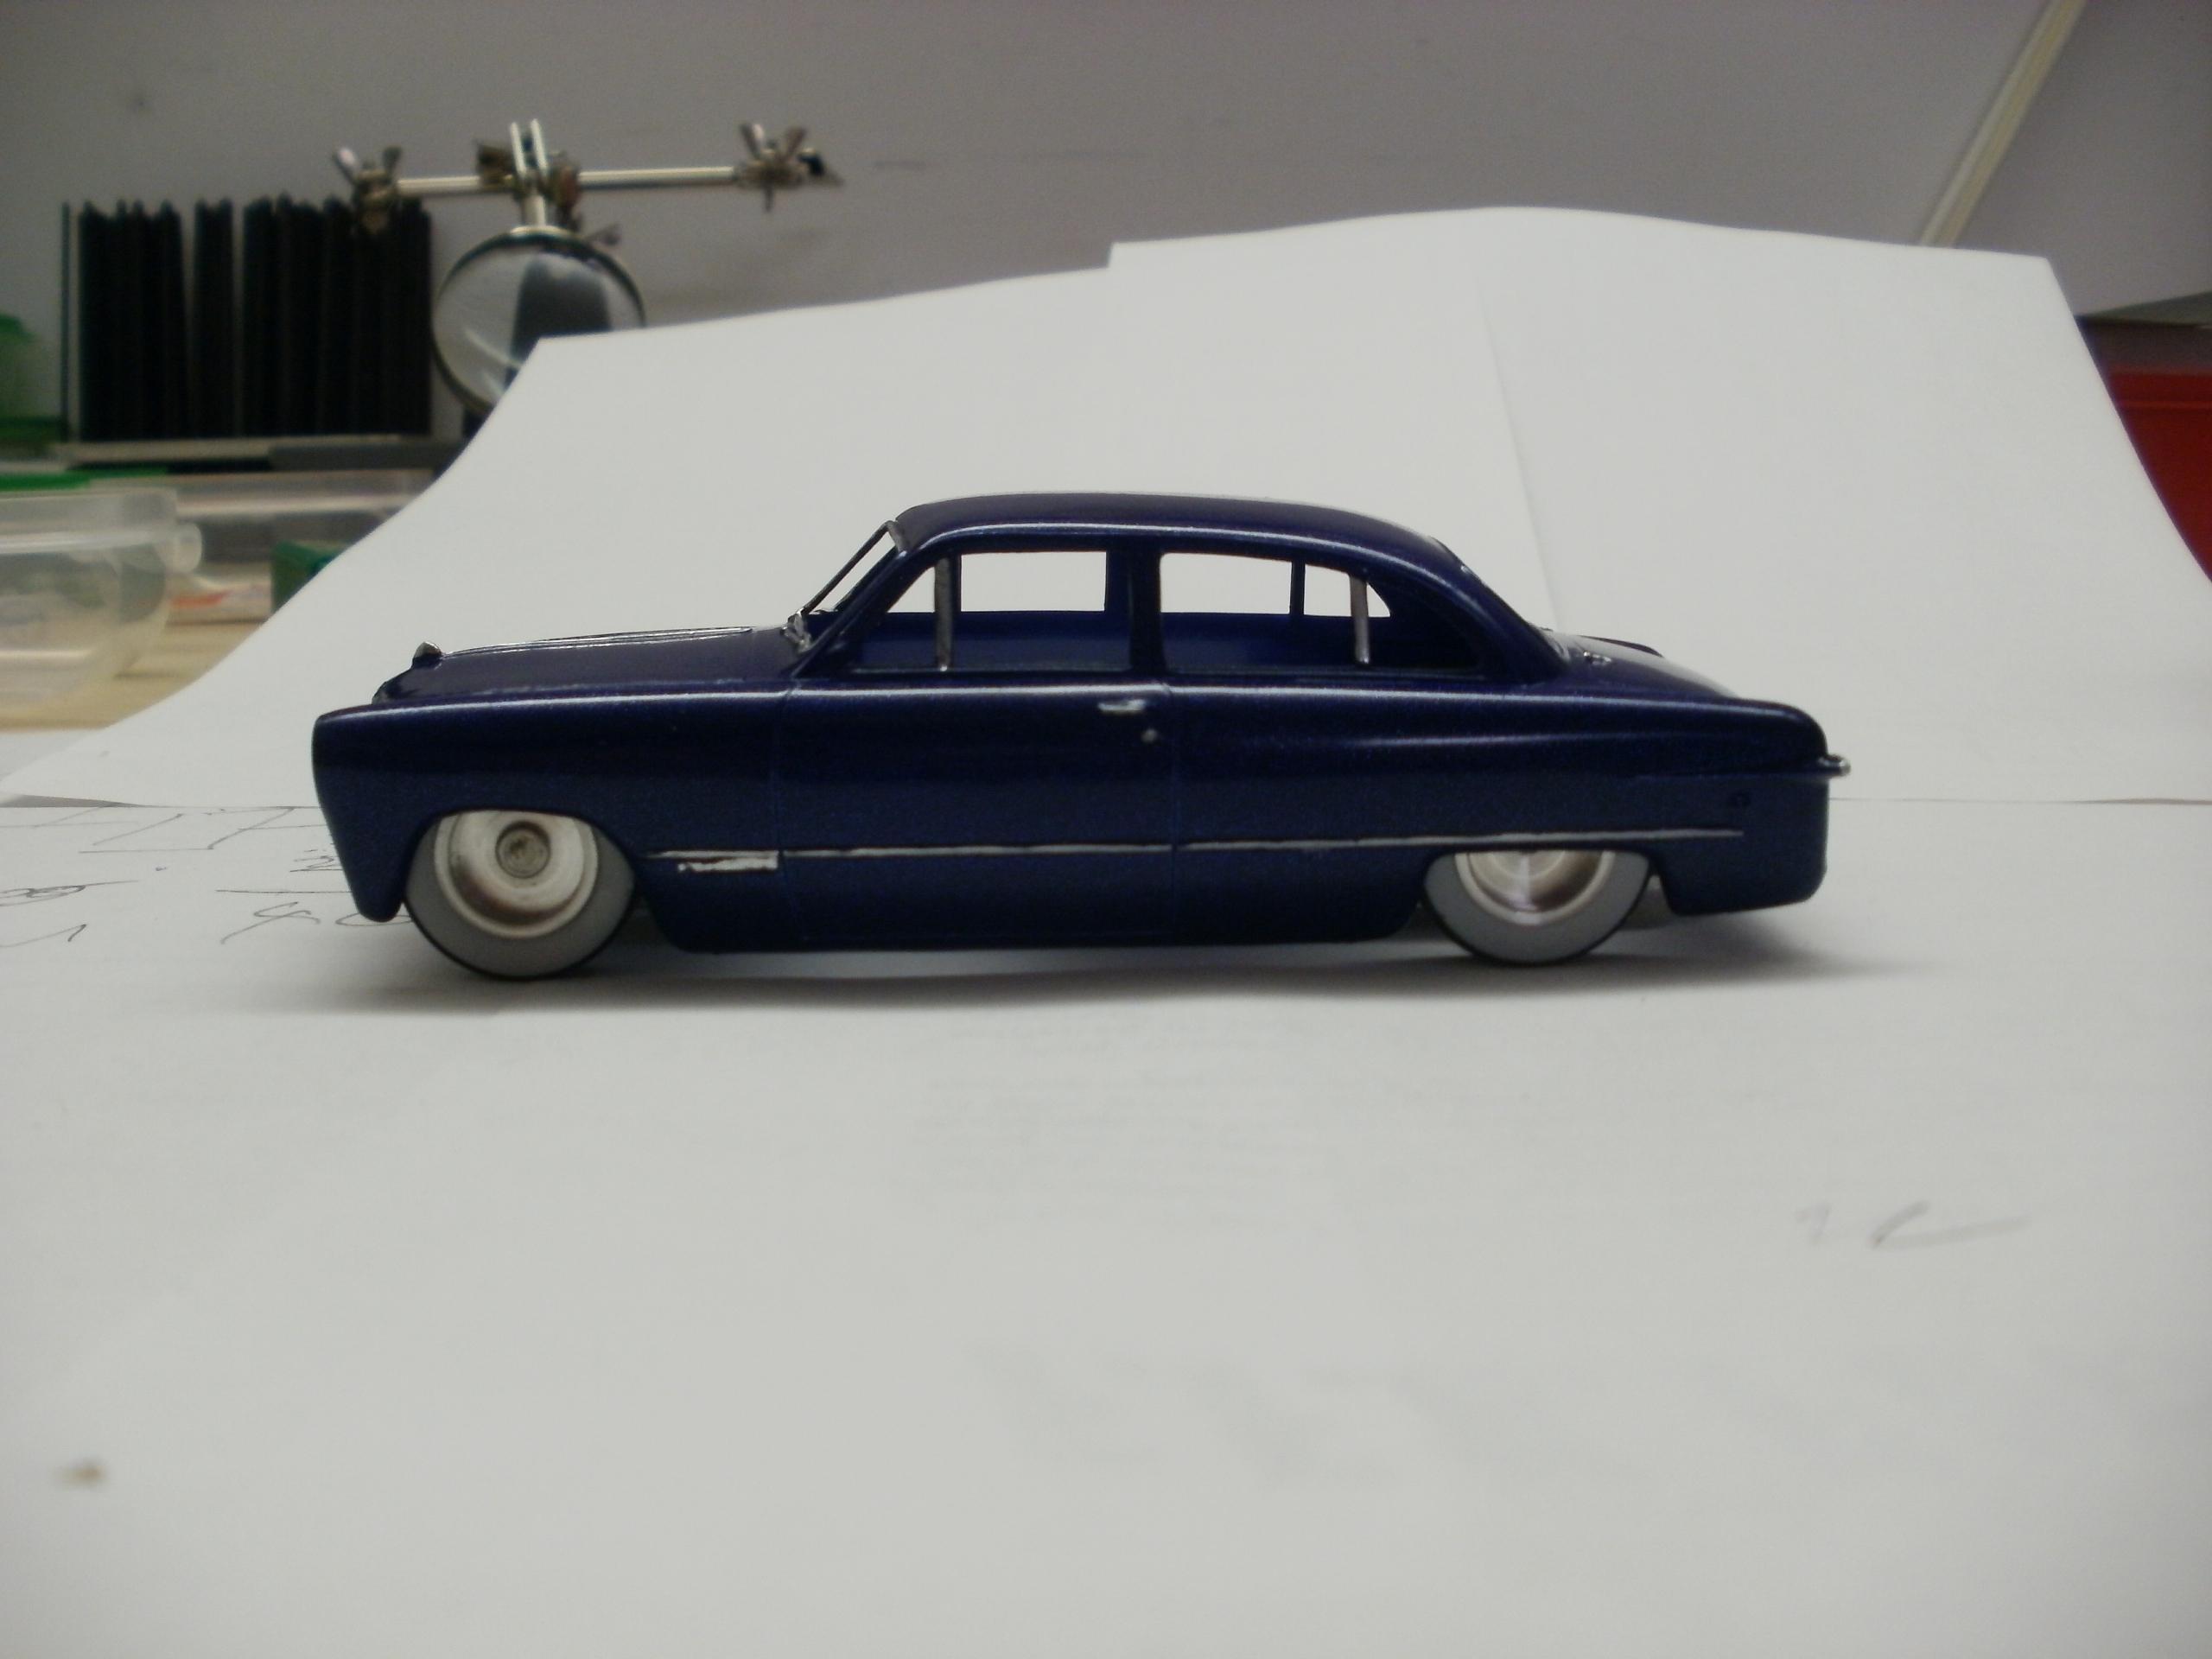
She’s fully licenced and ready for the road. Sorry about the crappy numbers. My nerves are a mess.
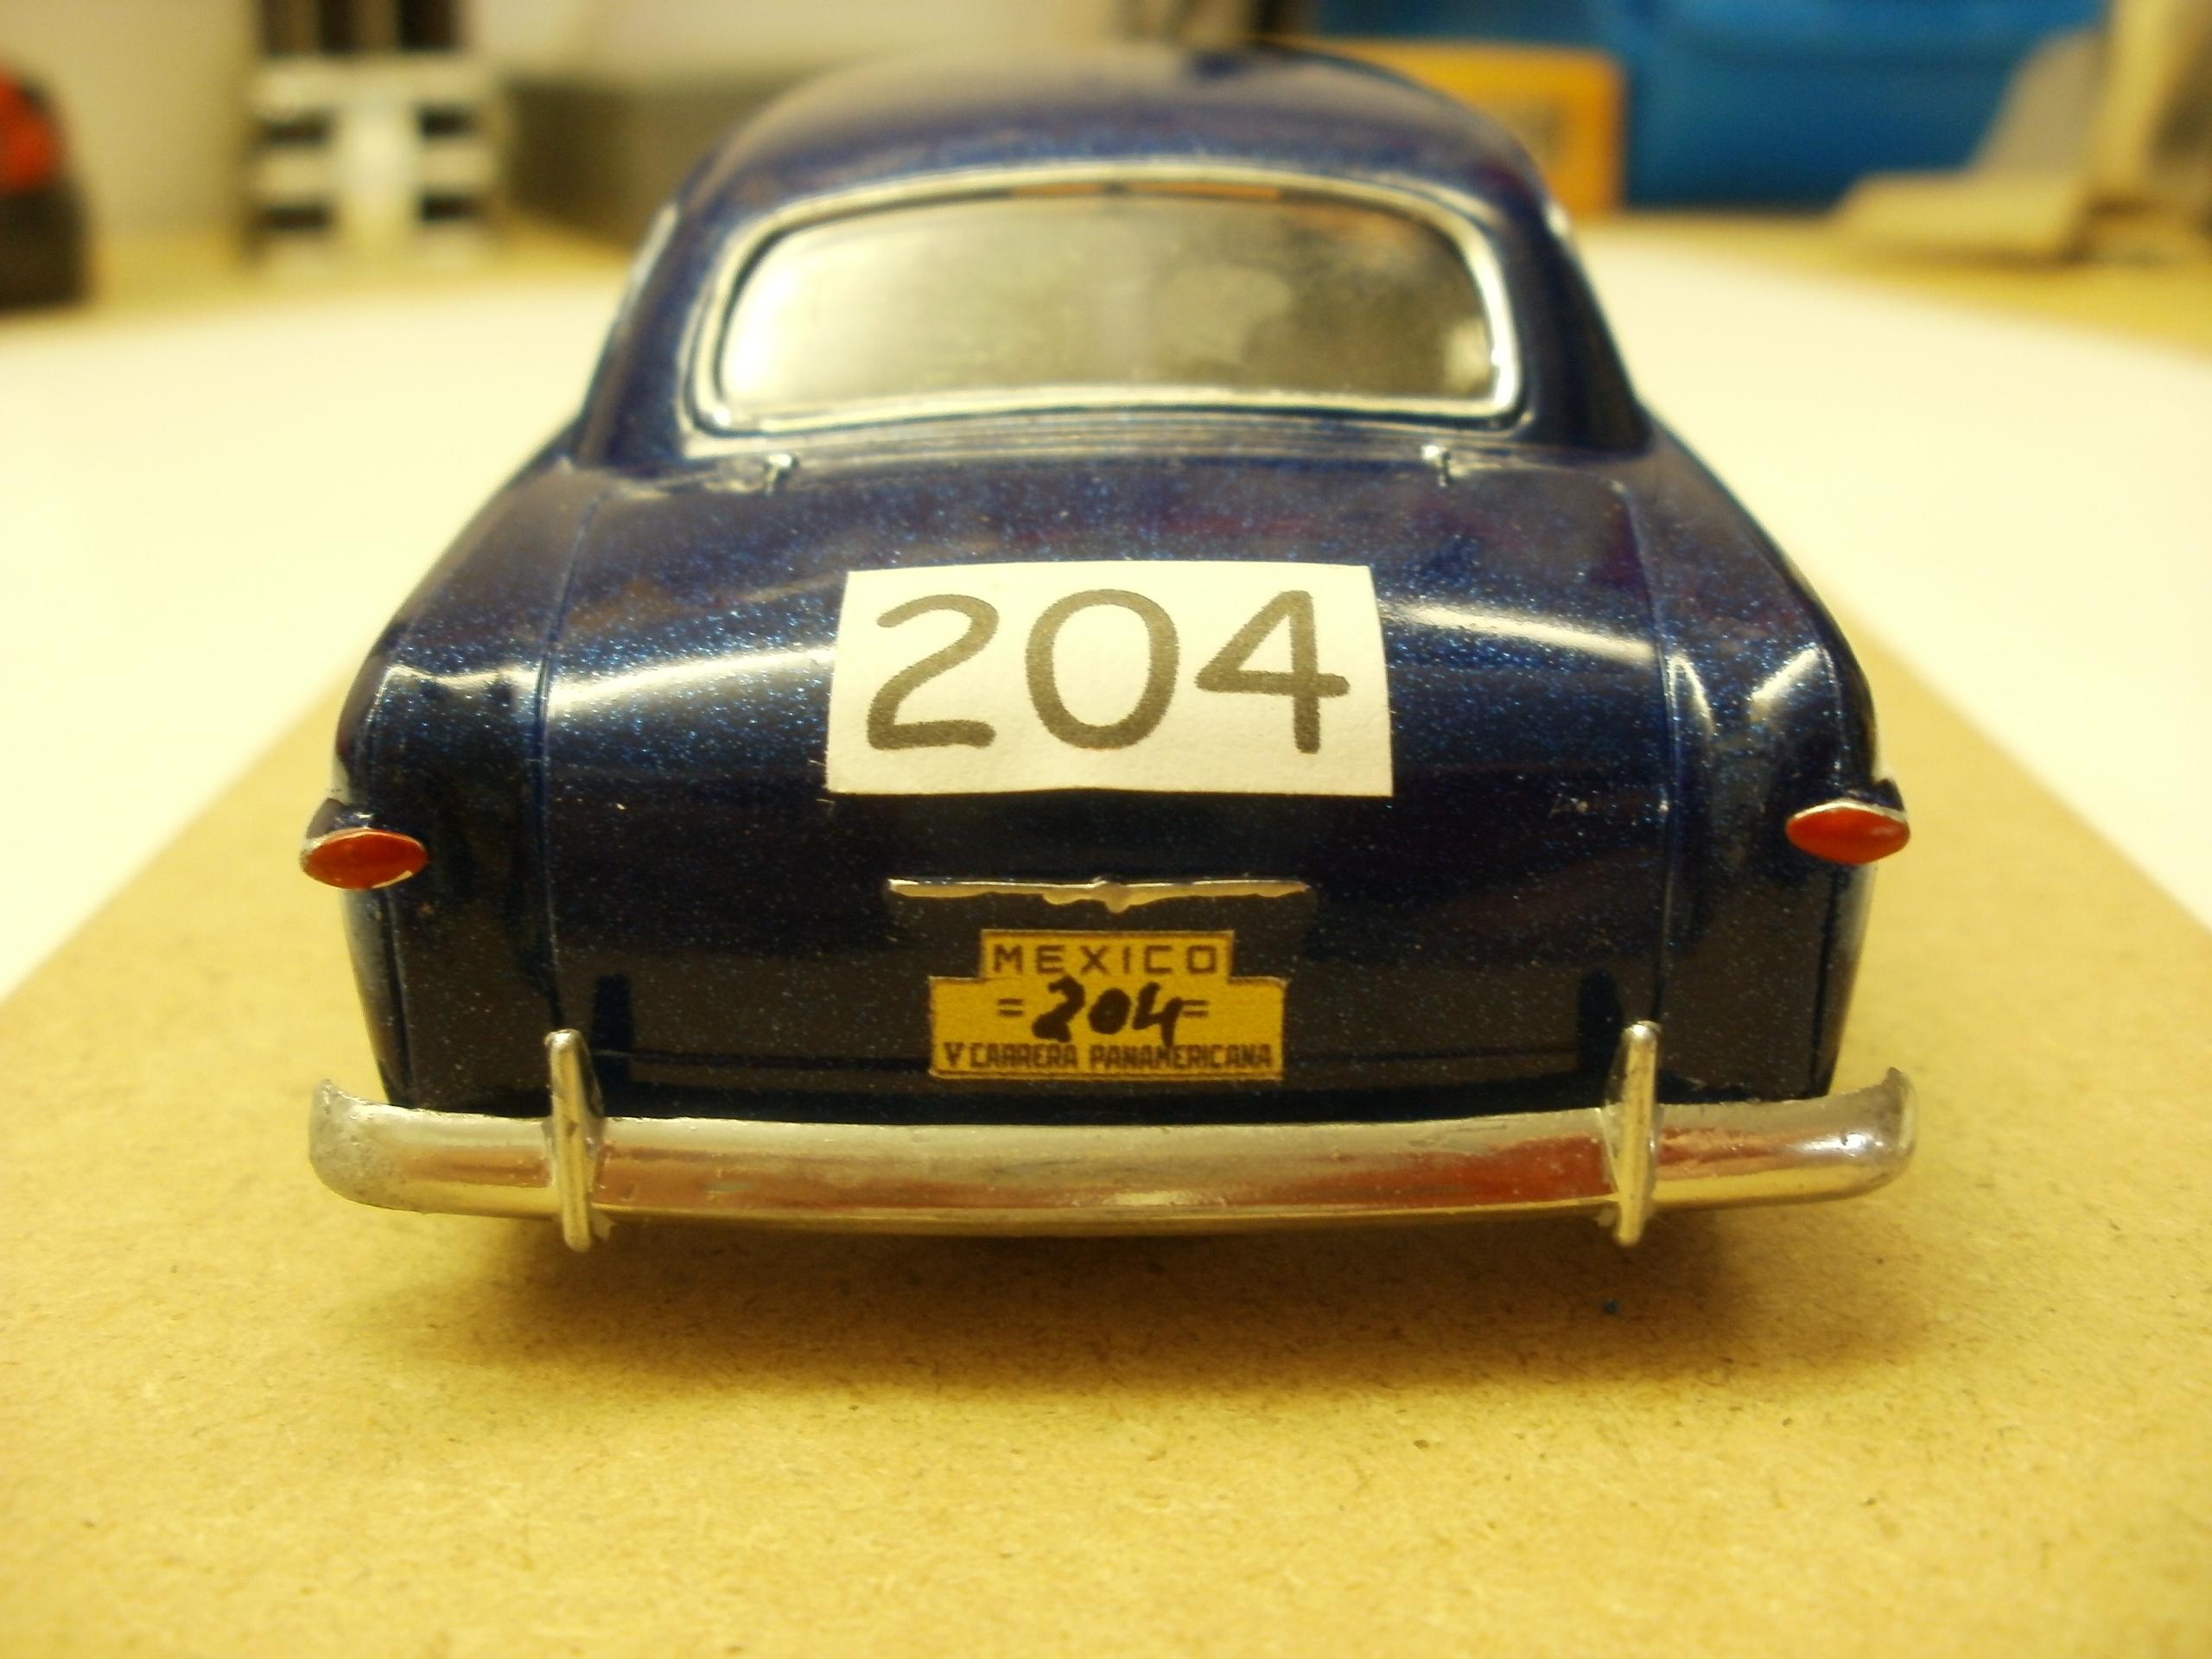
With decals.
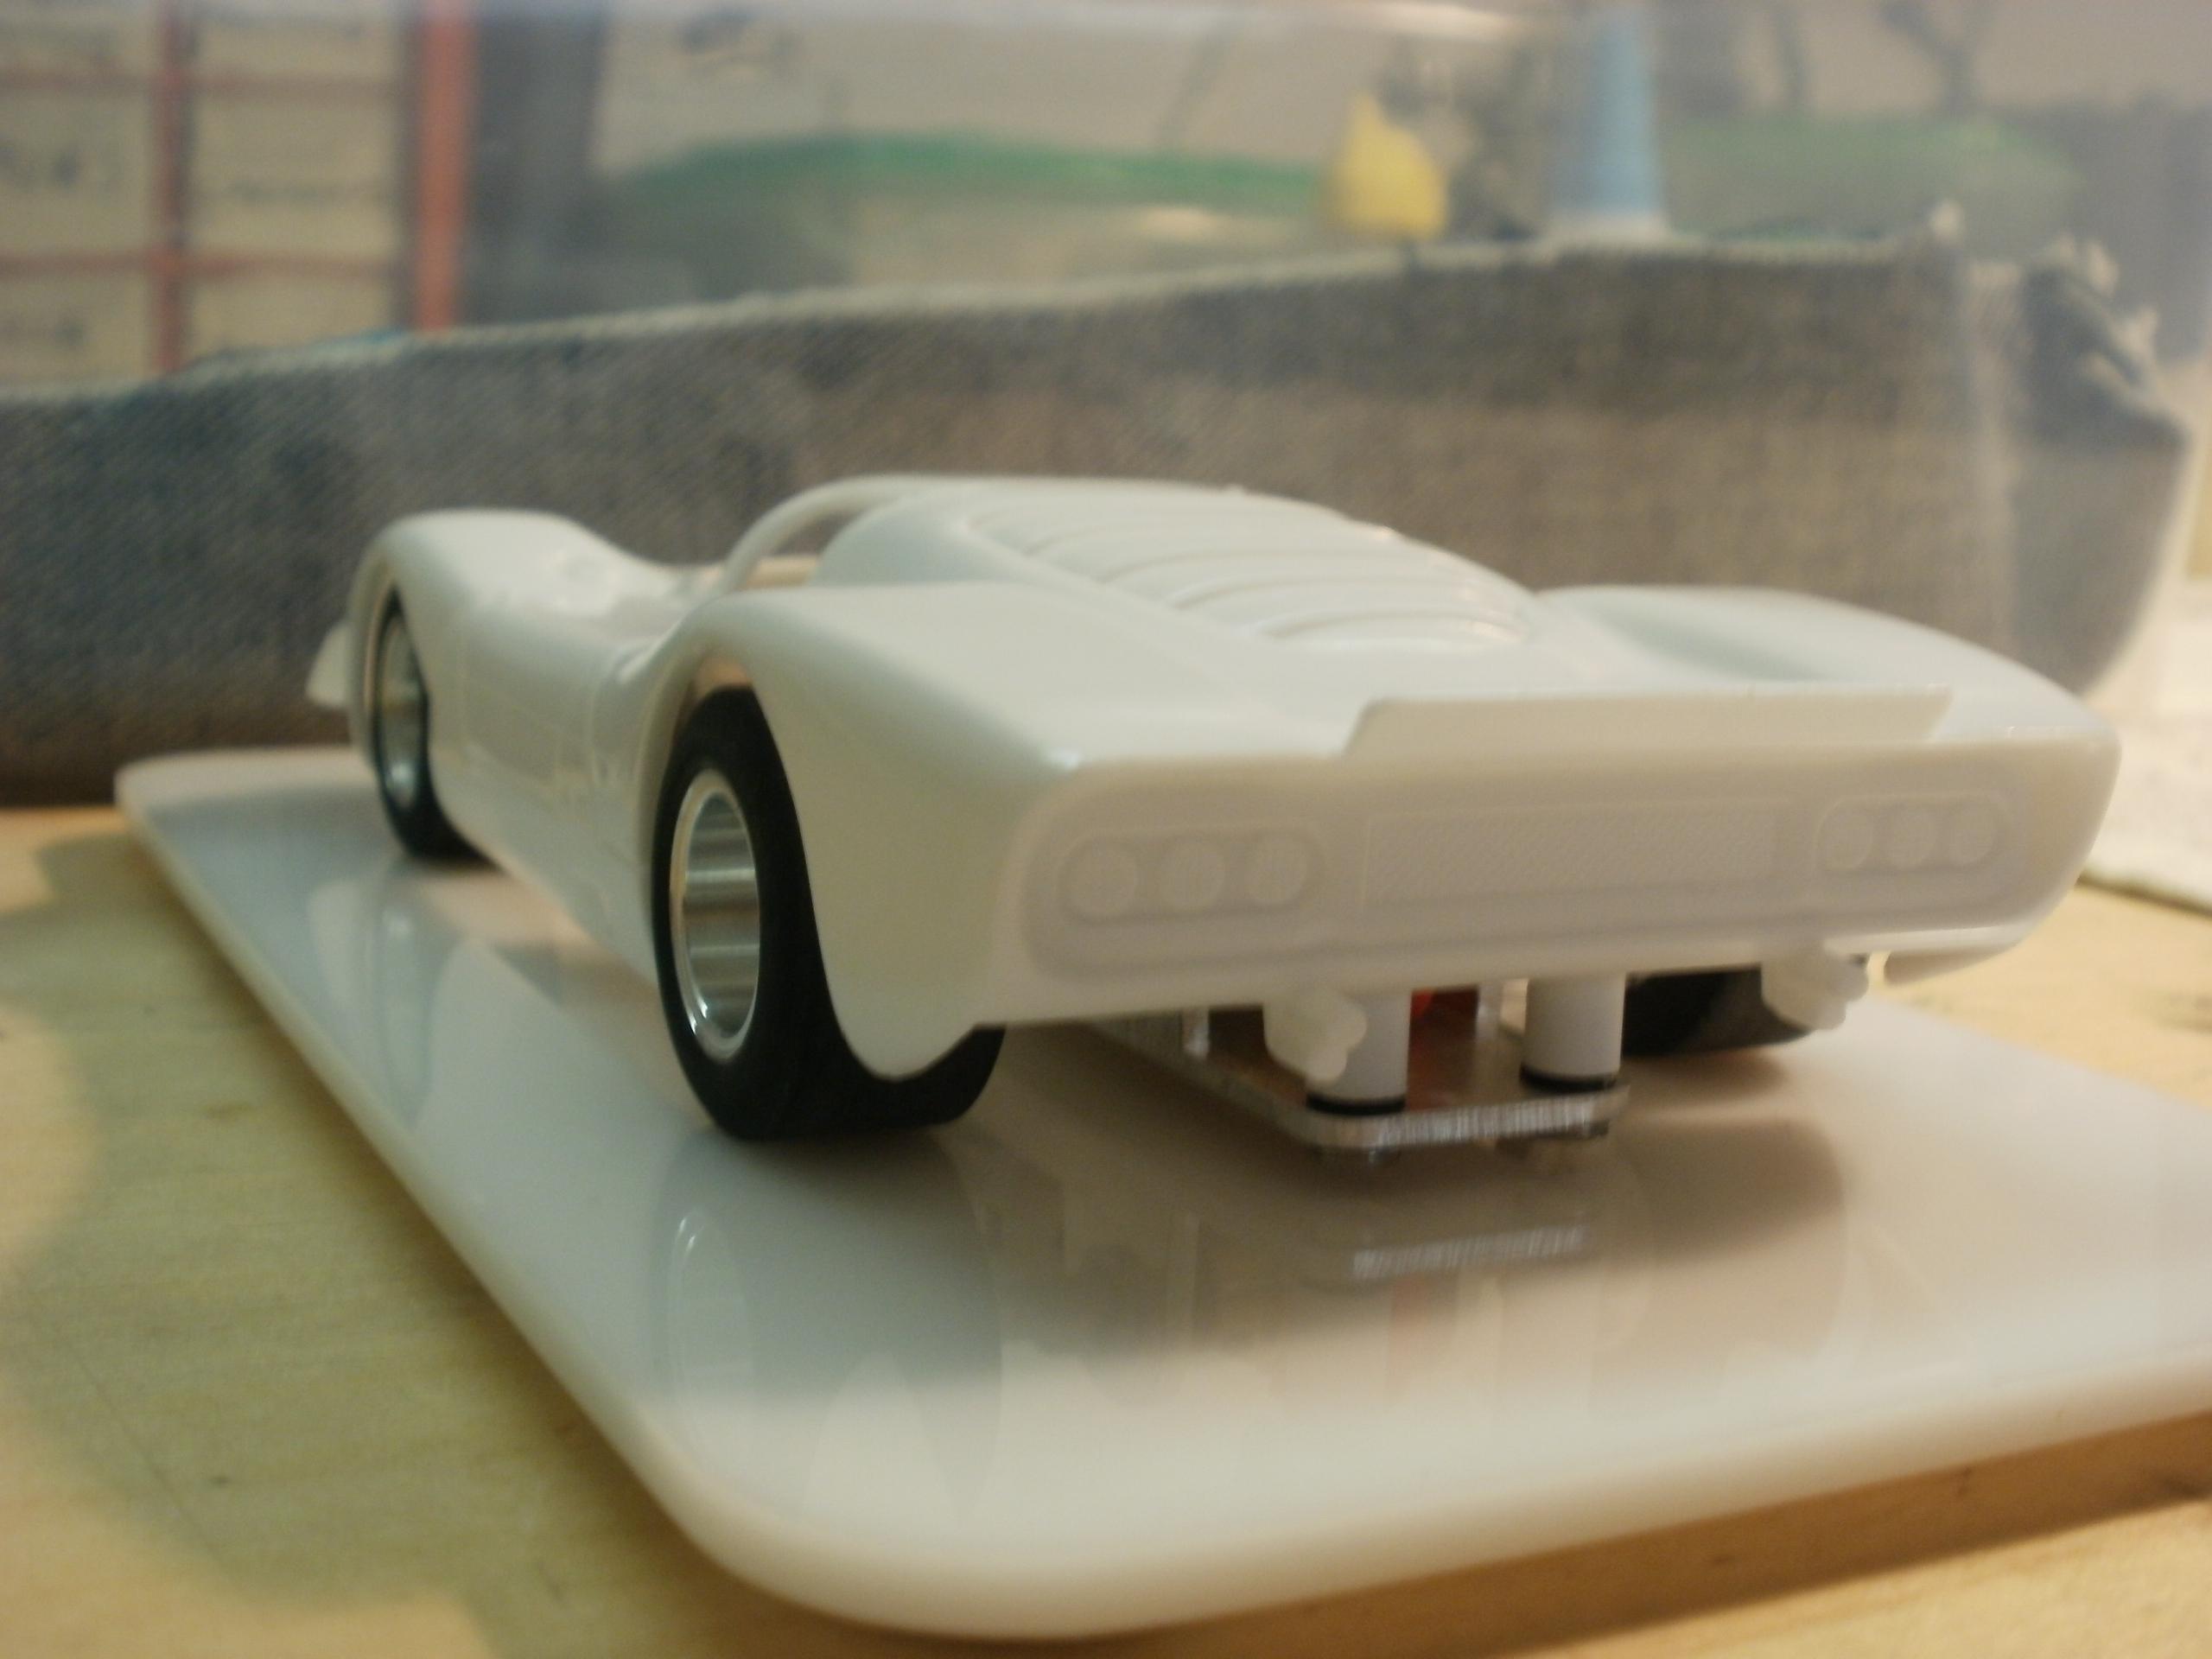
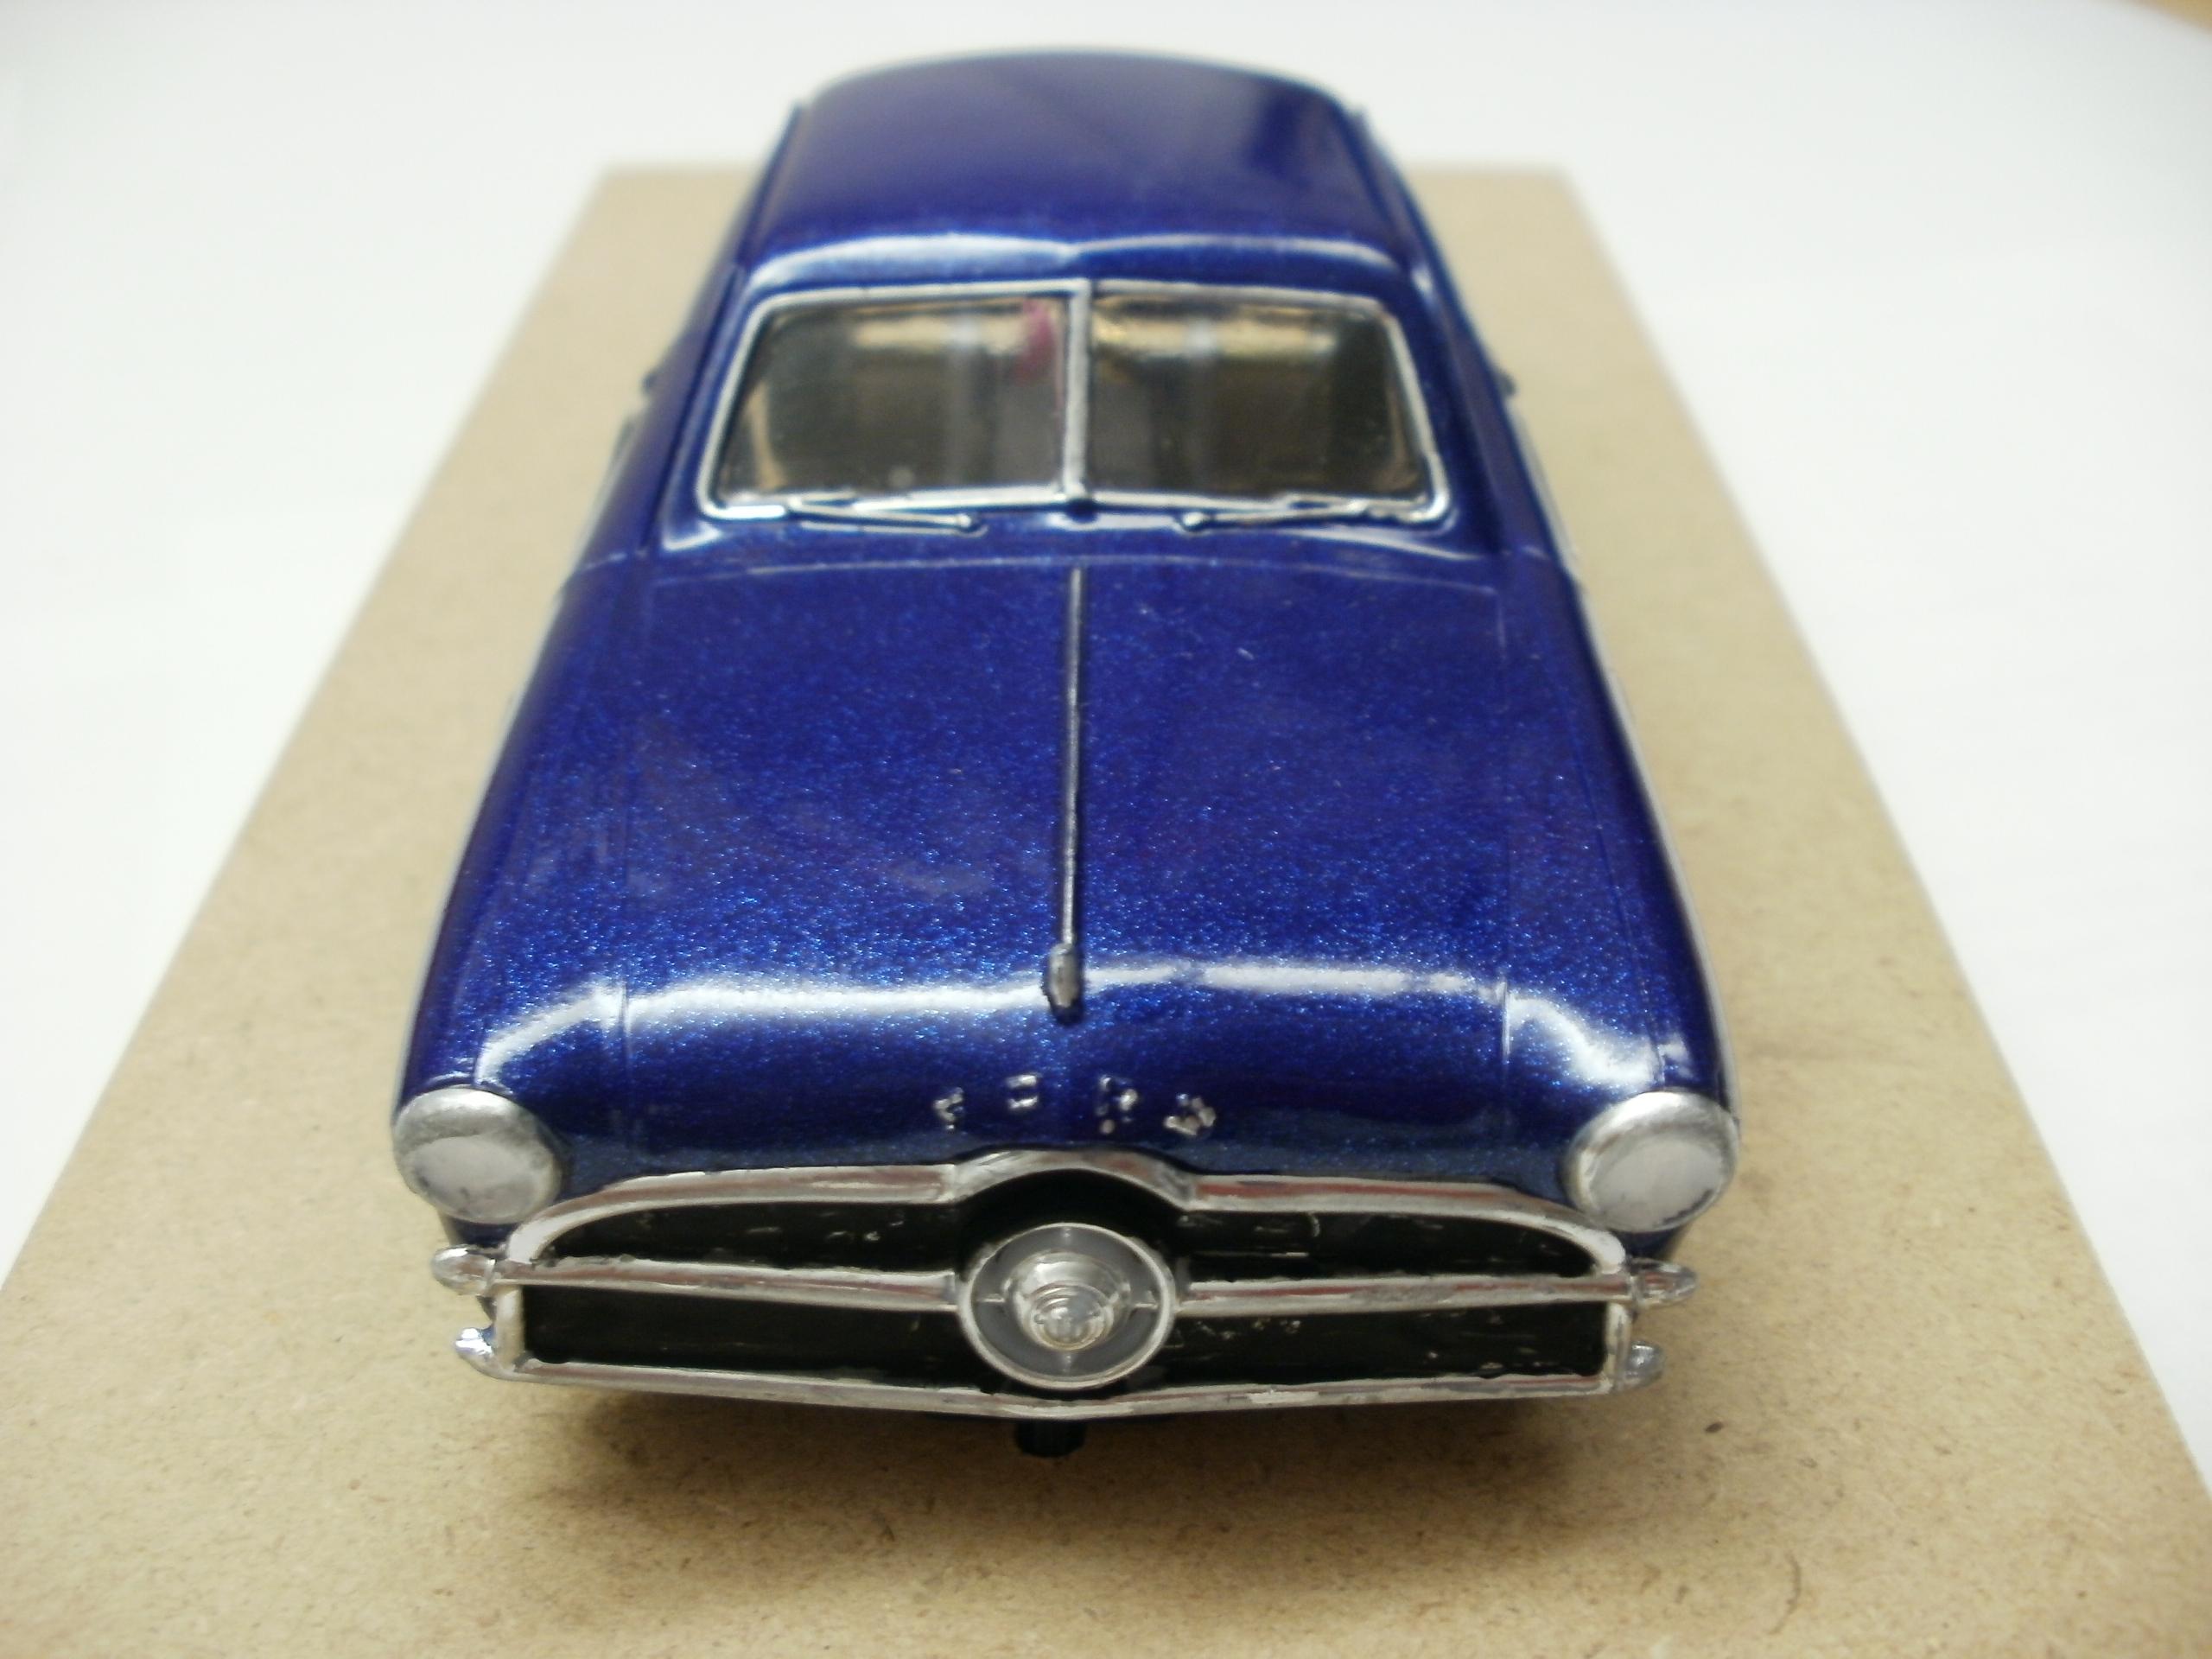
Front view.
Thank you for your kind words Art.
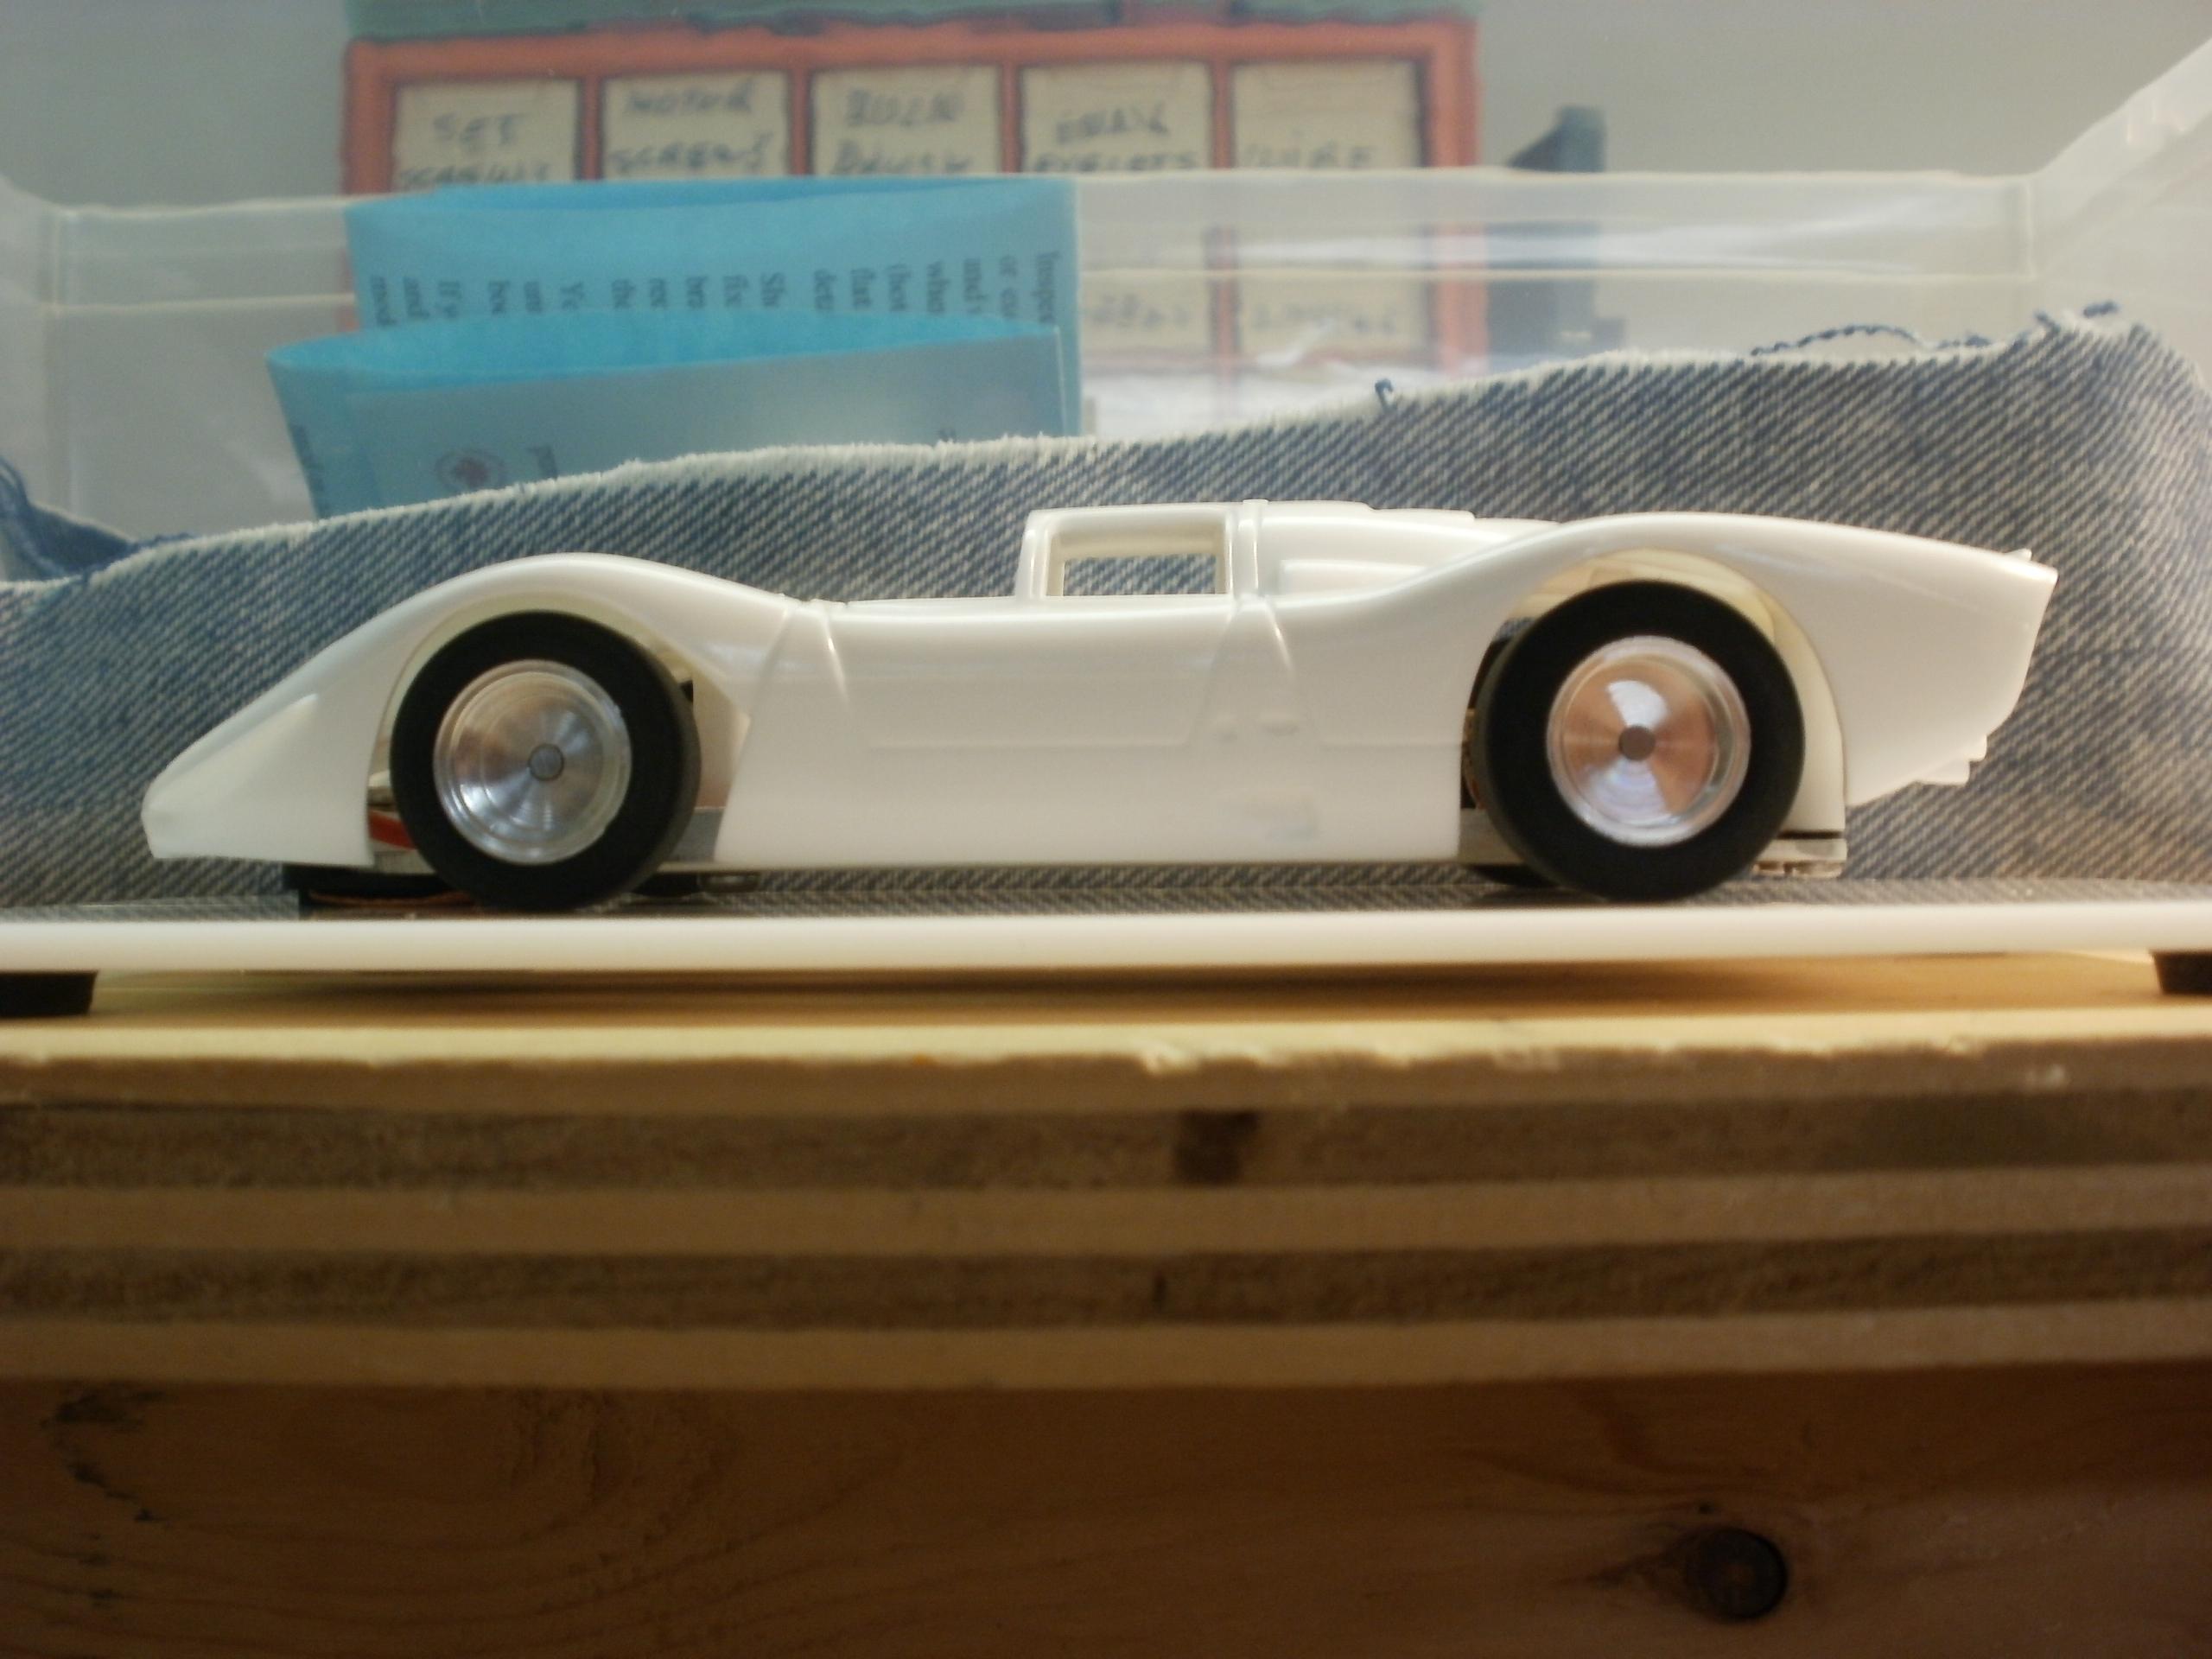
Here is a view of the running chassis. It sits as true to the block as the diameter of the tires can permit.
The specs: 1949 Ford Tudor (Lindberg):
Wheelbase: 3.370″ (85.60 mm)
Wheel spacing: 1.945″ (49.41 mm)
14×6 wheels on D’Art white walls (.845″ tire diameter – 21.47 mm)
BWA 050 Motor, 10-tooth pinion, 23-tooth crown
Professor motor axles. 1.680″ (42.68 mm) in length
Sloting Plus roller bearings
Slot-It universal guide and braid
Professor Motor lead wire
Chassis height off track .137″ (3.5 mm)
Body height off track .098″ (2.5 mm)
Approximate overall body length 5.340″ (135.62 mm)
Approximate overall body width 2.234″ (56.76 mm)
Paint – Testor’s “One Coat” lacquer. Molotow chrome pen. My first try at both.
Weight 68-grams without interior yet. This will be updated shortly when I add the interior.
Livery: Mickey Thompson & Rodger Flores – USA. Sponsered by Ford and Carrera Panamerica.
1954 race. Car #204 – Ford – No photo’s or details. DNF – due to accident.
More pics and details to follow. Thank you. Ken
The under belly. Weighs 68-grams at the moment, but it’s not finished. The car needs stickers, and interior.
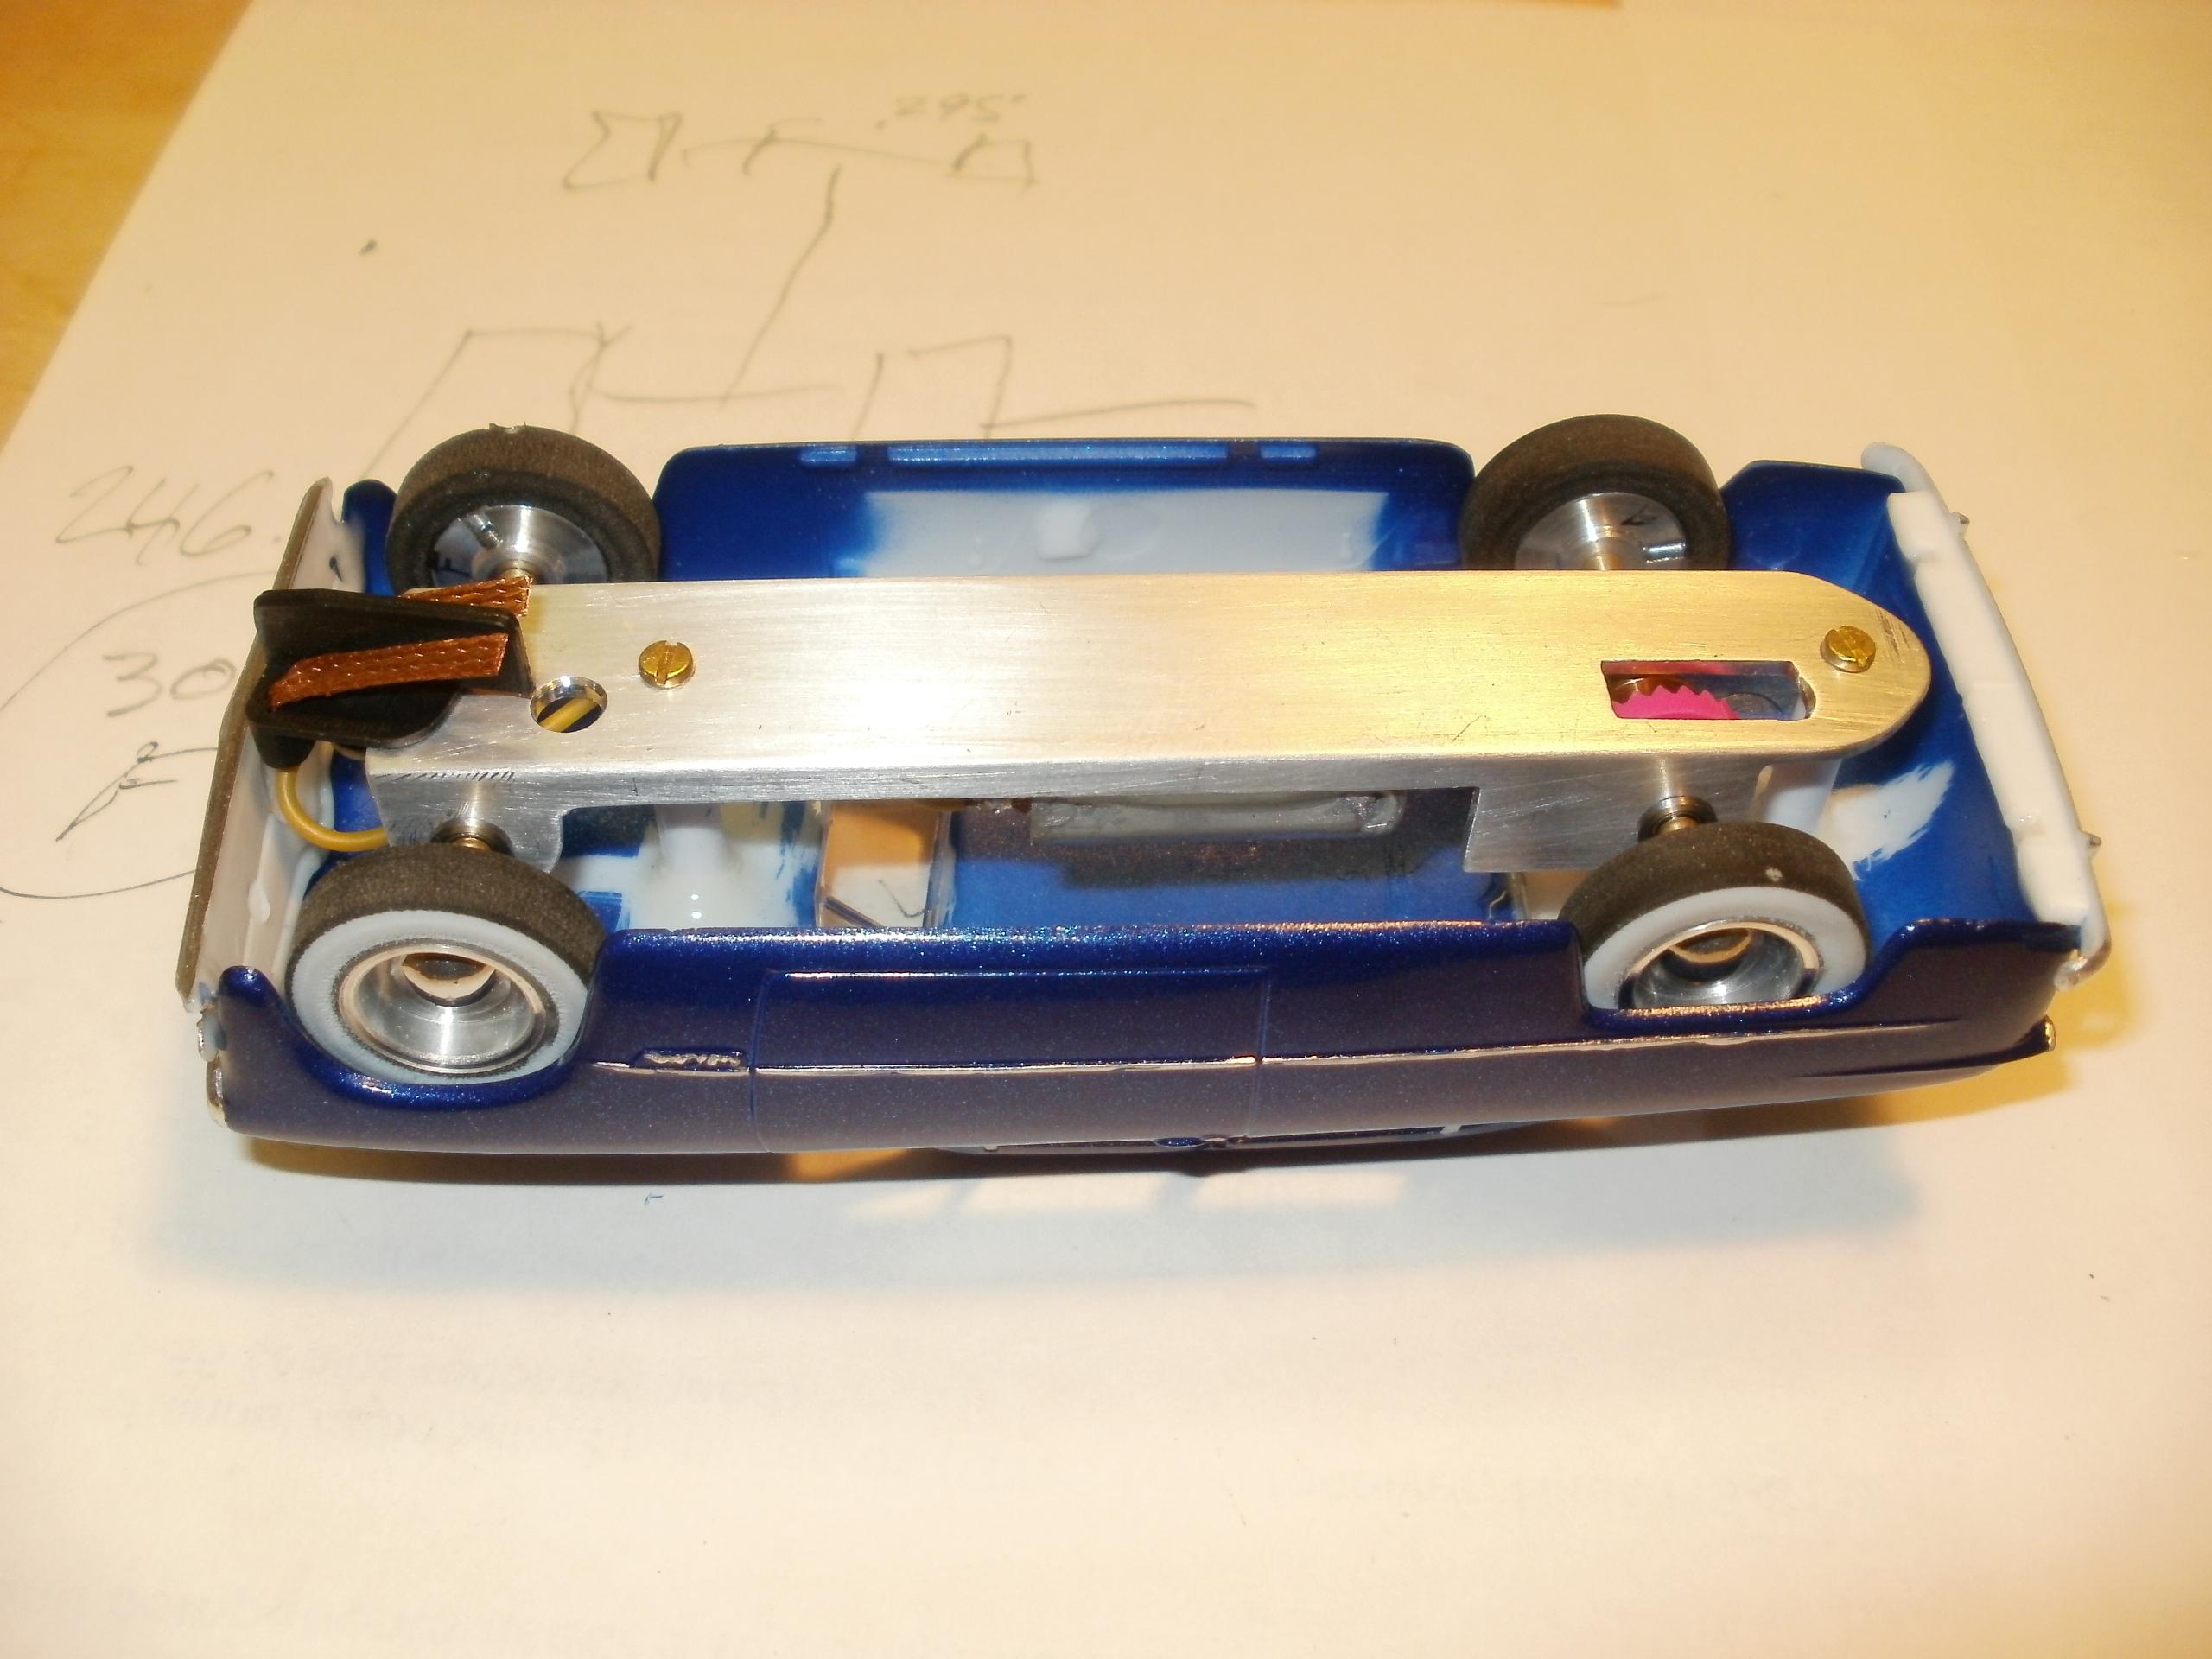
Chassis details almost done and body mounted. The paper under the car doesn’t show it clearly but there is a 2-degree rake, nose down.
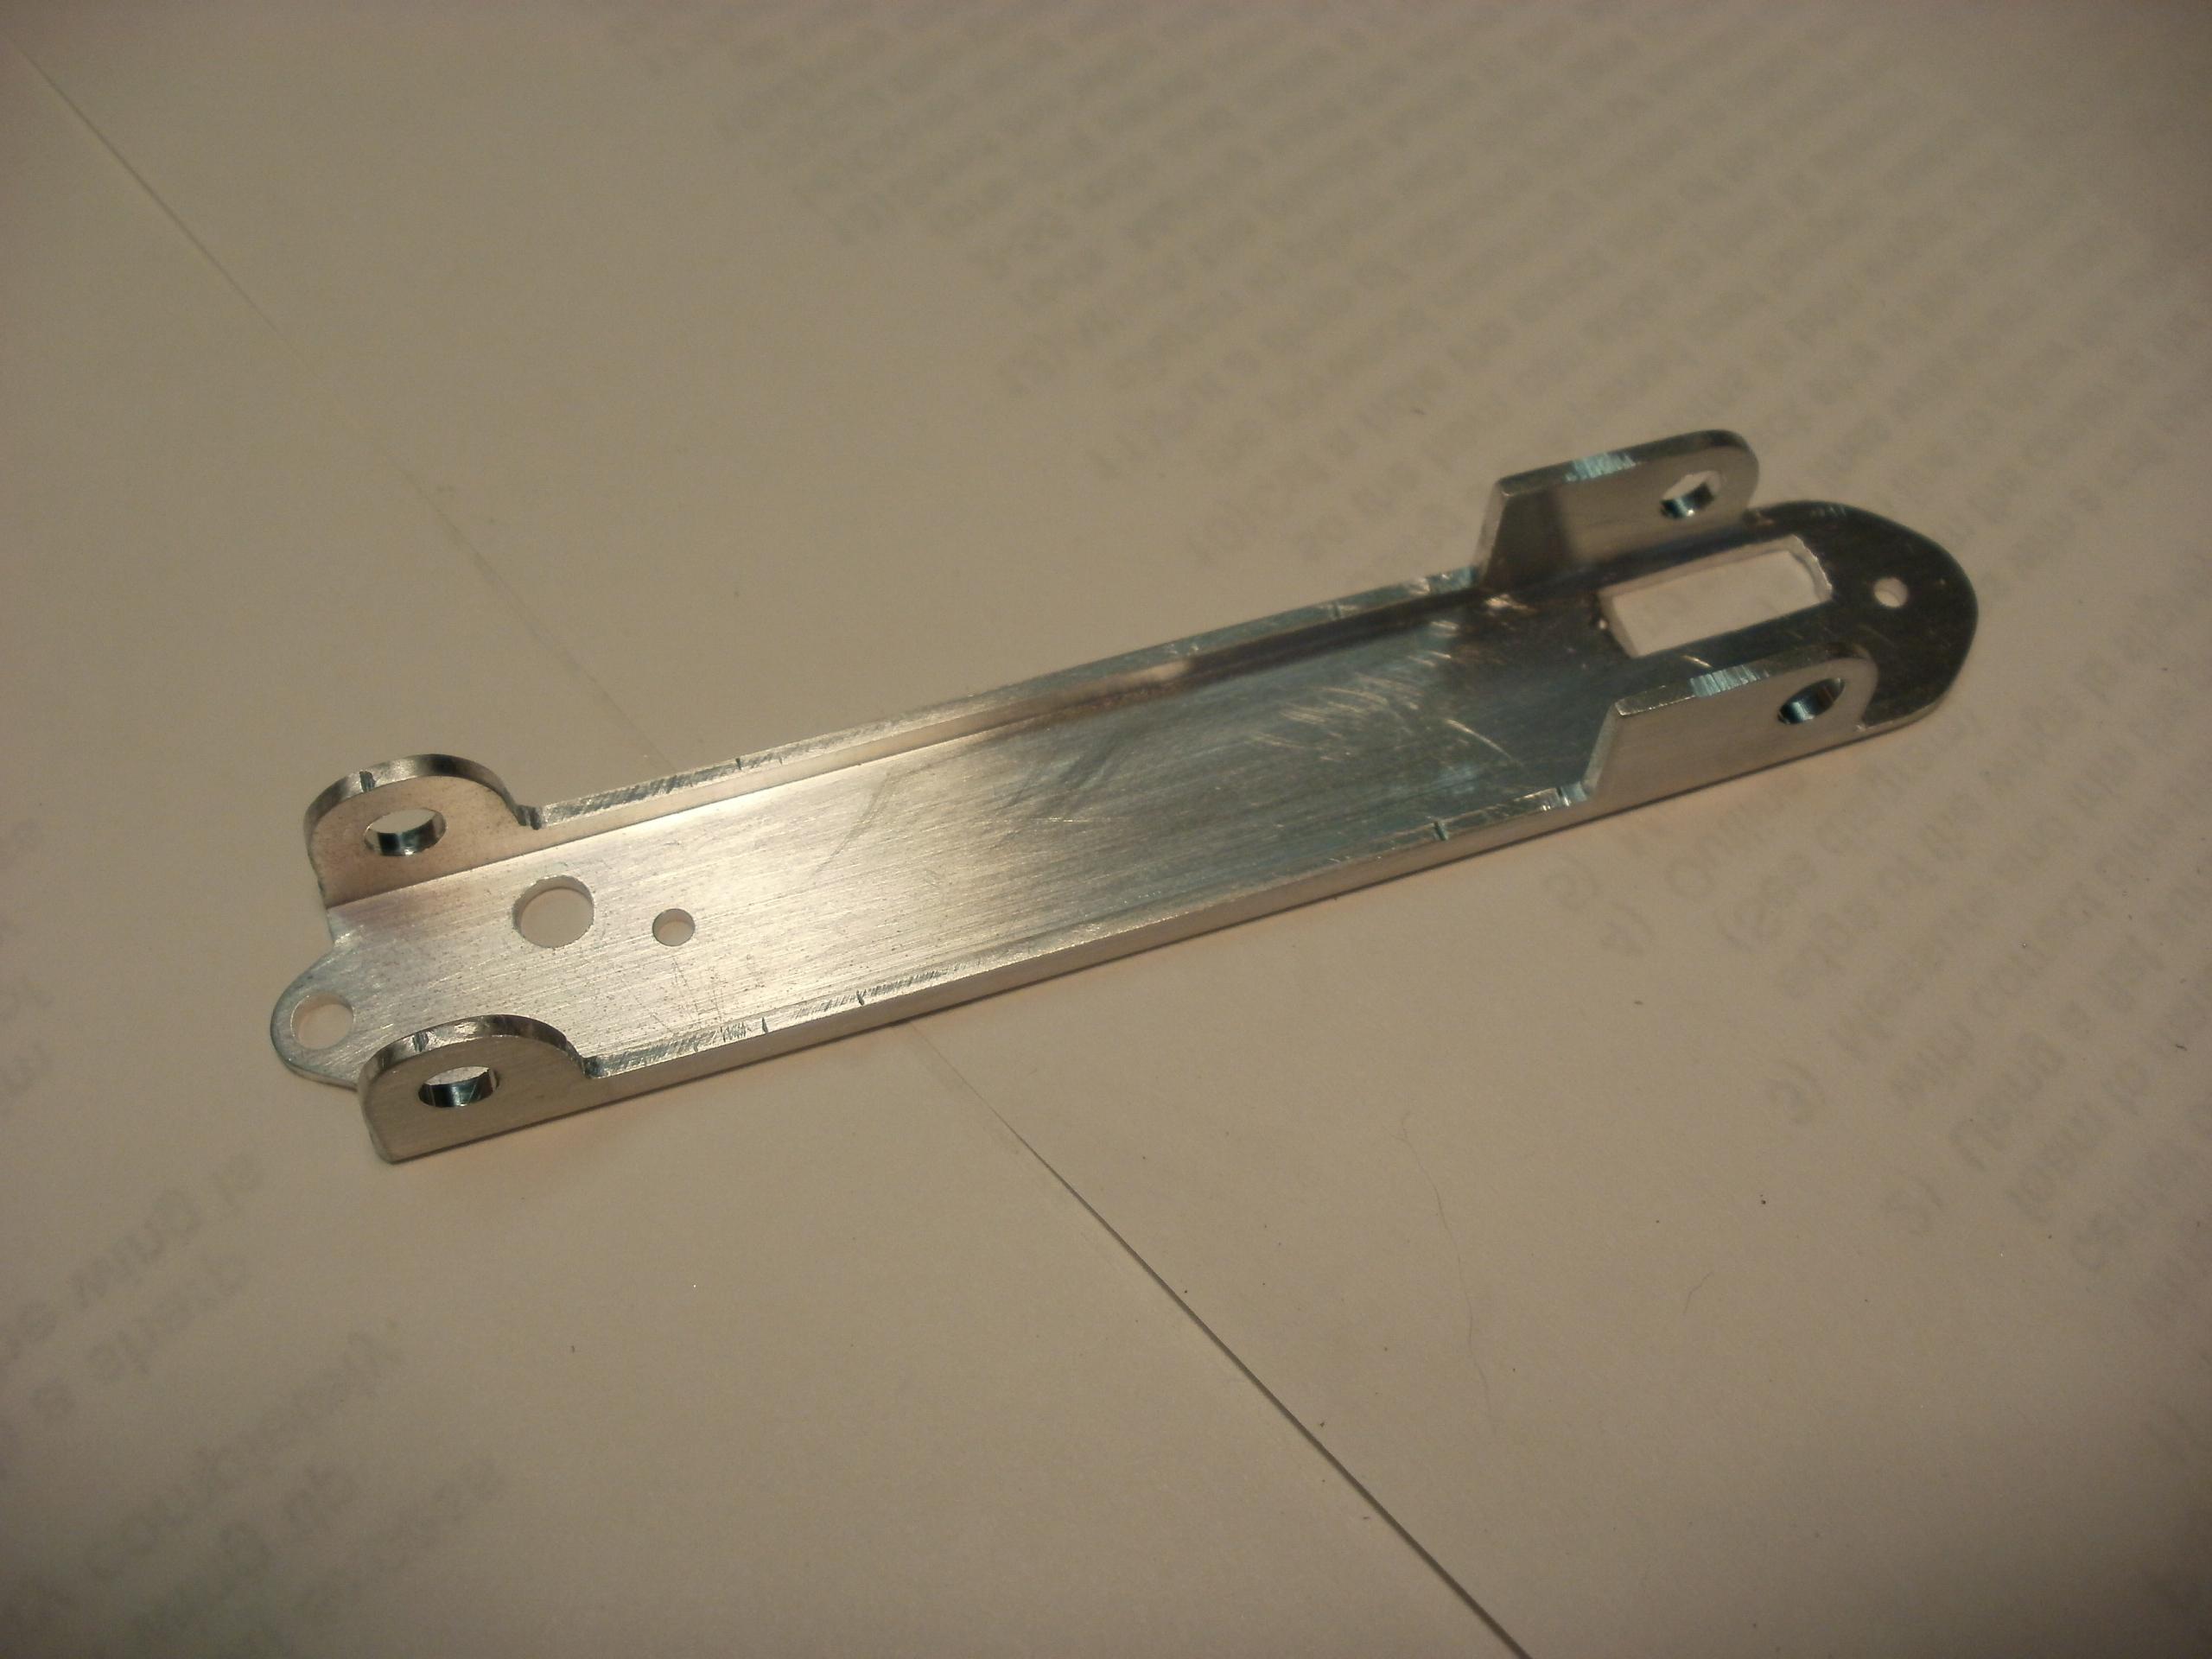
Test fit assembly. The chassis has enough material near the pod to bolt in a motor-plate. In the end, I chose to use epoxy to install the motor and could have cut the extra material off near the rear axle, pod area. Bearings are smooth. Chassis rolls away just looking at it.
Once the chassis is roughed out. A nice, new file doesn’t stand a chance against aluminum. Also made the holes for the crown gear, body posts, and guide. Weighs 11-grams empty.
Now that my wife’s oven is a nice shade of blue. I can move on to the chassis. Word of advice. Oven fans don’t evacuate fresh paint very well. I guess I need to make a spray booth.
I bought a piece of 3/4″ x 3/4″ x 36″aluminum channel from Home Depot. Cut off a 5″-inch piece. Drilled and reamed it for bearings. Then cut the top off with a bandsaw leaving just the part I need.
The chassis and car look great. Very intricate. Nice work!
The car runs like a scared jack rabbit too! That’s the real proof.
Ken
I just researched the base parts and answered my own question.
.032″ inch brass plate
.047″ inch wire for the front axle
.063″ inch wire for the frame and pod
Thanks,
Ken
How thick is the brass sheet for the chassis please?
Thanks,
Ken
Thank you. That answers the question “do I need to buy a special drill bit?”.
Ken
Sorry about jumping in late but I’m just catching up on stuff. Looks amazing Art!
What exactly are you using for the guide sleeve? Brass tubing? What size please?
Thanks,
Ken
Thanks for the information Art!
It’s very useful. Why? Because I just bought a Hudy truer. Newbies playing with new toys can be a dangerous thing. I meant for the tires of course.
Oliver from Professor Motor told me when you see aluminum? you’ve taken off too much tire! He says hello to the group. He also said the concrete patchwork at MVL looks amazing!
Cheers,
Ken
April 16, 2018 at 6:49 pm in reply to: Building in Upper and lower A arms and rear and front springs etc #6525Absolutely incredible!
Cheers, Ken
Here’s the big follow up to the final results. Start with cheap chassis? End up with crappy driving car. The nice wheels, tires, and antique body are back on the shelf.
I need to take a chassis building course/lesson. At least the Eldon body and original mounting posts have not been modified.
That experience was an interesting and humbling lesson of what not to do. Oh well. Back to the learning curve.
Ken
We all inspire each other in some way. You inspire others with bravery to move out of their comfort zone. Art inspires perfection. Perfection comes from practise.
I need to understand the reason behind the physics before I start cutting material or I will make too many mistakes. I need to learn a bit more.
Thanks and keep up the good work! I look forward to meeting you one of these days as well.
Ken
Wow! That’s amazing! Looks very functional.
Is it made from raw materials cut and bent by your hand?
Do you use metal to keep the CG low?
Pardon the questions. I may be an old Strombecker fart. But I’m a newbie to scratch building slot cars. I used to build race car engines when I worked for Engineered Racing Services back in the early 80’s. I’m also a machinist. I need the education. :mail:
Speed technology is cool on every level. Nice job Dave!
Cheers,
Ken
That is one beautiful Porsche! Excellent job!
Kindly post pics of the rest of the build for inspiration? I was fortunate to pick up a coupe from Art last Sunday.
Cheers,
Ken
Thank you very much for the inspiration. The only reason the rocker panels aren’t dragging on the ground is because the front tires are hitting the top of the fender wells. Oops. Maybe a shopping spree at D’Art hobbies for smaller tires would help? That way I can take a few spacers out. How low can you go? Let’s find out. The pin has lots of room to drop yet. More pics to follow after a semi-proper chassis set-up and wheel inserts.
Ken
Funny! Thanks for the comment.
My wife says she may have seen them at the bottom of a 1/32 storage drawer at the back of my 1/32 garage. Probably full of 1/32 dust and dirt after all this time in storage.
Maybe Art will offer 1/32 fuzzy dice in his next catalog? After all. They are “period correct” for that car. Just kidding.
Ken
Here are the two old Hornby chassis showing the work before cutting, and after installation. I used the original Eldon front/back mounting posts to install the chassis so as not to modify the body.
Also. Here’s the 68 Charger albeit with a broken windshield. It will get the other matching chassis and exact same wheel treatment.
Ken
Attachments:
You must be logged in to view attached files.More pics. It clearly needs “Cragar” 5-spoke inserts. “Center Lines” are a bit boring and don’t allow for brake cooling. 🙂
I’m really looking forward to the slot car show this Sunday.
Ken
Attachments:
You must be logged in to view attached files.Drew,
My apologies for the thread title. Here’s a test to see if my pics work.
Cheers,
Ken
Attachments:
You must be logged in to view attached files.Hi Drew,
I see now how this thread can be eaily missunderstood. The work is already done. I already finished the GT-350 and documented it. However, all the photo files are too big.
Wasn’t sure if anyone wanted to see an old Hornby chassis chopped up and the Shelby lowered as far as it can go. Sporting 20 x 7 tires from Art of course. I need to take pics using less memory.
I still have an Eldon – 68 Charger and a matching Hornby chassis that I want to build. The Charger and Shelby should be a fair race together since they will have matching chassis/motor/wheels/tires/etc.
Cheers,
Ken
Wow times pi!
Looks great!
Thanks for the inspiration. I have a pristine Strombecker Chaparral 2D and a few Eldon bodies from 1968 that could use a few updates.
Ken
Thanks for the fun fact! Looks like they didn’t really have “a hard, days night” after all. We now know what they were doing when they should have been “sleeping like a log”.
Cheers,
Ken
-
AuthorReplies